Visit the websites screen, click on New site and the Splash Pages tab where you'll see the Versatile Splash template.
Pick an initial theme for the template (this can be changed later), give your site a name and click Create.
Fill in page information
In the Content tab, fill in the Page title and Homepage description.
Under the Headline tab you can fill in the text that will appear on your Splash page. This might be your name, your website name and tagline or any other text you want to display on this page.
You don't have to fill in the information in the Headline fields, but if you plan to add a logo, then you should fill in the Headline Text. This is used for older devices which may not be able to display the logo file.
Add content
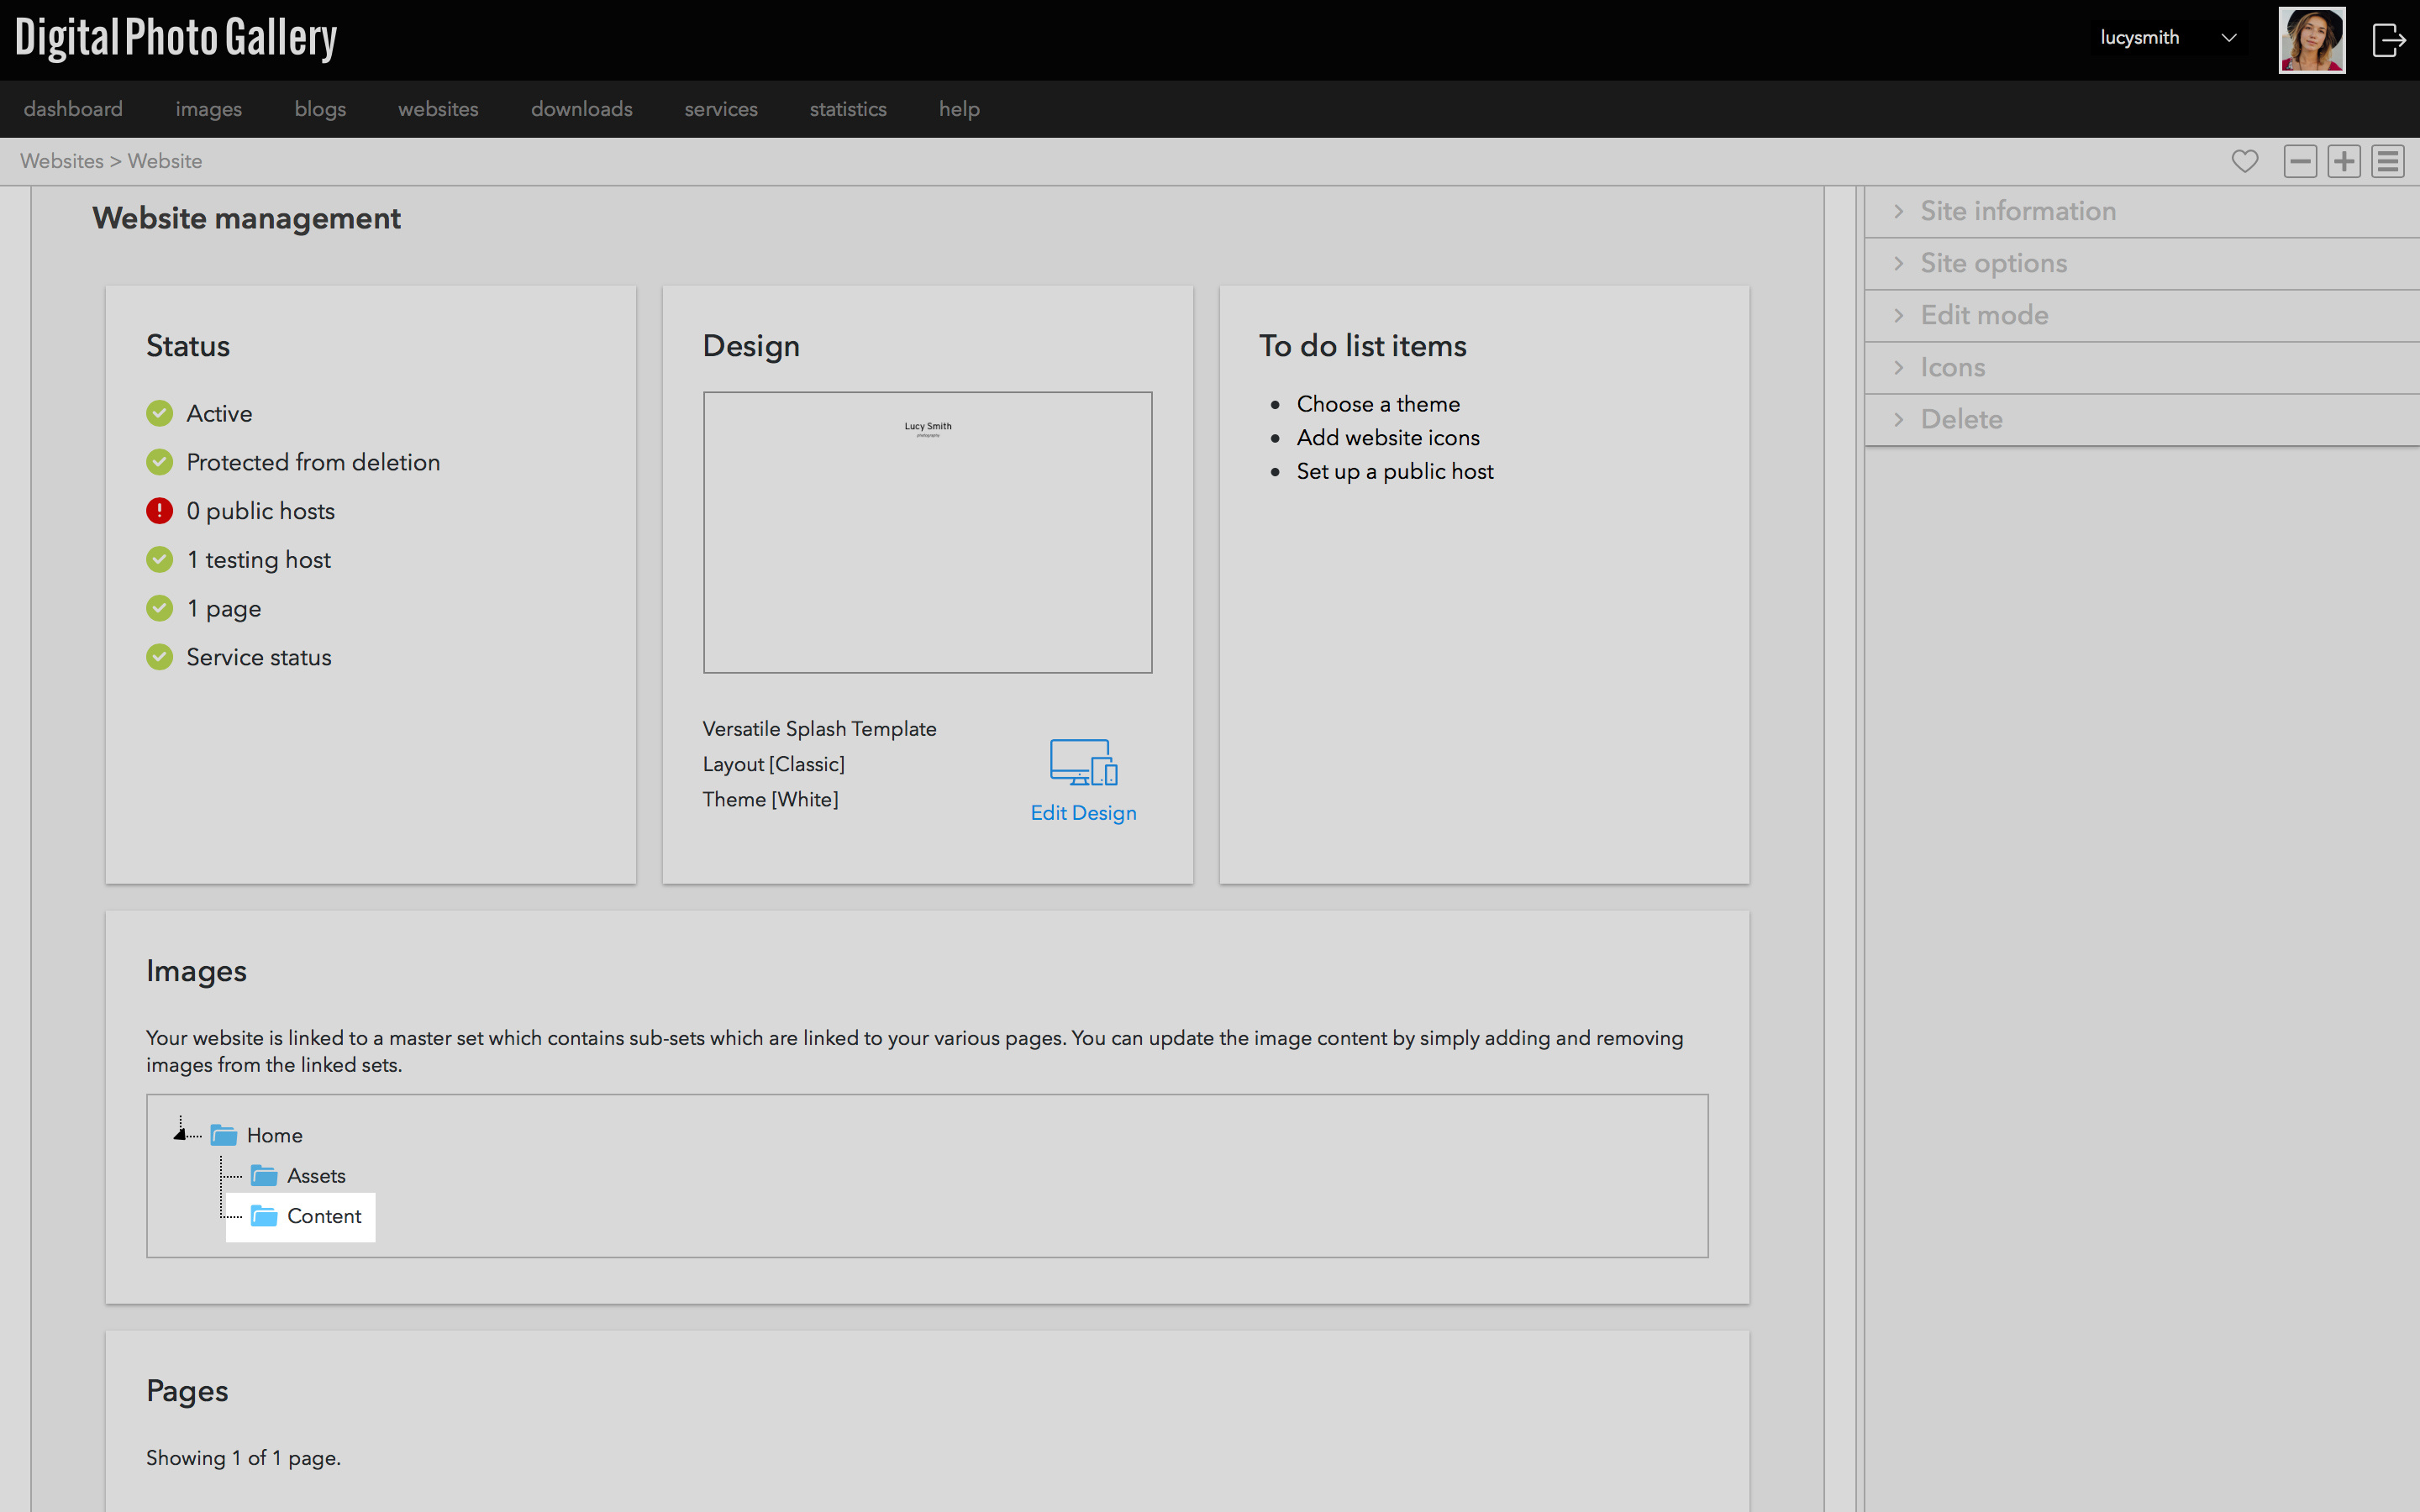
When you created your website, DPG made a corresponding set called Content. You can find a quick link to this set on the website screen.
Images or videos added to this set will show up on your splash page.
Add your chosen images, gifs or mp4 videos to the new site's Content set. Once added, you can see the site coming together by visiting the testing URL from the website screen.
The Versatile Splash layout automatically adjusts to the number of images you add to the set.
You can see an example of how the layout works here. Add or remove images from the Content set until you're happy with the look of the image layout.
Add content information
If you've checked your image on the testing URL, you'll see that your site is now starting to take shape. Once you're happy with your chosen images, you can add any text information to appear over them.
In the site's Content set, click on the first image and open the Information panel. Here you can add a Title and Description which will appear over the image. Add your text and click Update. Repeat this process with all images in the Content set.
Add links
Remaining in the site's Content set, click on an image and navigate to the Links panel in the sidebar. Here you can enter the link for each section of the splash page.
Enter the full website address including https://.
Once the links are added, you'll see that the sections link to your chosen destination.
Choose a theme
The template comes with a number of pre-made themes for you to choose from. From the website screen click the Edit Design icon to enter the design section. Click Save.
Customise further
Once you've chosen a theme to start with, you can can make other changes to the look of your site.
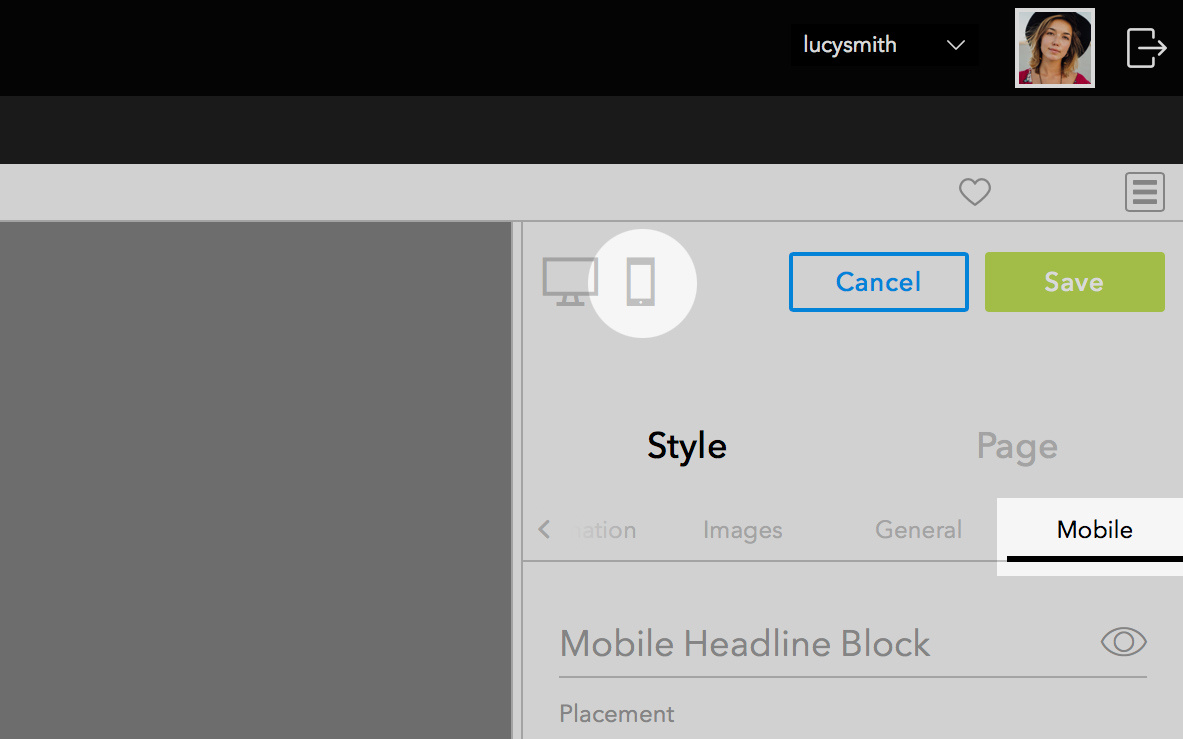
Click through the other tabs under Style to change fonts, colours and other design settings.
Toggle into mobile view by clicking the mobile icon. You can find mobile-specific design settings under the Mobile tab.
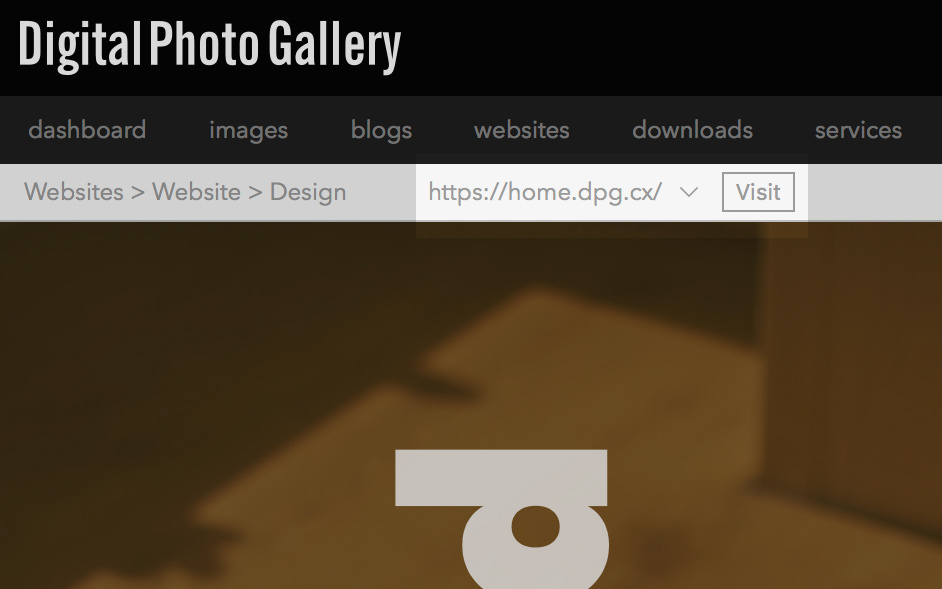
Click the Visit button from design section to open your testing site in a new window.
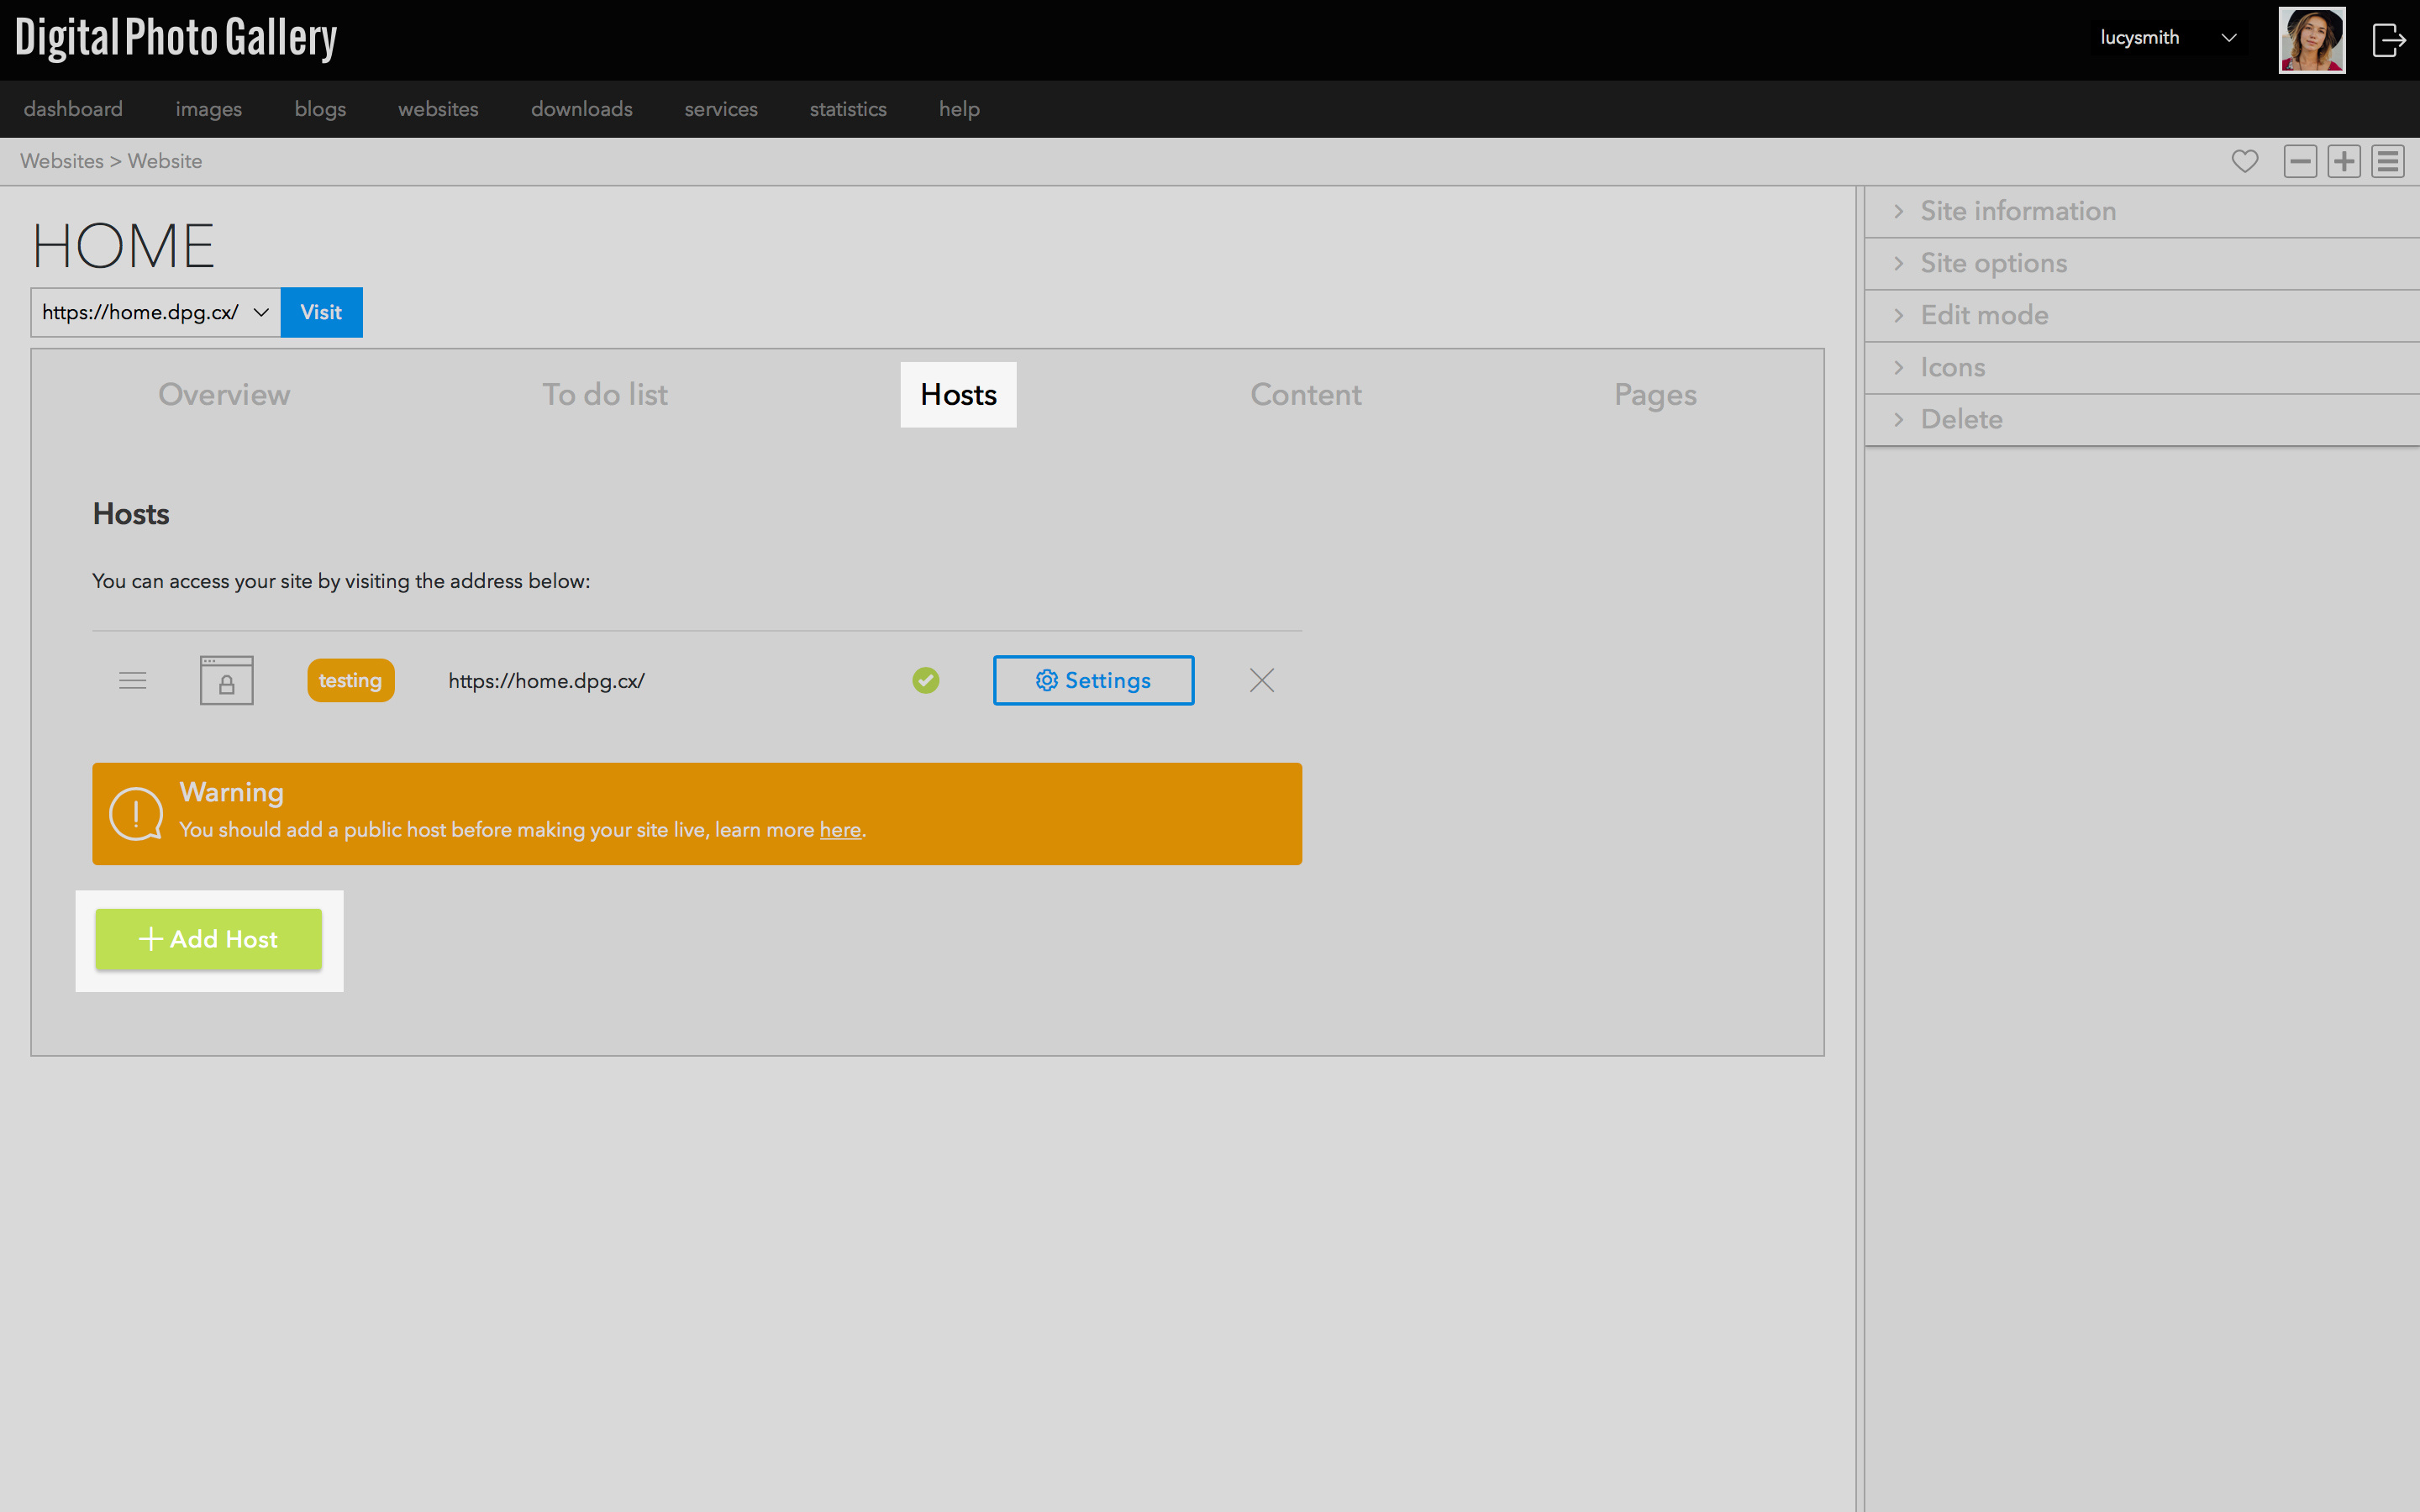
Once your site is done, the final step is to create a public host. This will be the URL that you share and is cached for optimal speed and best visitor experience.
Go to the Hosts tab and click Add Host.
To find out more about hosts or setting up your own domain see Host types.