Once the website is created, you'll see the website Overview screen. This will be your starting point for anything to do with this website. You can return here by going to websites from the main menu or dashboard.
Guides - Creating a shop with Dedicated Shop
In this guide we'll go through each step of creating a shop with the Dedicated Shop template. Using DPG's Sales features we'll create products and add them to sets, to create a powerful ecommerce site with full checkout and payment integration with Stripe and Paypal.
In this template DPG powers the shop, the cart and the checkout. After checkout, orders are handed off to PayPal or Stripe to securely collect payment. Once payment is complete, customers receive an order confirmation via email and you will see new orders in the DPG admin ready to be fulfilled.
Before you begin
You must have a DPG subscription with a Standard or above plan to use the Sales features. If you don't have a Standard account you should upgrade your account first.
Sign up with a payment provider - DPG offers the choice of using Stripe and/or PayPal integration for secure customer payments. You will need your own account with each service to integrate it with your shop.
Gather text and imagery for your products - Before getting started building your shop, you may find it helpful to prepare item titles and descriptions for some of your products.This information doesn't need to be final and can always be changed before you launch your shop, but it will help you to build and customise your website with real content from the start.
Advanced-level preparation:
Prices and stock levels - Decide on your product pricing and note down any taxes that you will need to collect.
Shipping costs - Where will your items be delivered? Research and note down shipping costs for customers in different regions.
Discounts - You can offer discount codes to customers which can be a great promotional opportunity when launching your shop.
Prepared and ready to go? Let's get selling! 🛒💳🛍
In this article
- 1. Create products
- 2. Connect payment provider
- 3. Create Dedicated Shop site
- 4. Follow the helper
- 5. Get to know your shop
- 6. Edit site content
- 7. Edit the design
- 8. Get ready for customers
- 9. Test your site
- 10. Add a public host
1. Create products
Before you create your shop website it's helpful to make some products. If you skip this step, you can choose to use randomly generated products to get started instead.
📎Creating products - Follow the instructions to create a few products.
2. Connect payment provider
You should already have a PayPal and/or Stripe account. Link your accounts to DPG by following the instructions in the following articles:
You can choose to use either one or both services with your shop. If you select both, your customers will choose which payment provider they wish to use at checkout.
3. Create Dedicated Shop site
From the Dashboard navigate to the websites screen by clicking Manage.
Choose the New site tab, then Sales where you will see the Dedicated Shop template.
Select one of the themes for your site (this can be changed and customised later) and click Create.
4. Follow the helper
Click Start and follow the helper to fill in some basic information for your site.
This will guide you through some steps to easily configure things like the header text, connect payment providers and add some products to start working with. This will make it much easier to complete the site setup and begin working with your site visually.
All the information you enter in the helper can be edited once your site is created.
Once you've completed the steps, click the Build website button.
You'll see a Creating website loading screen. Stay on this page while the website is created, this may take a few minutes depending on the size and quantity of your images.
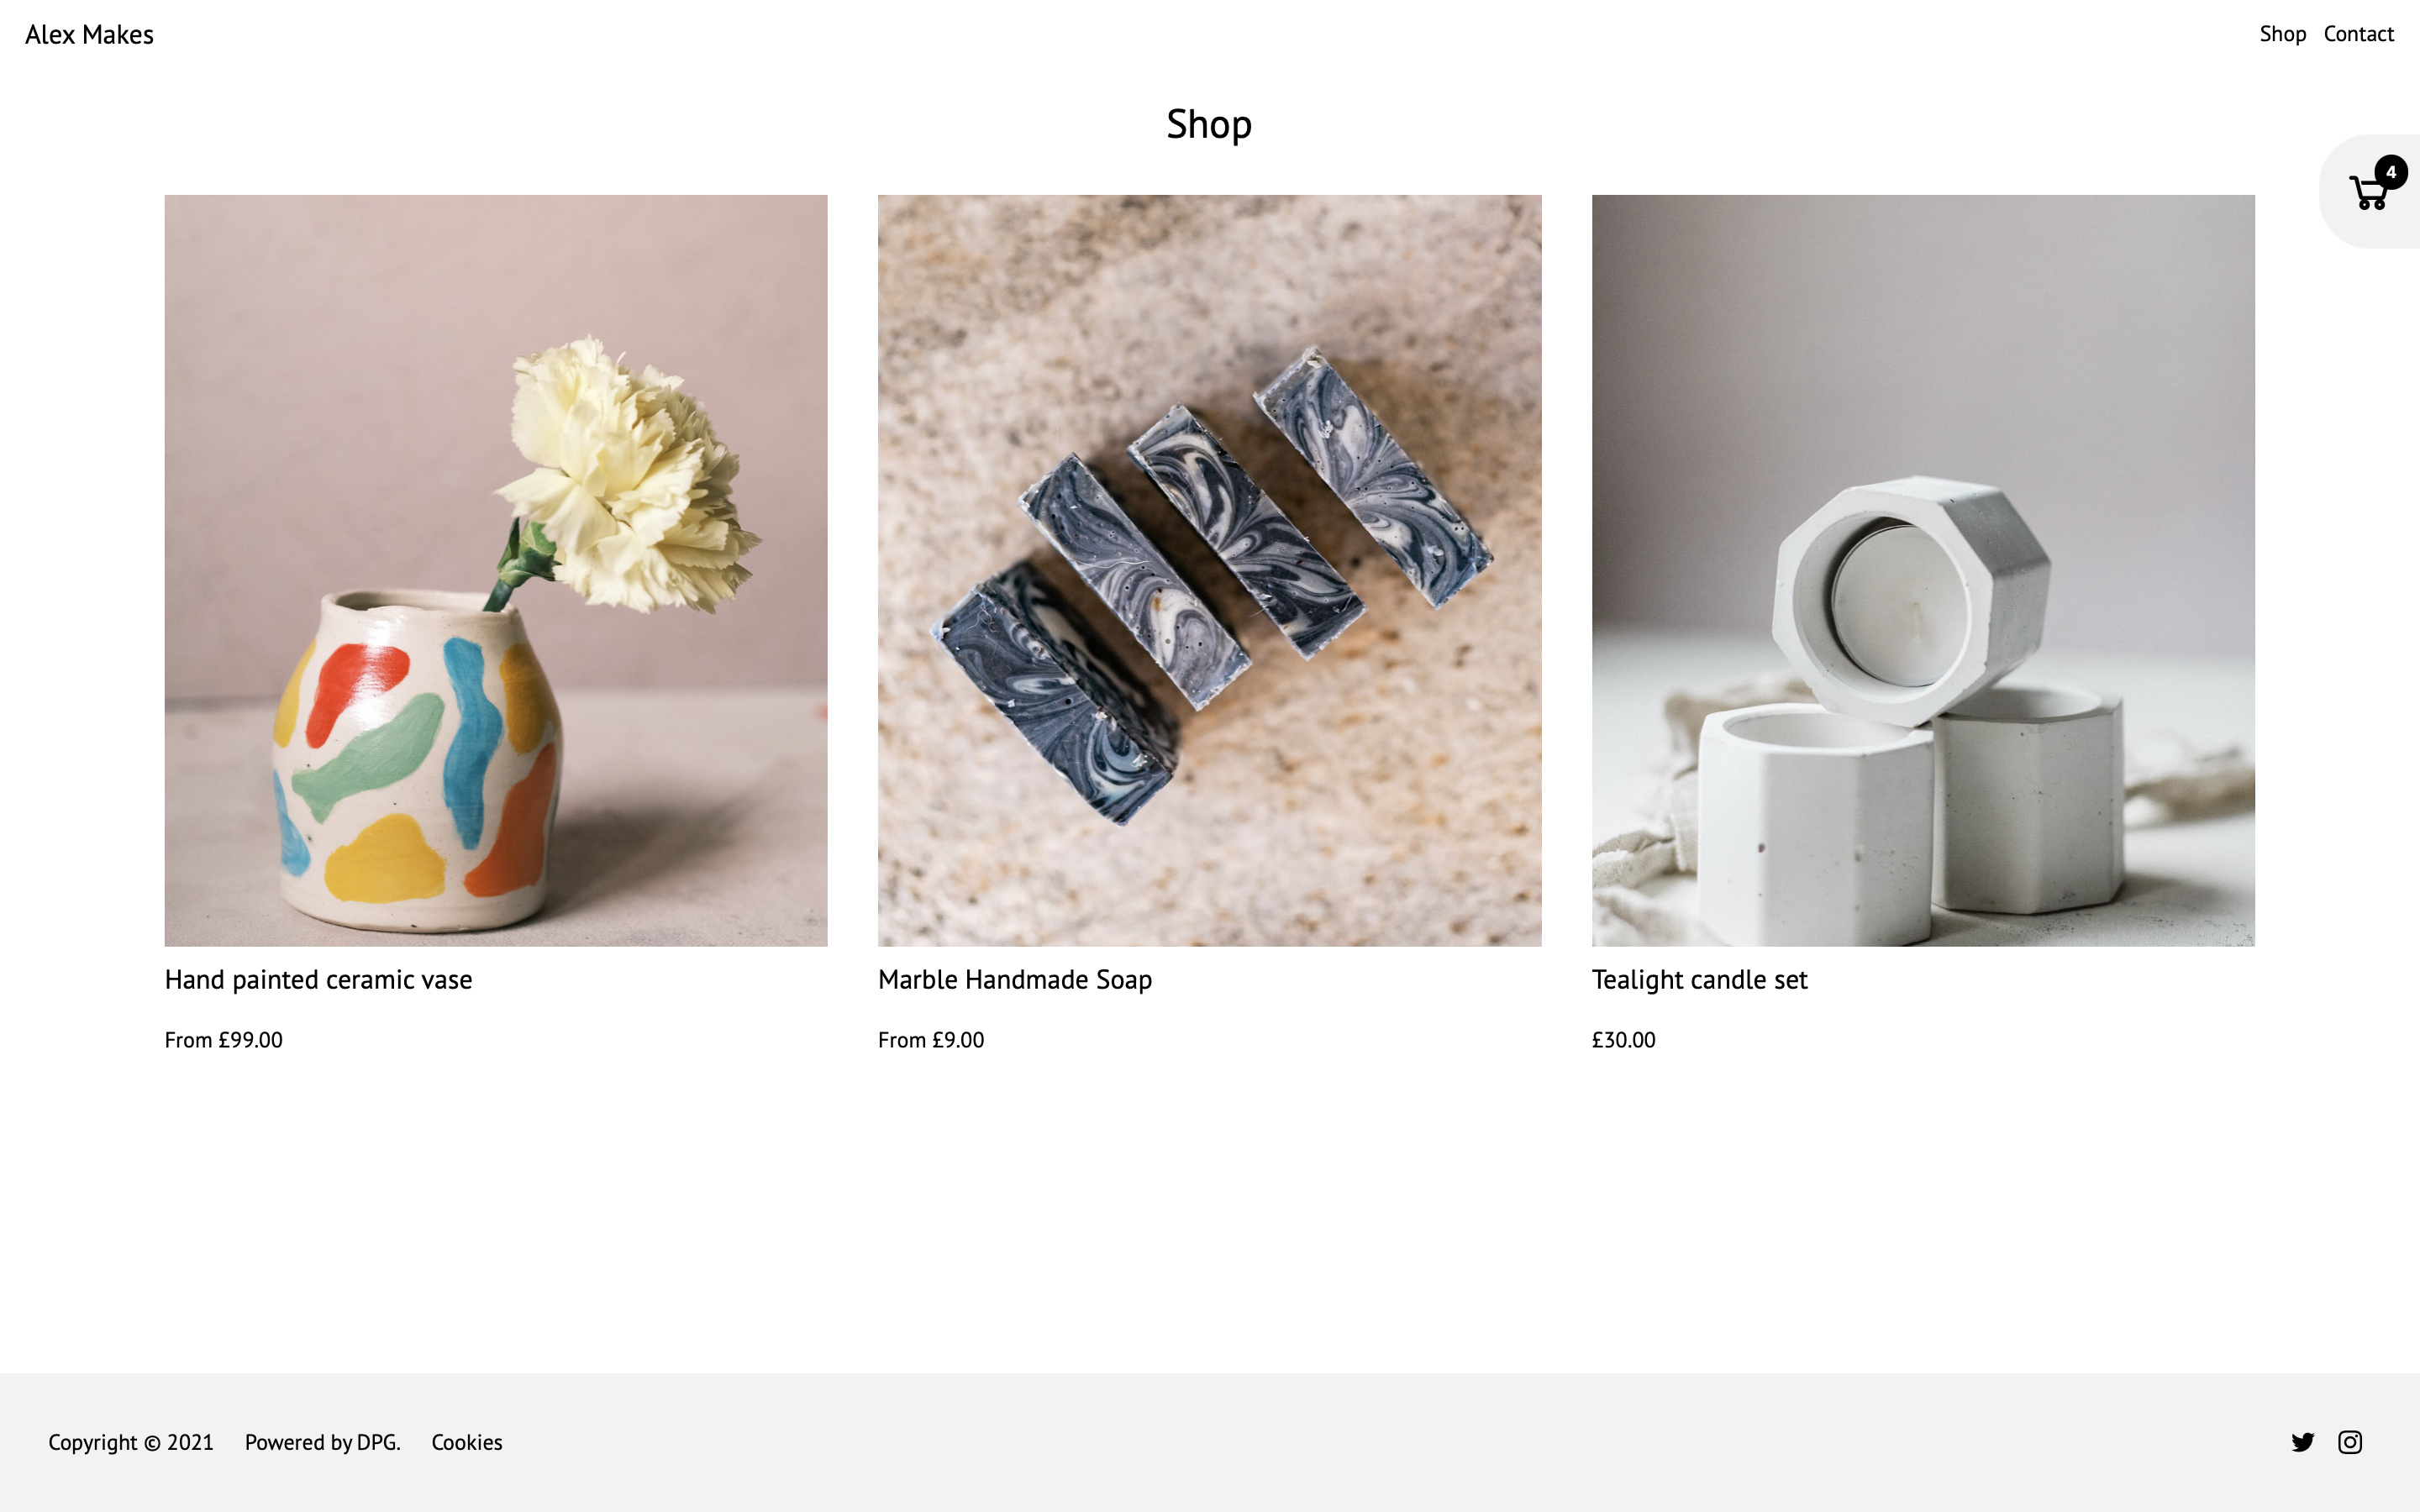
Visit your new site
If you've added products and images, you'll see that your shop is already coming together. The Overview clicks through to the Product View, where you can see product options and add items to the cart. The cart clicks through to a full checkout.
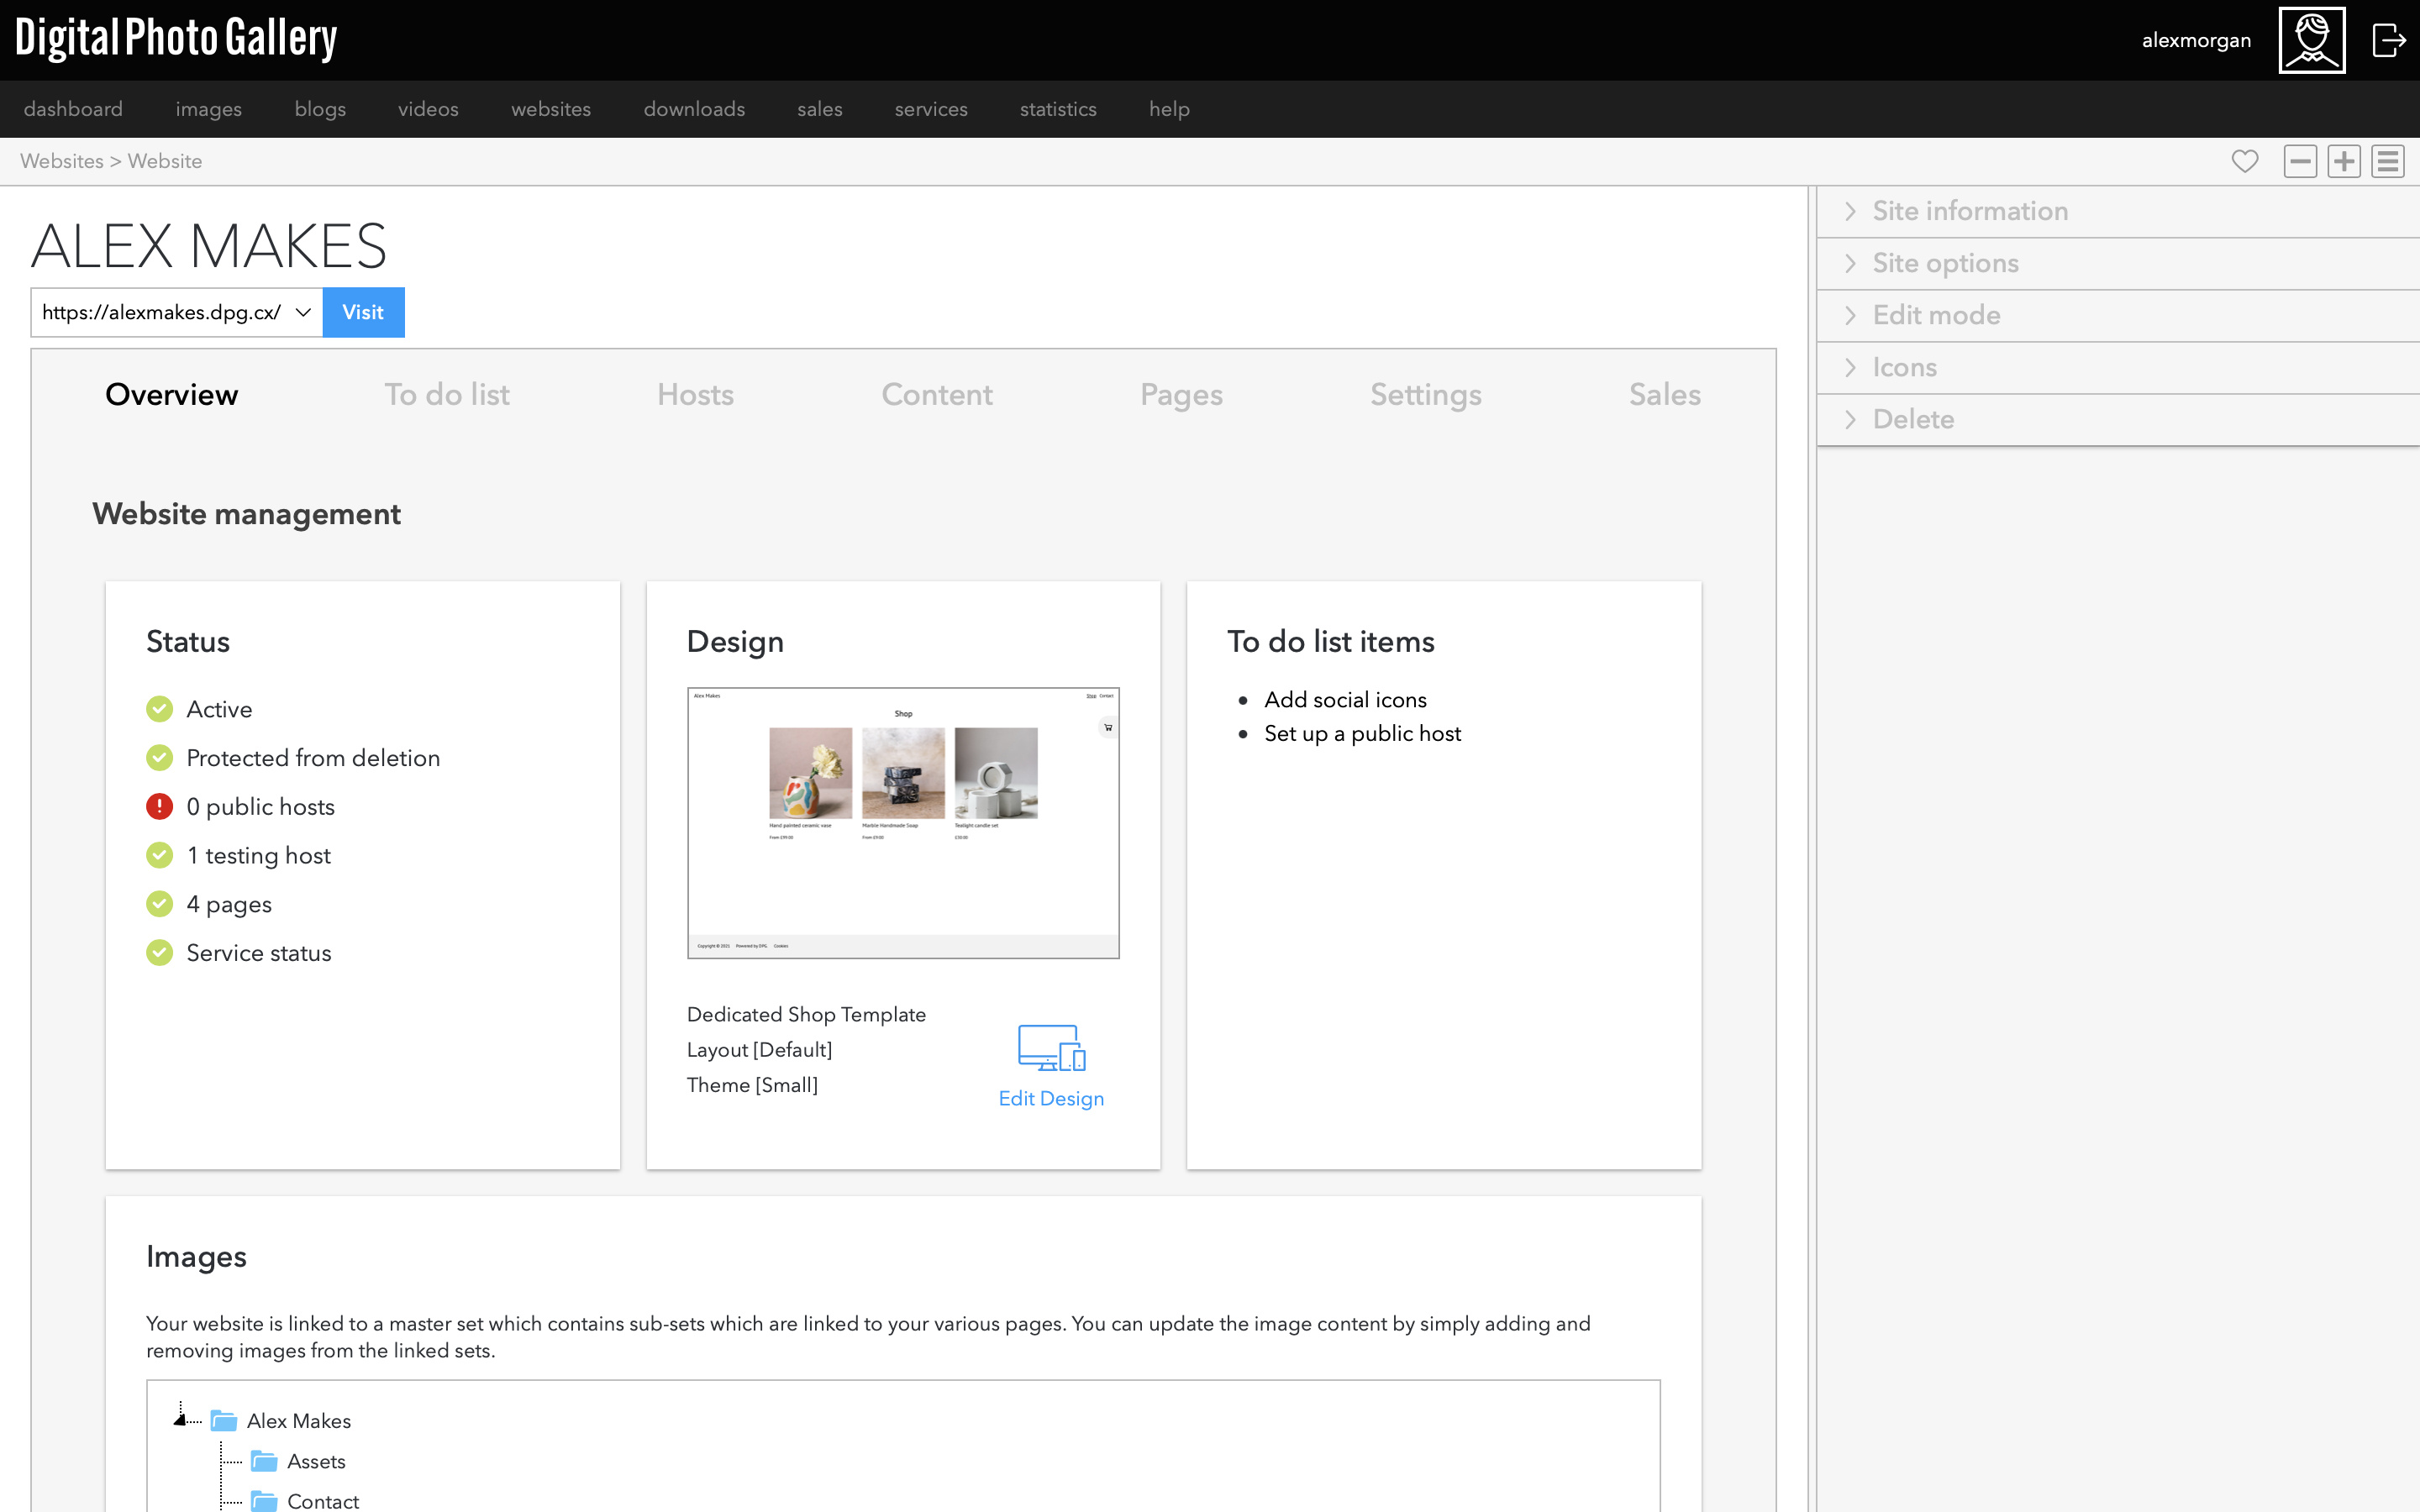
5. Get to know your shop
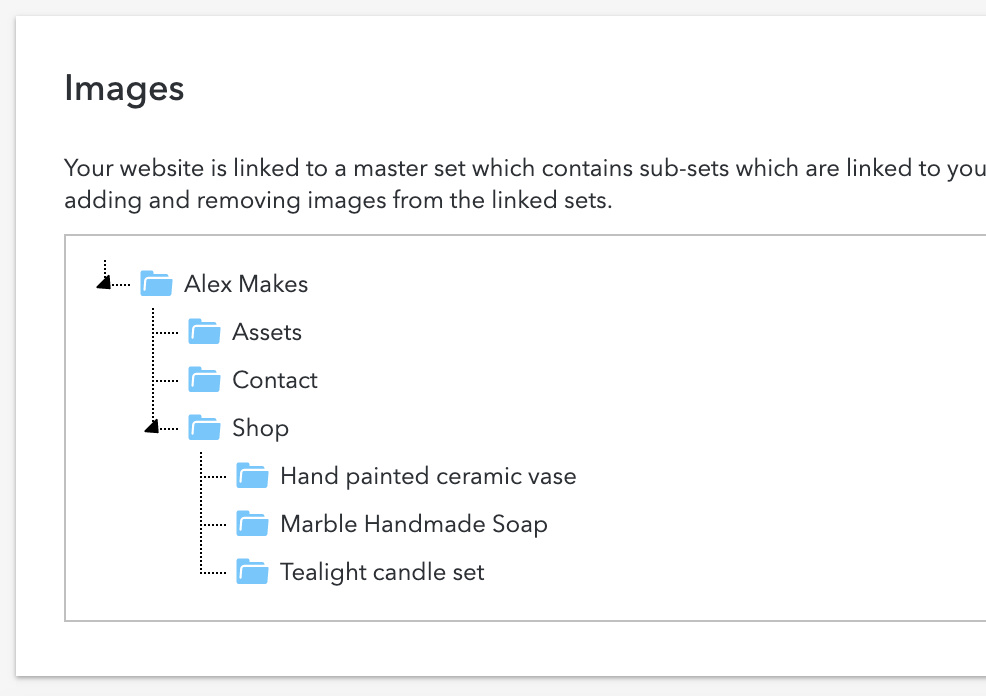
On the website overview screen, you'll see the sets that have been created for you which make up the structure of your site.
Dedicated Shop is a sets-based template, so each product is a set. The set holds the images and videos for the item and has the product information attached to it.
Dedicated Shop is a sets-based template, so each product is a set. The set holds the images and videos for the item and has the product information attached to it.
If you click on one of the sample sets, you'll see that any images you added using the helper are inside.
Upload extra product images
Upload more images to the sets by going to the Upload screen and selecting the set.
New images will appear on the product page.
Arrange media order
📎Media order - You can arrange the order of the images or videos inside sets, as well as choose which is used for the set cover.
Add more products
At this stage you also may want to add more products to your shop.
📎Creating products - First create the product in Sales.
📎Product images - Create a new set inside the main shop set and attach the product to the set
6. Edit site content
From the website Overview screen go to the Content tab where you can add and edit the information that appears across your site.
Add homepage description
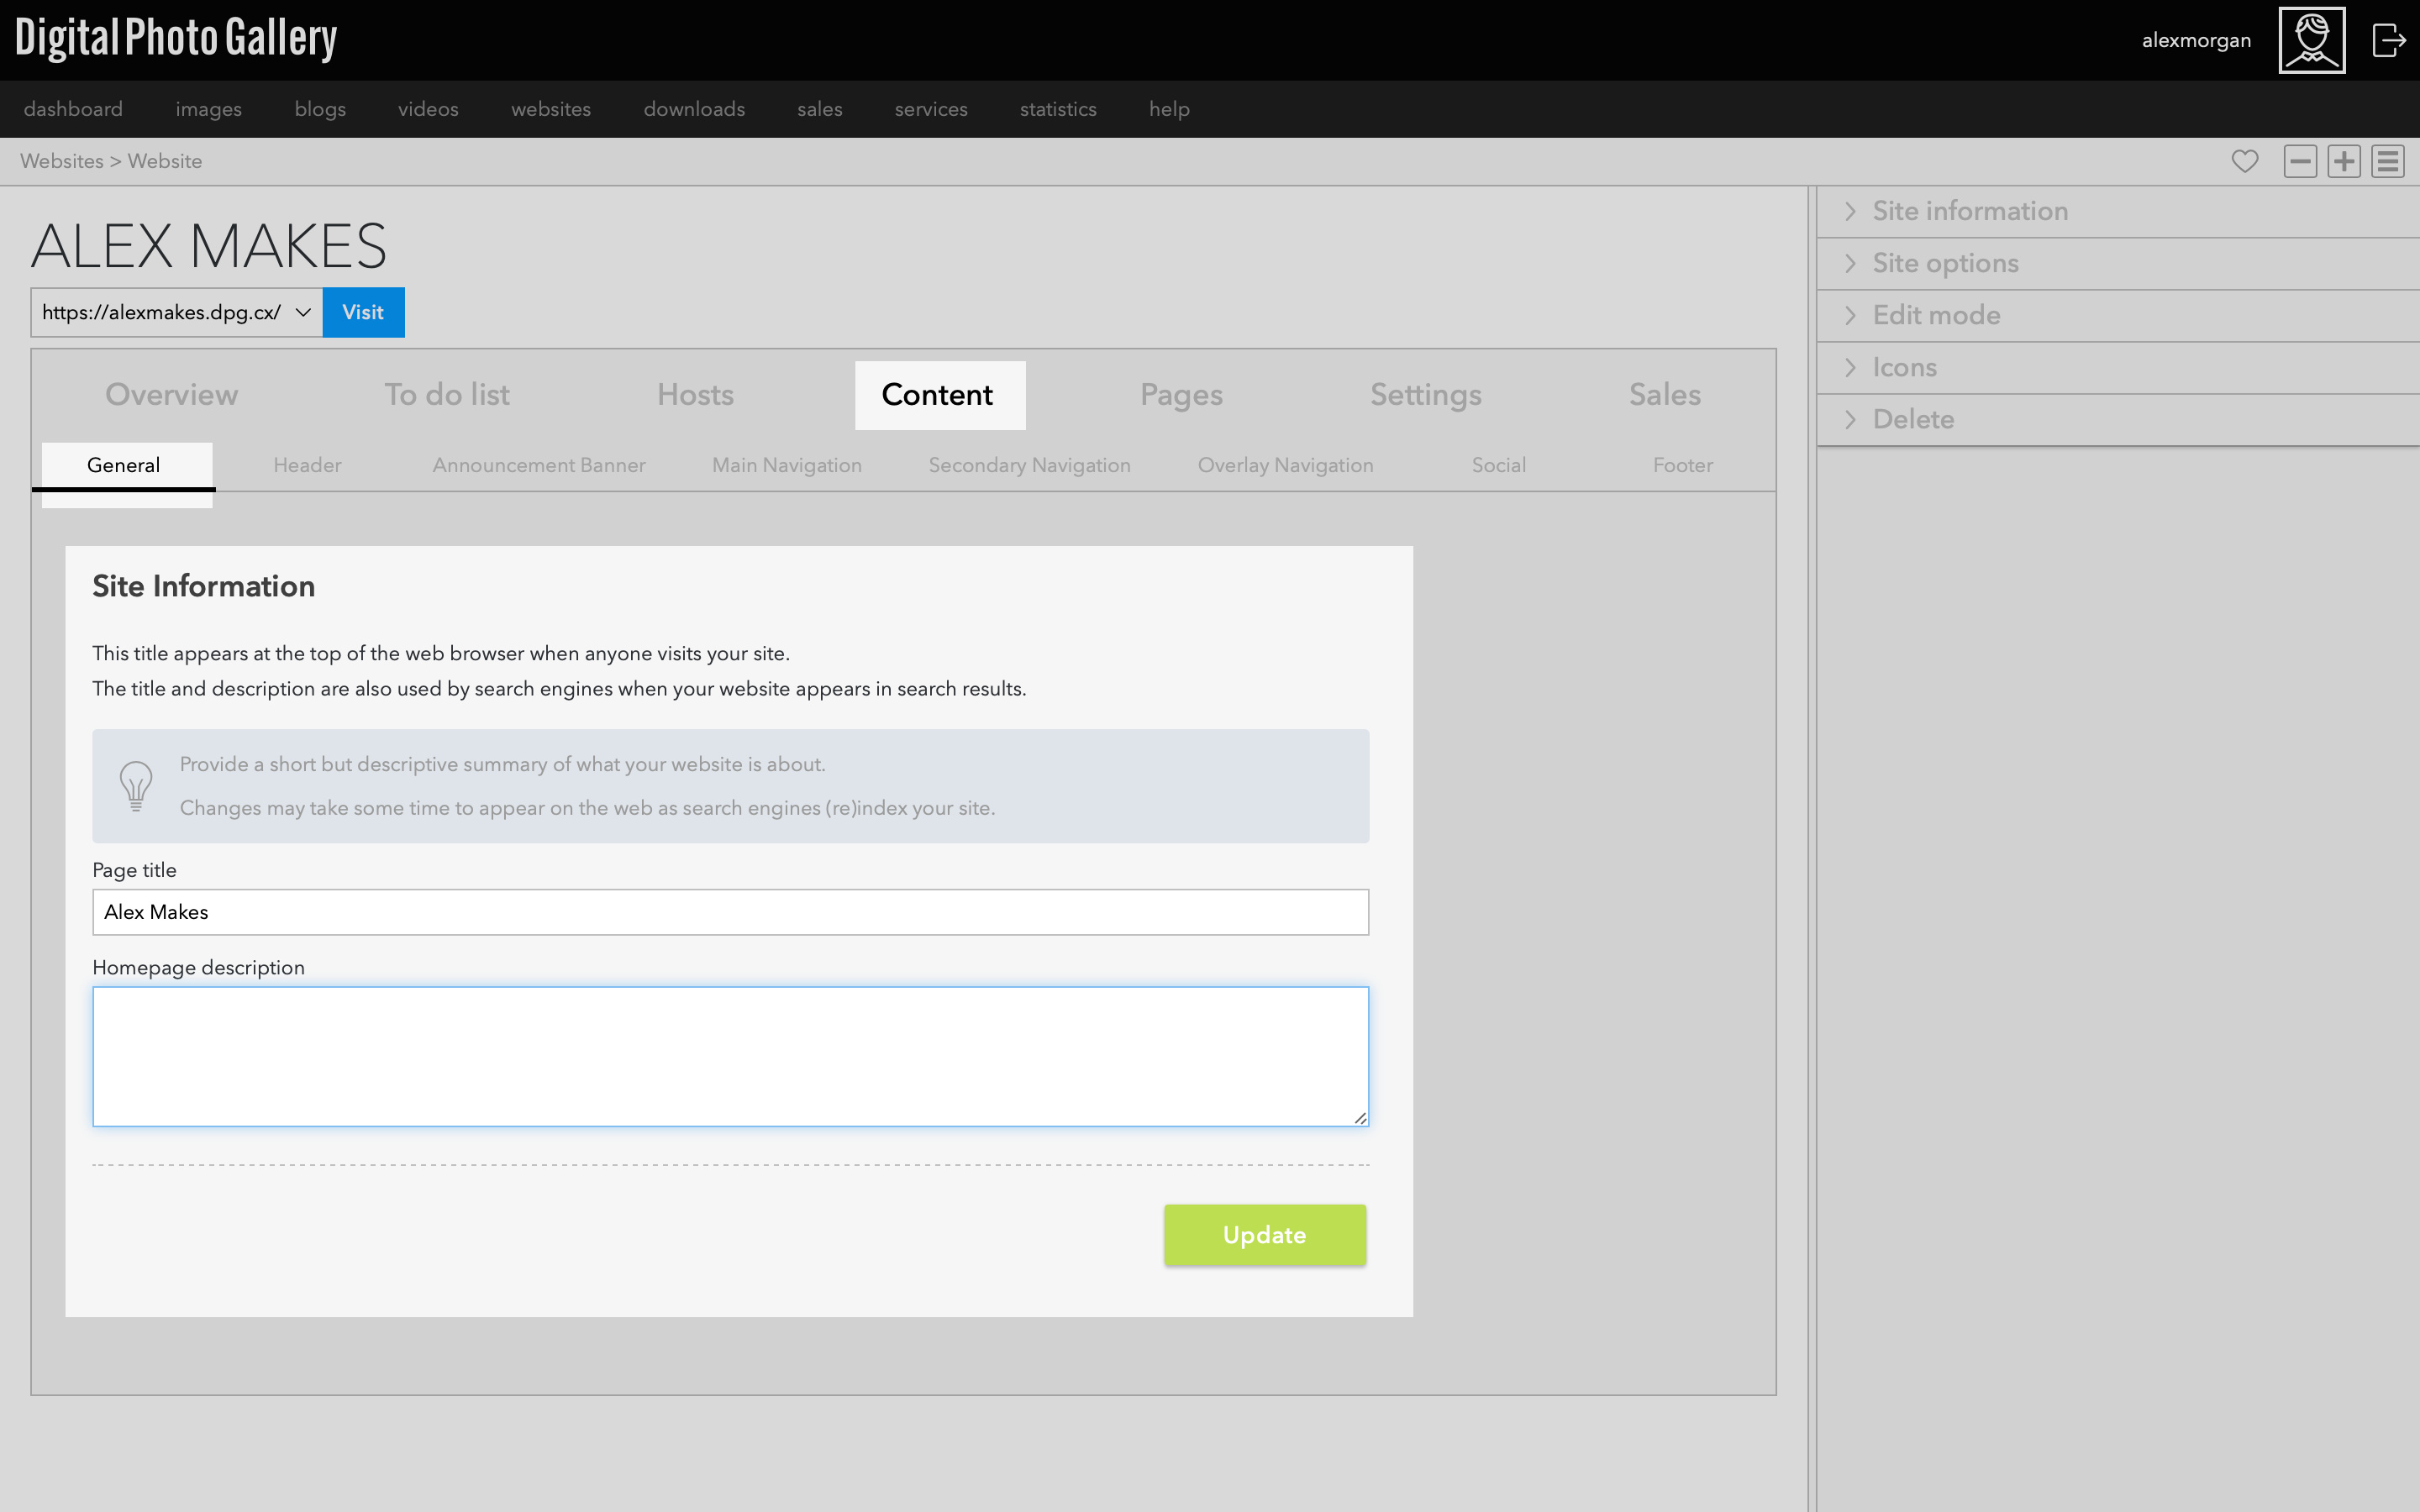
Click the General tab to enter a meta description for your website. This is used by search engines and will be seen by visitors who search for your shop, so use plain text rather than keywords to create a compelling description of your shop.
Announcement Banner
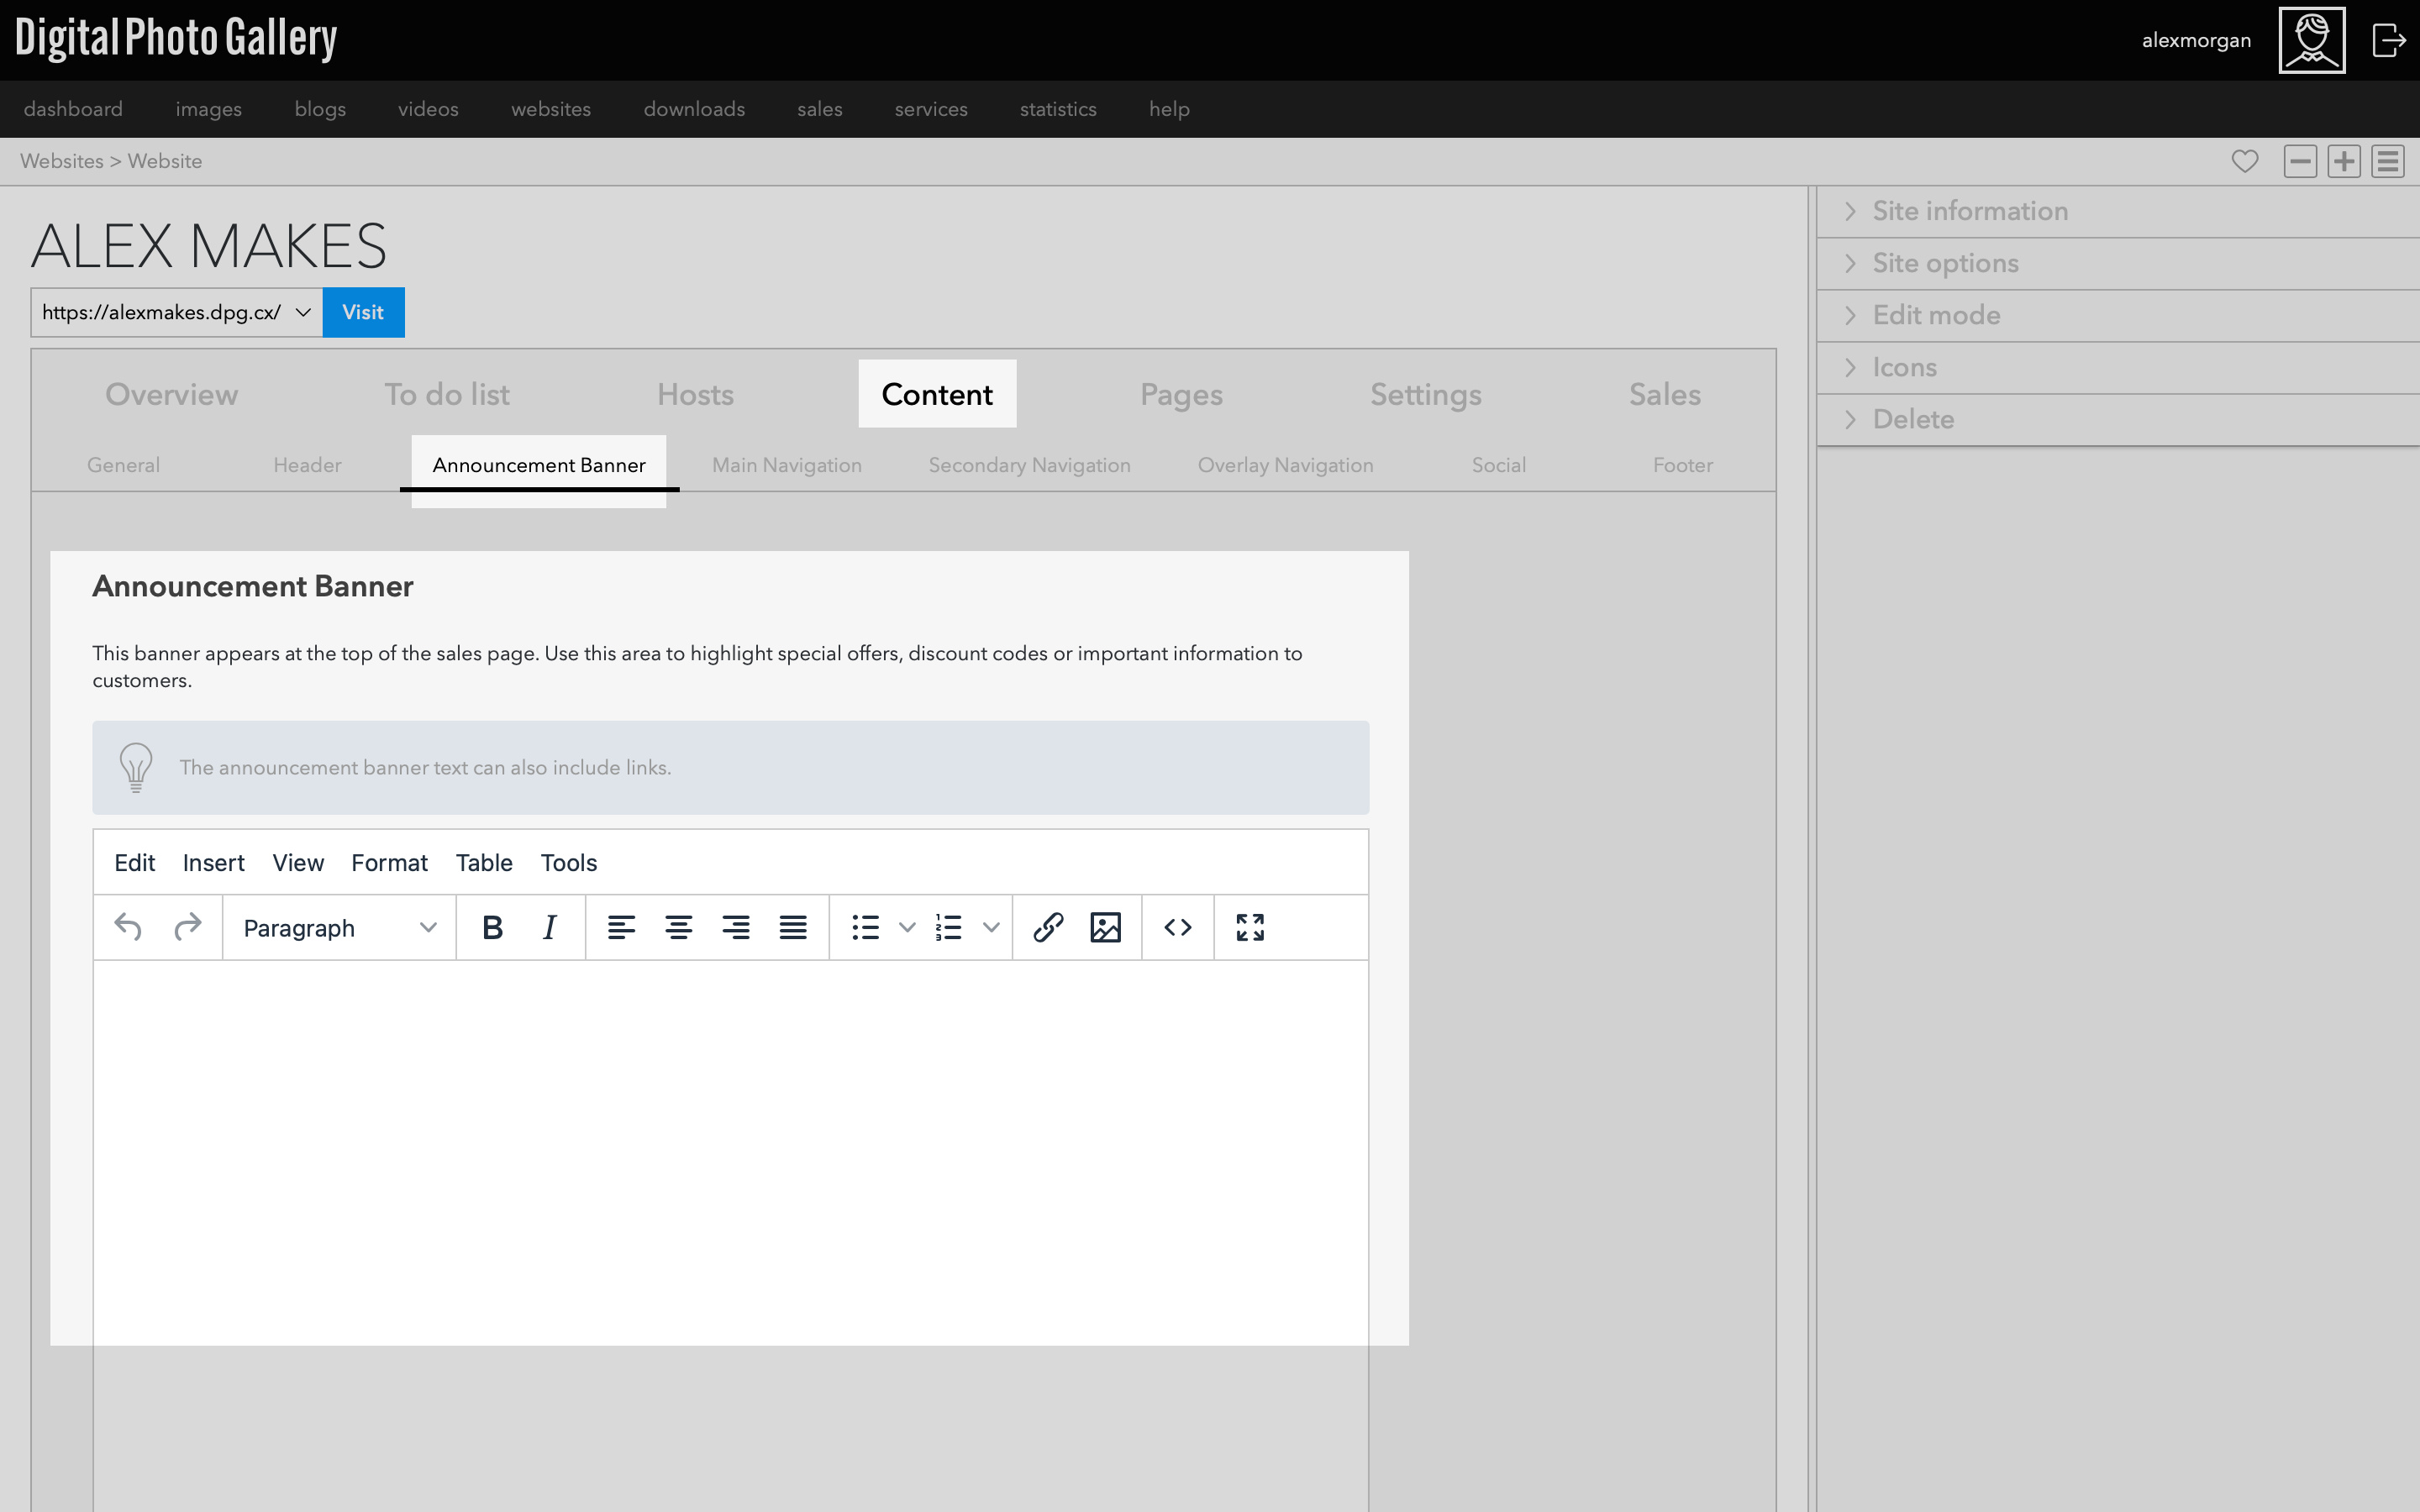
You can add an Announcement Banner which appears at the top of the shop page. This is often used to highlight a special offer, share a discount code or communicate important information such as shipping delays or final order dates.
You can use text links to link to another page if you need to.
You can use text links to link to another page if you need to.
Add Social Icons
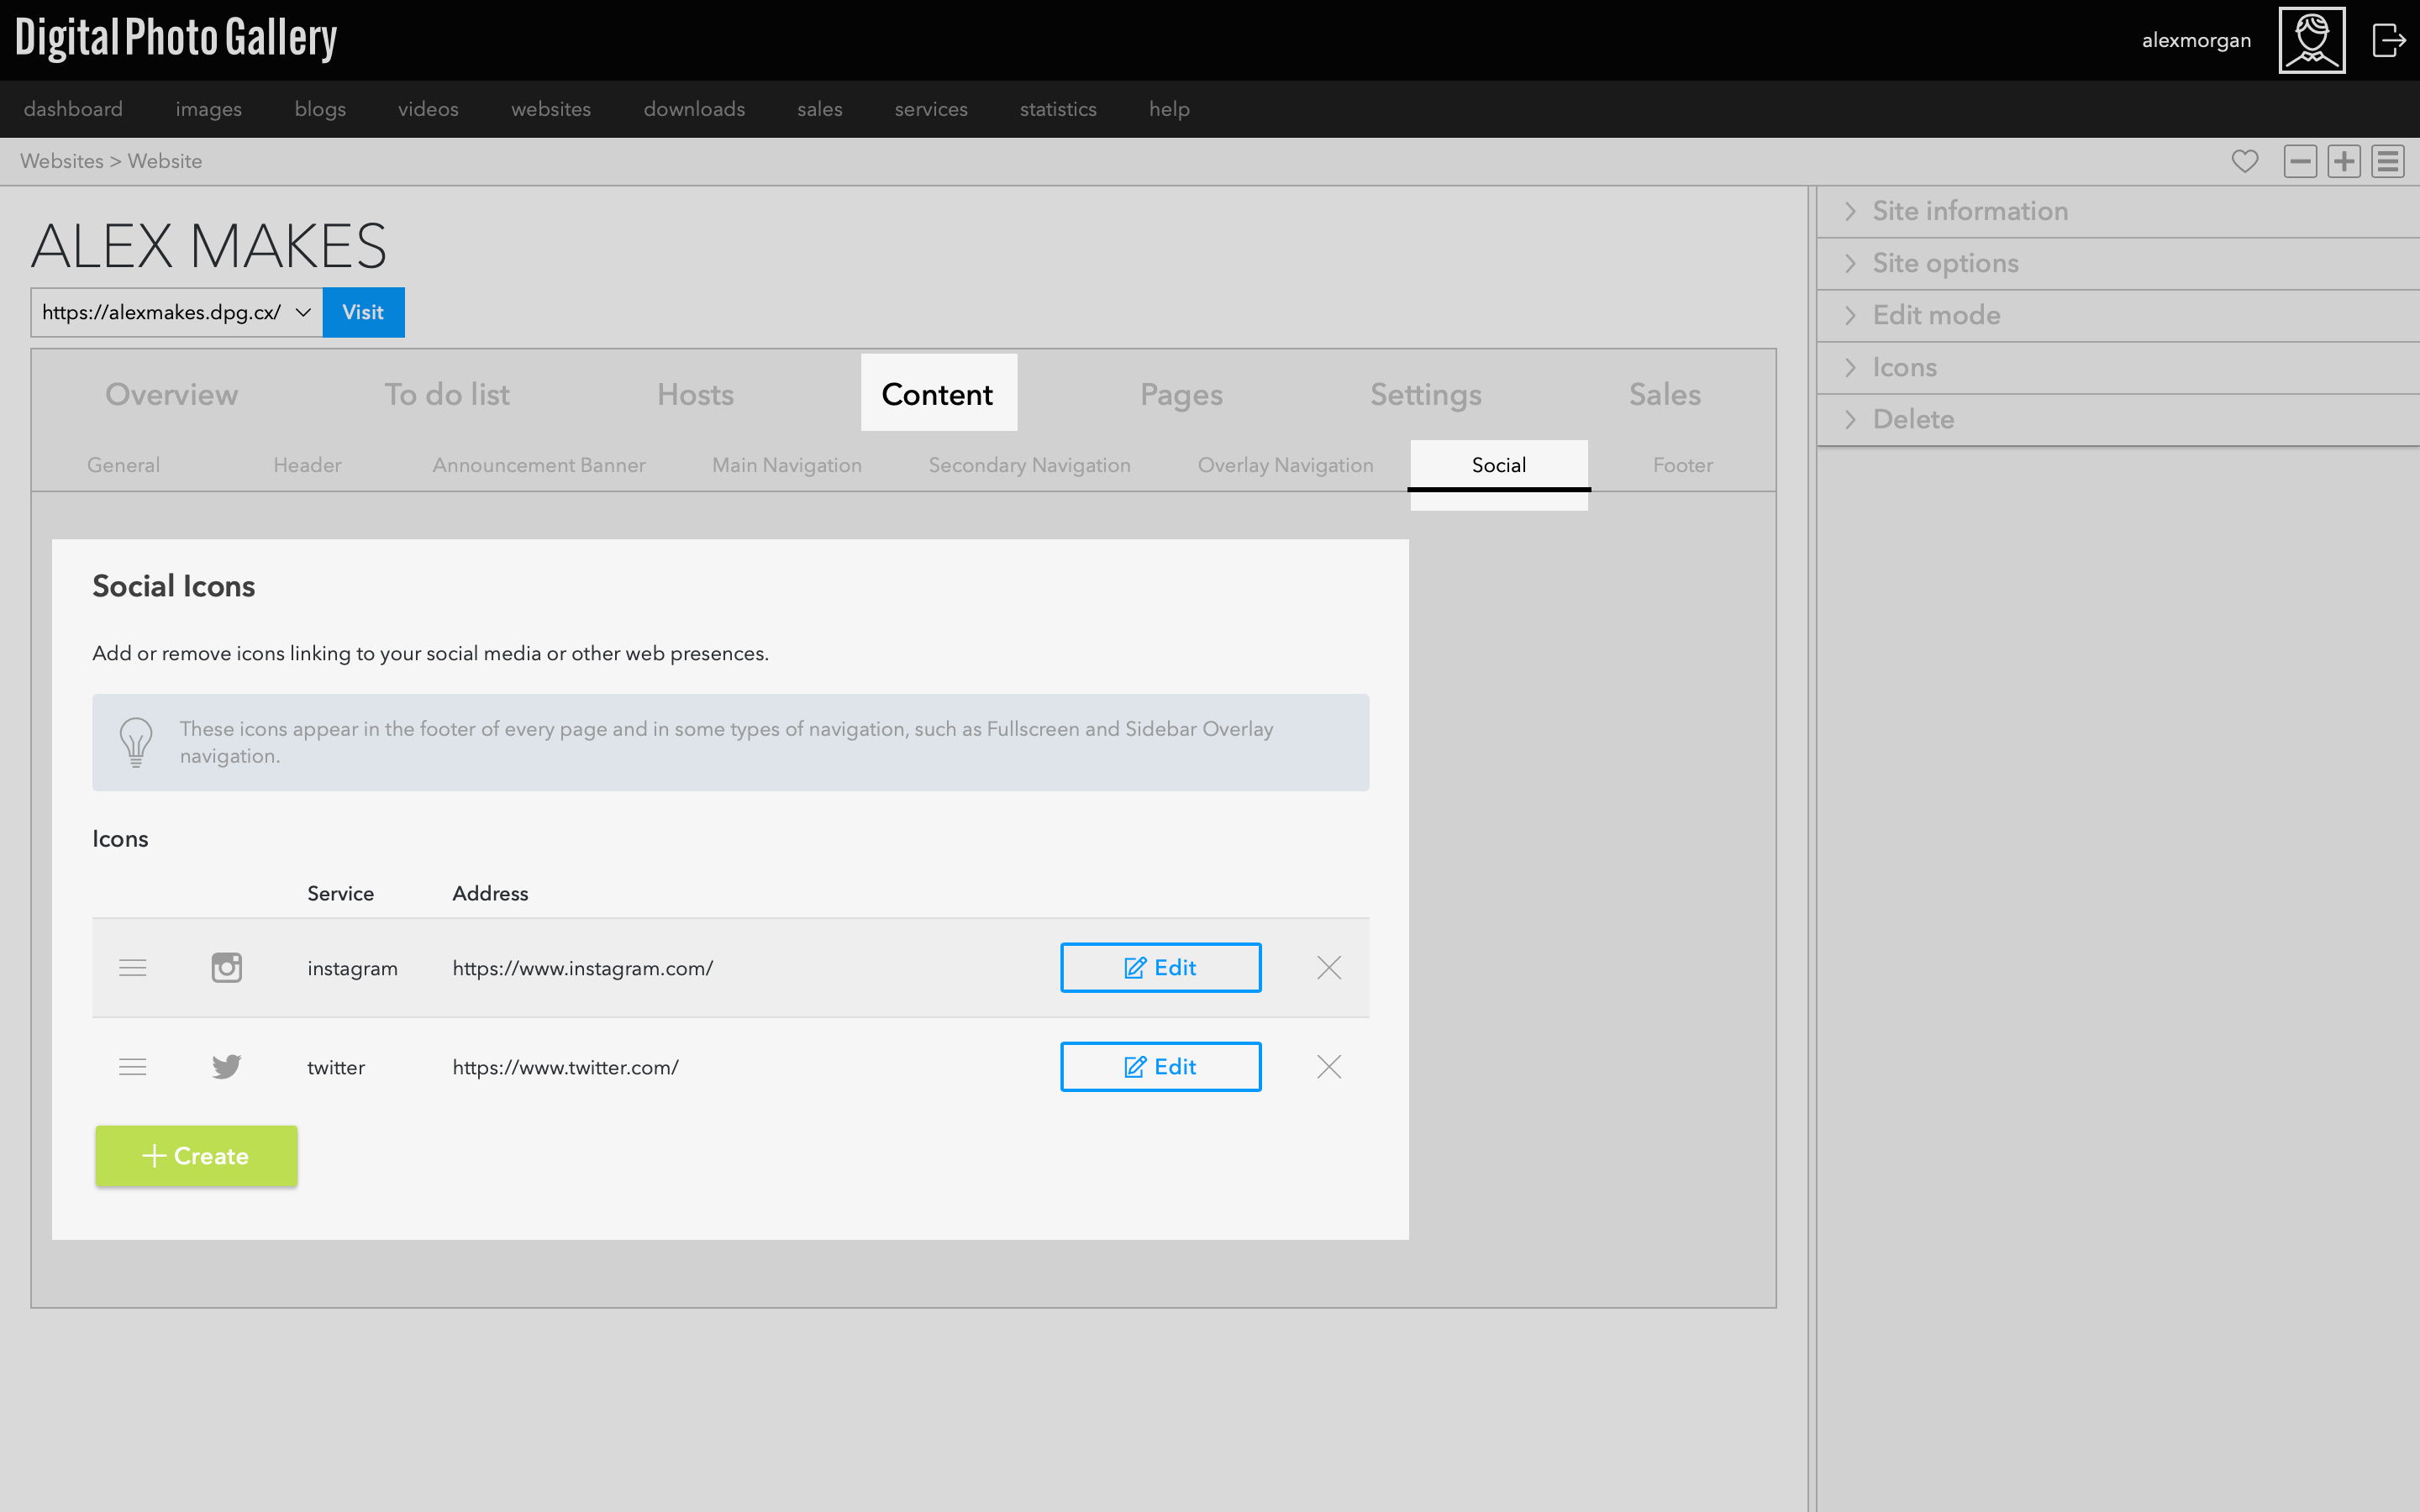
Go to Social and click the Create button to add icons linking to your social media profiles which appear in the footer and in some types of navigation.
Add Footer info
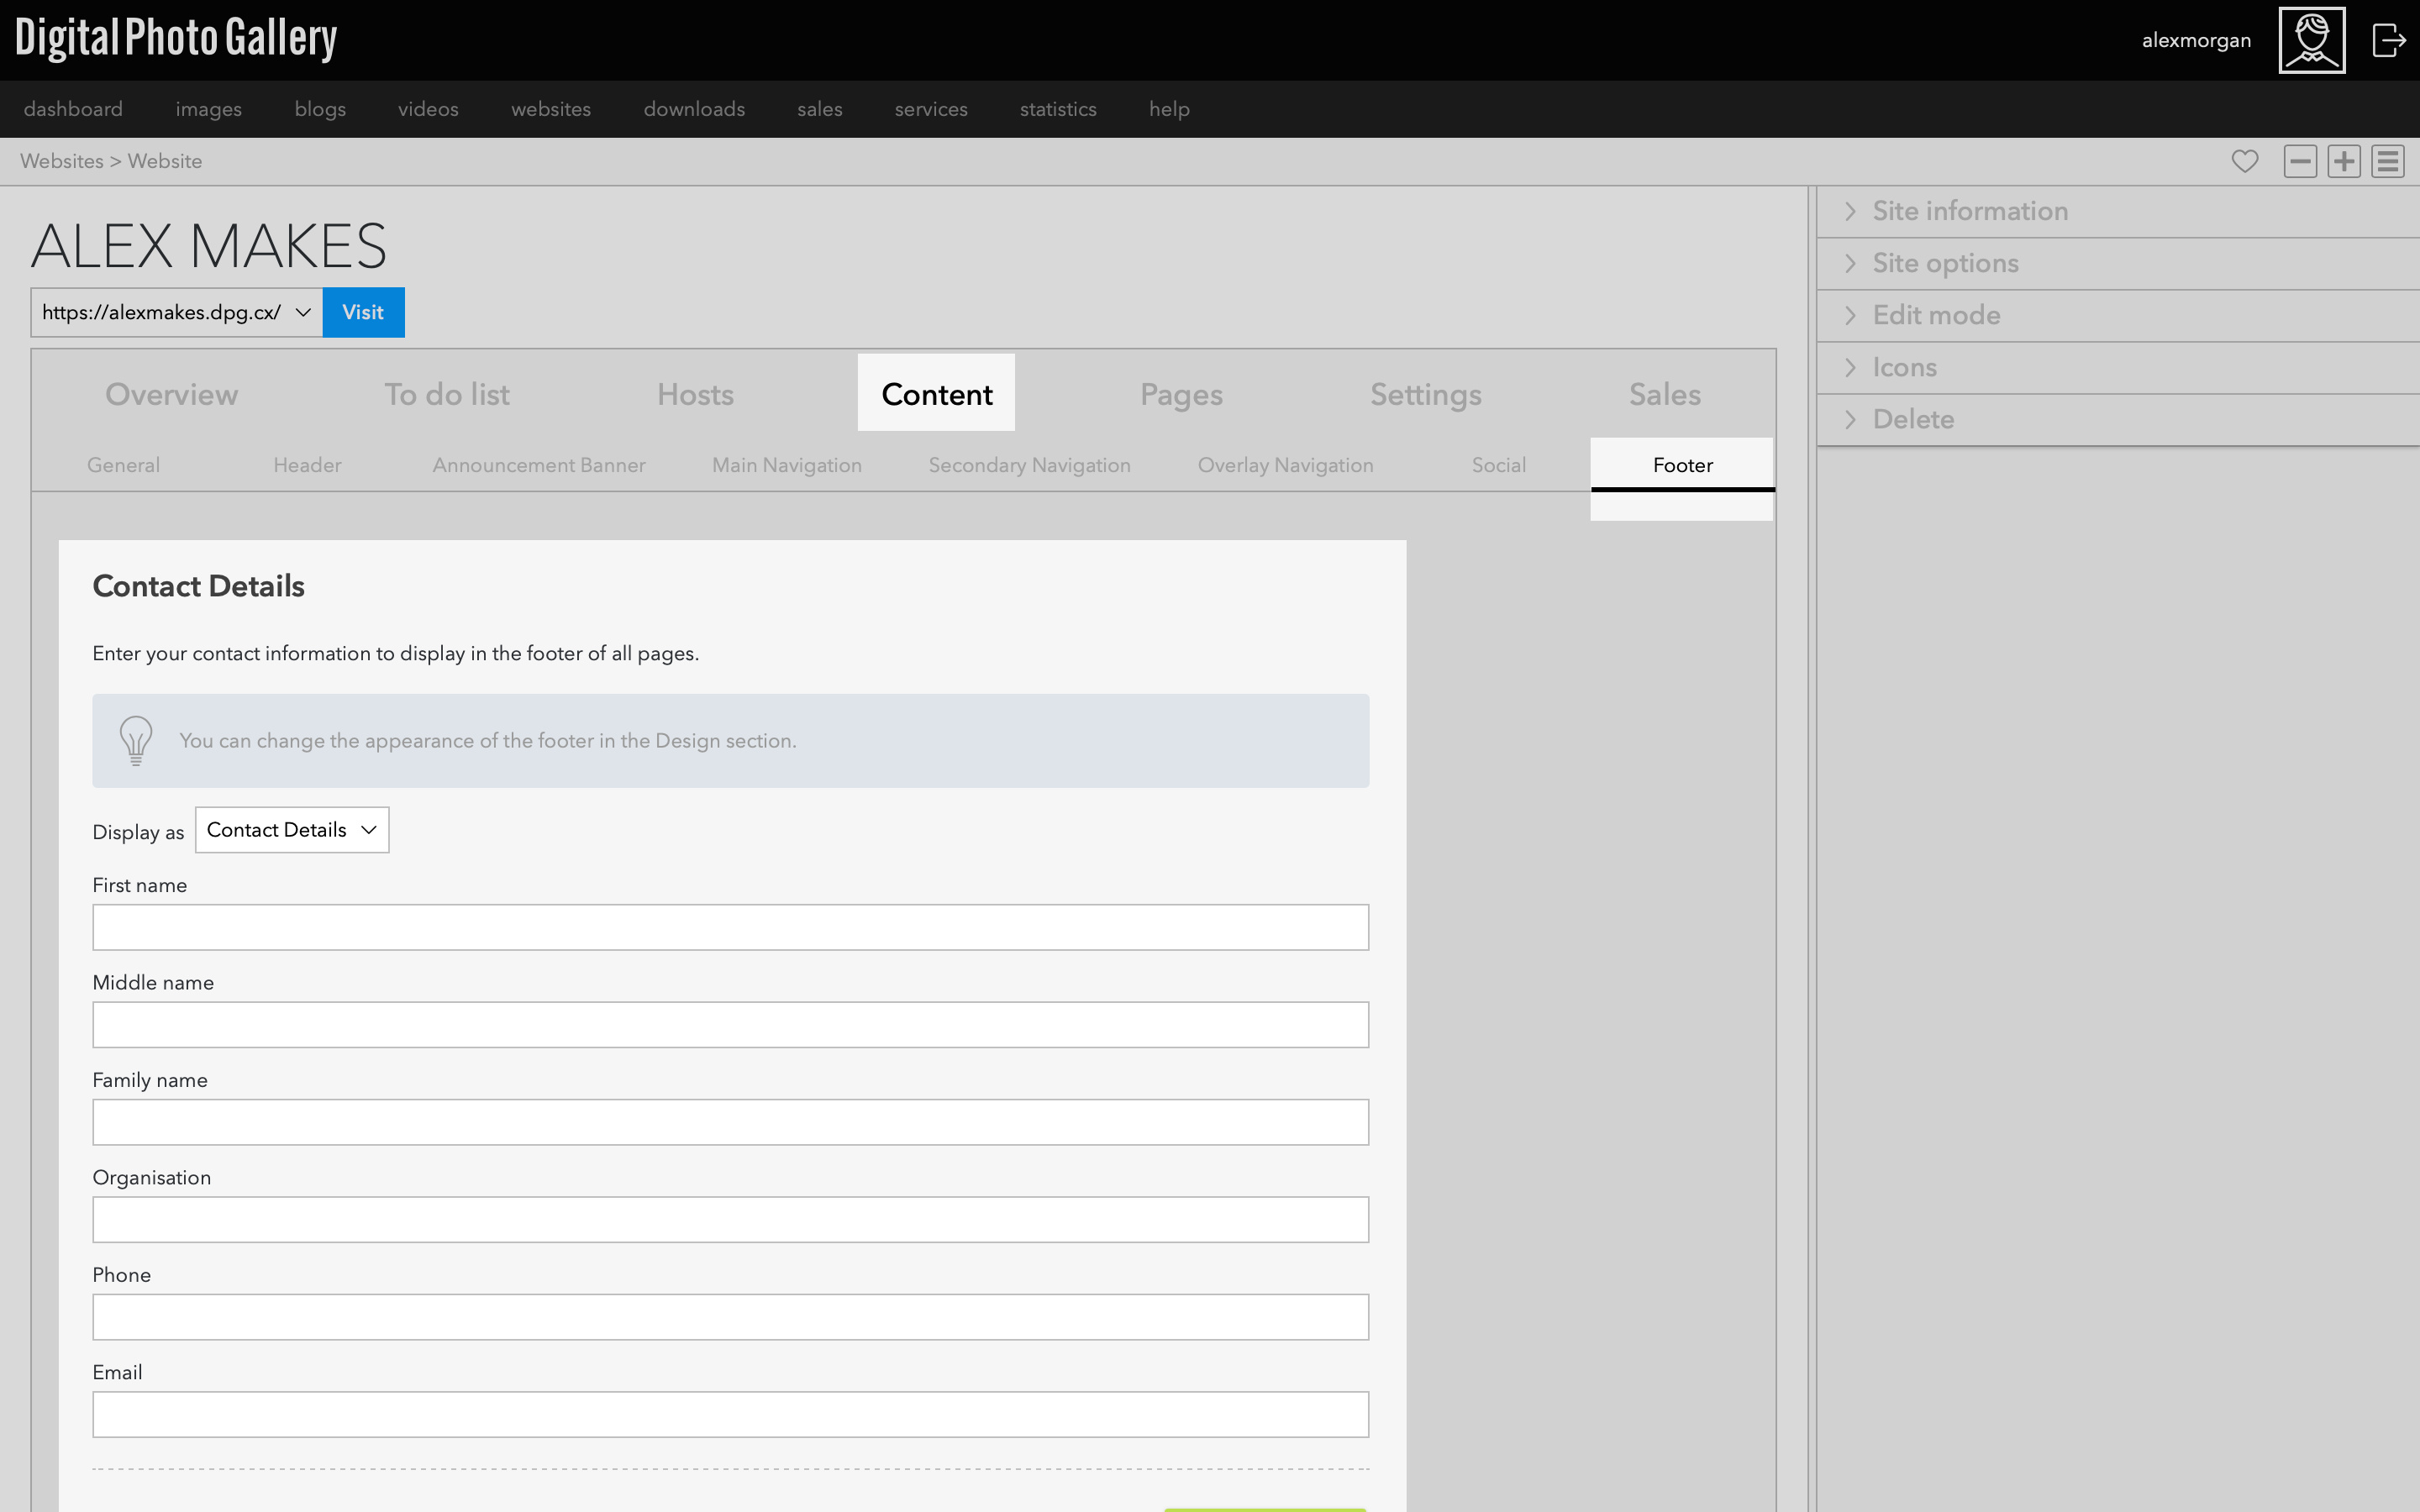
The Footer tab offers areas to enter additional contact information, copyright info and areas to add links. It's a good idea to add contact information to the footer so that customers always know how to reach you.
Add website icons
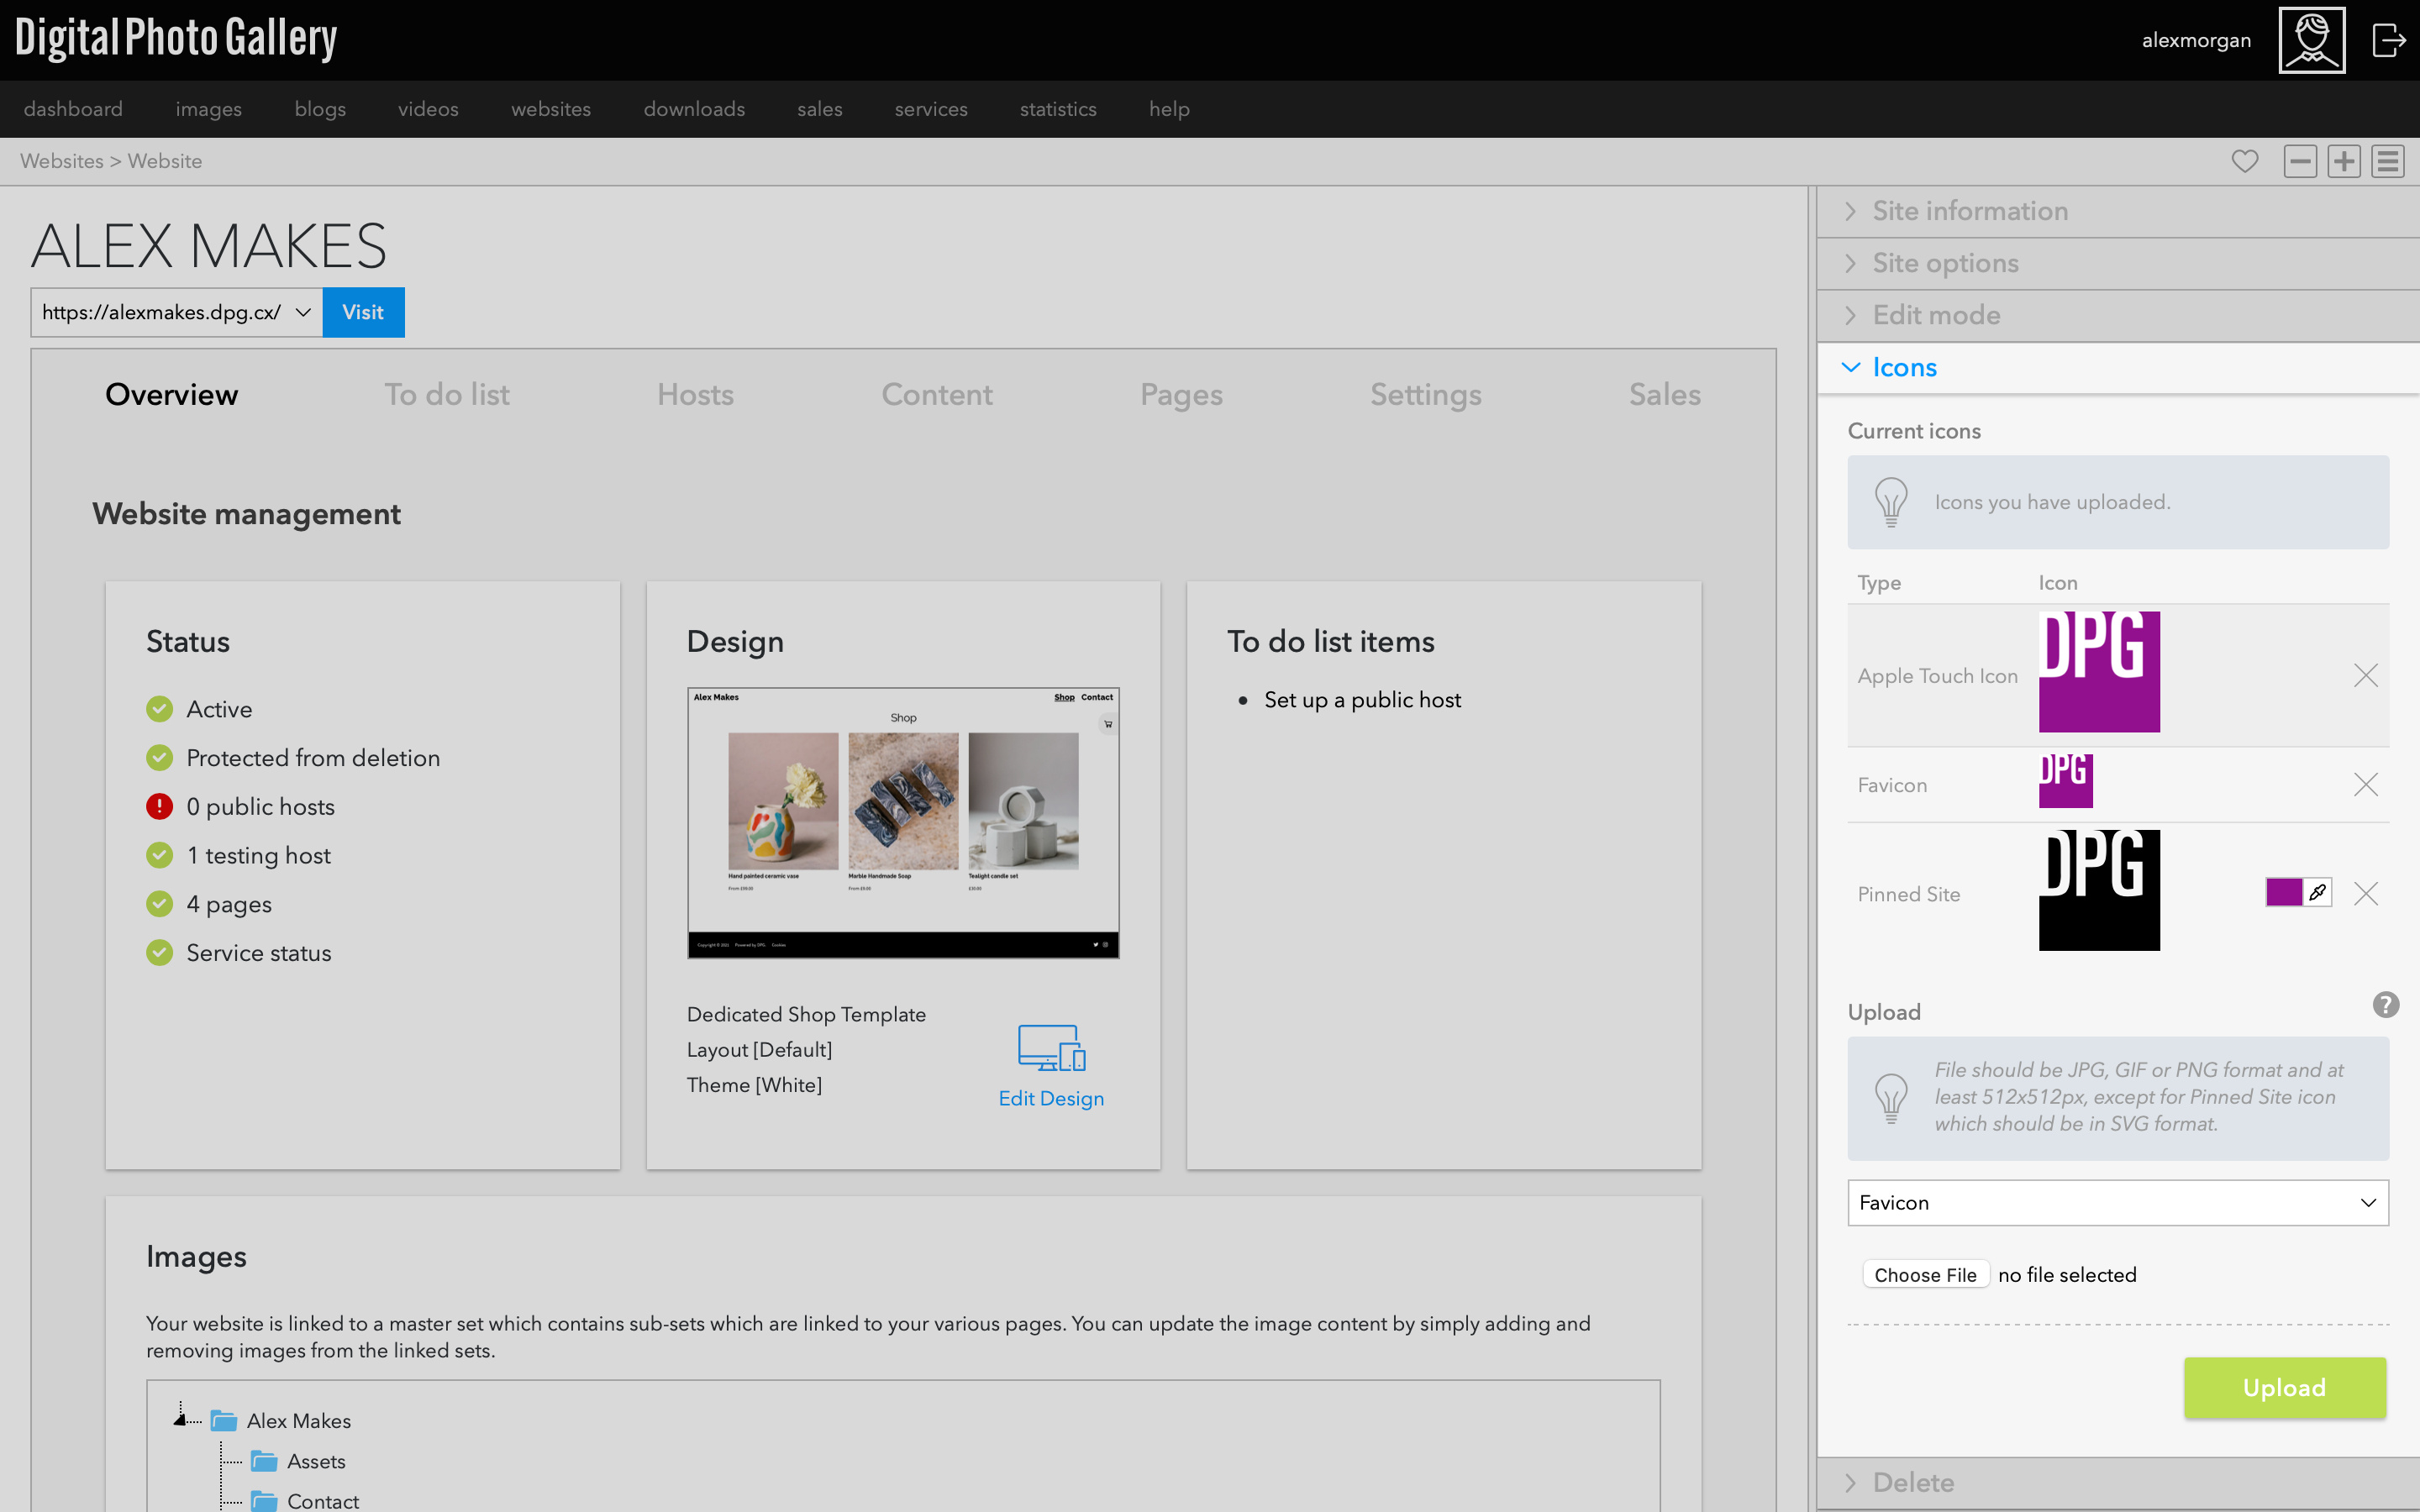
Website icons are the icons you see in the corner of a web browser tab, when bookmarking a page or saving it to a mobile device. Using custom icons is a great way to showcase your brand.
By default you'll see a randomly generated DPG icon. You can deleted this and add custom website icons in the Icons panel of the website overview screen.
By default you'll see a randomly generated DPG icon. You can deleted this and add custom website icons in the Icons panel of the website overview screen.
For best results your icon should be in PNG format and a minimum of 512px across, apart from the Pinned Site icon which must be an SVG file.
Contact page
The Contact page is an important part of your website as customers should always have an easy way to get in touch with any questions about your products or their orders. Make sure that a correct and current email address is configured to the contact page.
Go to Pages and click the Edit next to you Contact page. Click the Content tab where you can edit the stock text.
You can edit the Contact page image in the Media tab and the contact email in the Contact tab.
7. Edit the design
If this is your first time working with a Series 3 template, you may find it helpful to watch Part 3 of our Essential Portfolio Guide which takes a detailed tour of the Design area and covers themes, headers, footers and other elements in more details.
This template comes with a number of pre-made themes, layouts and navigation styles. On top of that, there are endless customisations to make the design your own.

To enter the Design section from the website Overview screen, click the Edit Design icon.

In the Design section, select the Page > Components tab where you'll see options for the header style, sales page layouts for different views, the footer and more.
You can see detailed articles on design and customisations for this template below:
📎Sales Page - Overview design - this is the main shop page where you can see all your products.
📎Sales Page - Product View design - this is the individual product view.
📎Sales Page - Index View design - the index page is an optional customisation which makes a great landing page.
📎Cart design - the cart has a number of customisations you can try.
📎Checkout design - customise the checkout page.
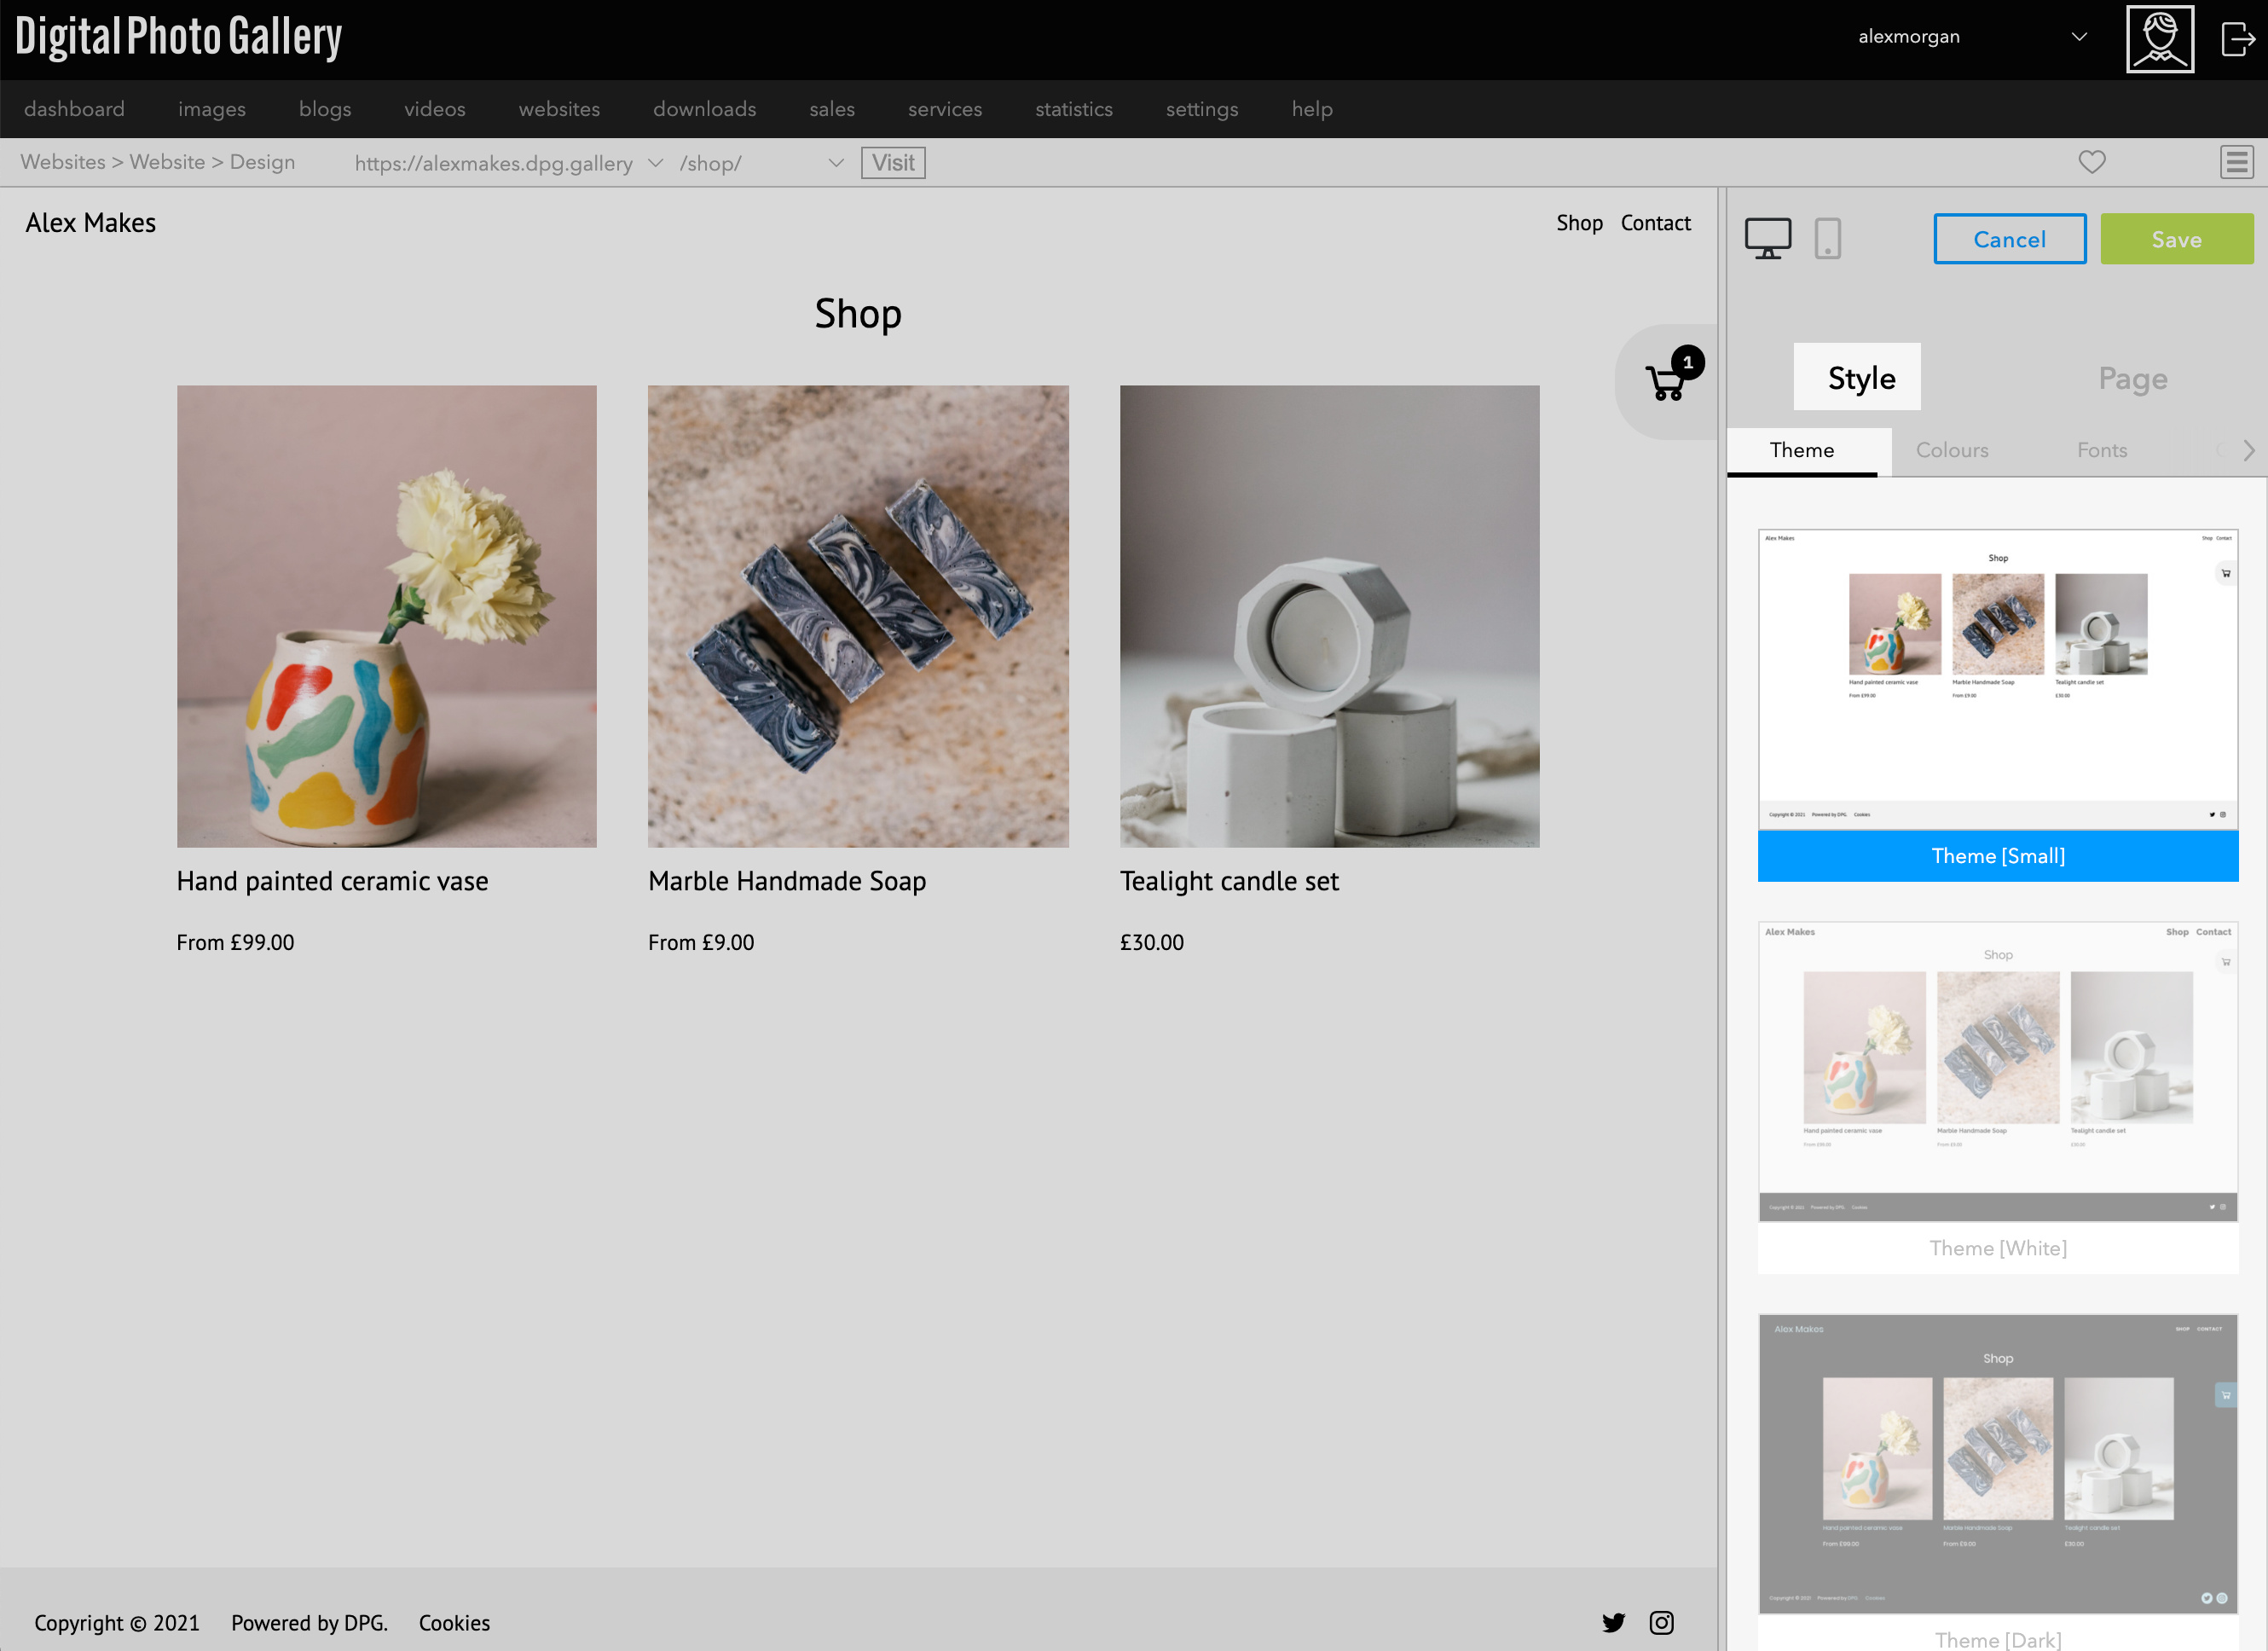
Once you're happy with the general layout, customise fonts and colours in the Style tab.
In the sidebar choose the Style > Theme tab. Select a theme to use or customise. Your theme will preview in the main window and you can click Save when you're happy with your choice.
You can save the current setting as a custom theme by clicking the Create button at any time.
In the sidebar choose the Style > Theme tab. Select a theme to use or customise. Your theme will preview in the main window and you can click Save when you're happy with your choice.
You can save the current setting as a custom theme by clicking the Create button at any time.
Style options are contextual to the paged viewed in the preview window on the left of the screen. If you navigate to a different page, you'll see layout options specific to that page.
You can navigate between different pages in the preview window, or use the top bar to choose a page to view.
Shared items such as the header will be consistent across all pages, but you can change them on any page on which they're visible.
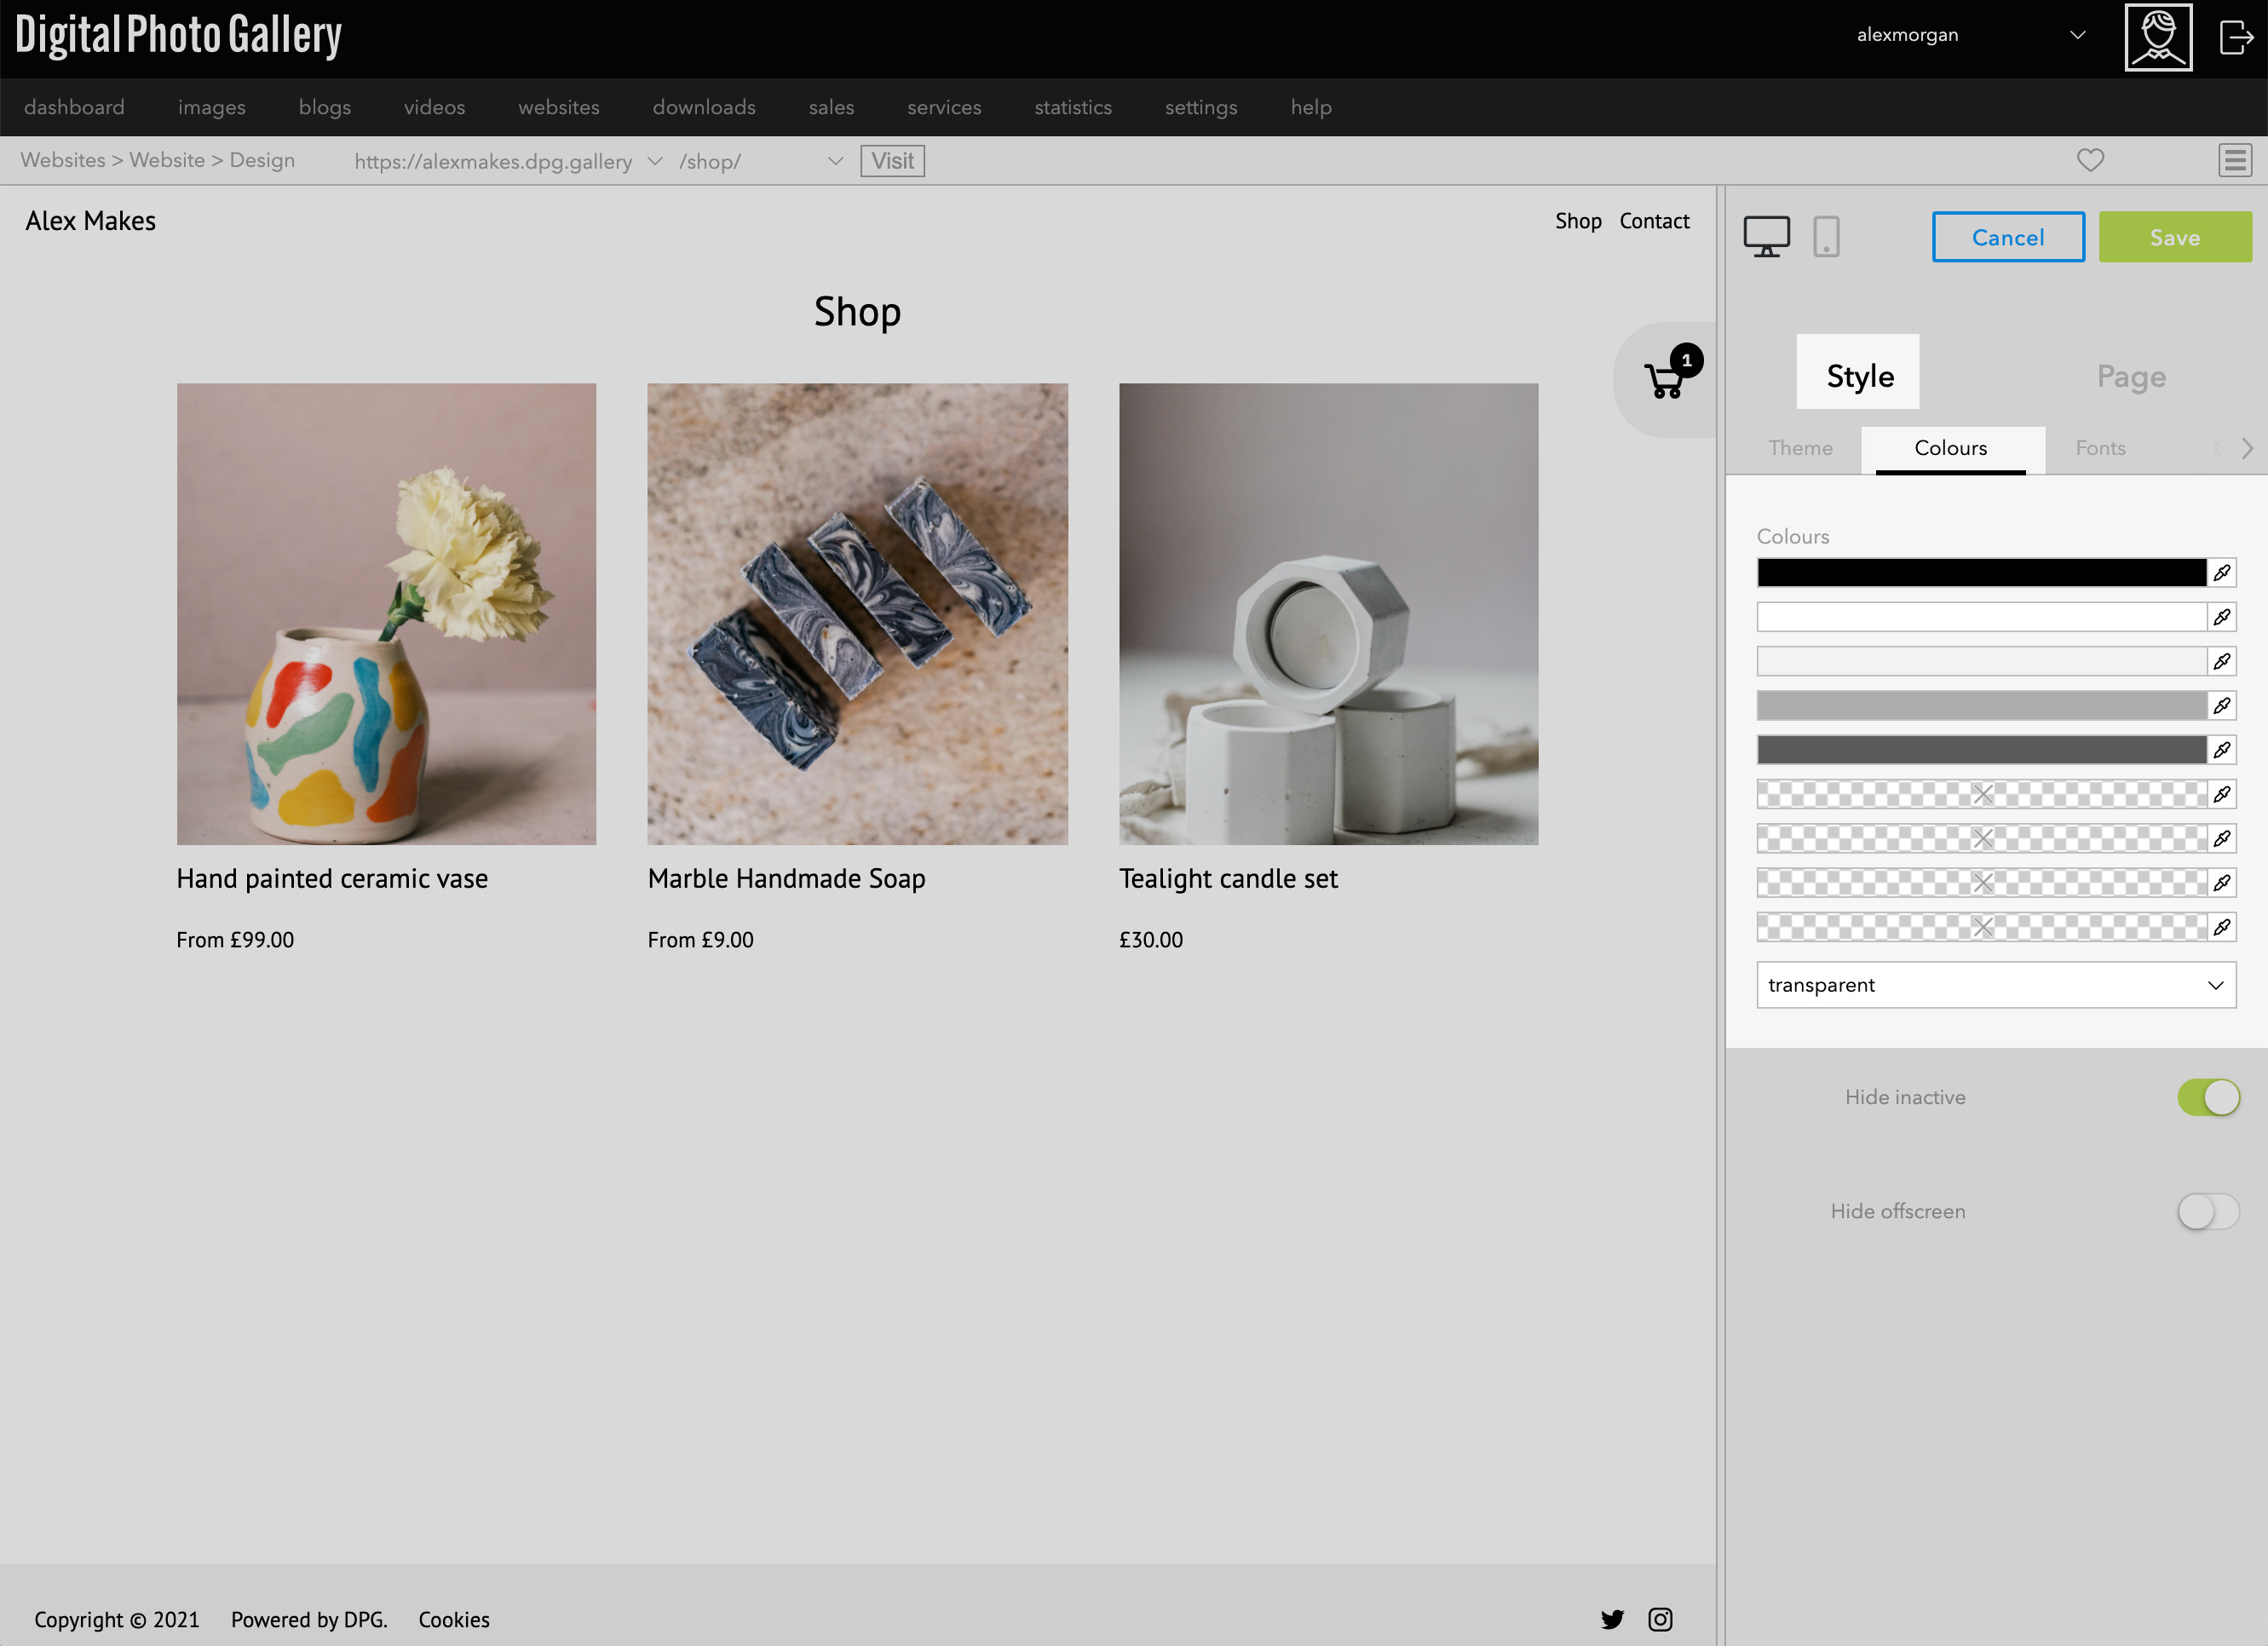
The Colours tab shows the colour palette for the current theme. You can replace each colour, which will change the colour of every element that's set to that colour across the site. You can also add new colours to the palette which will make them available to choose in the settings across the site.
The Fonts tab shows the font palette for the current theme. You can replace the selected fonts which will change every place that font is used across the site. You can also add new fonts to use.
Mobile devices
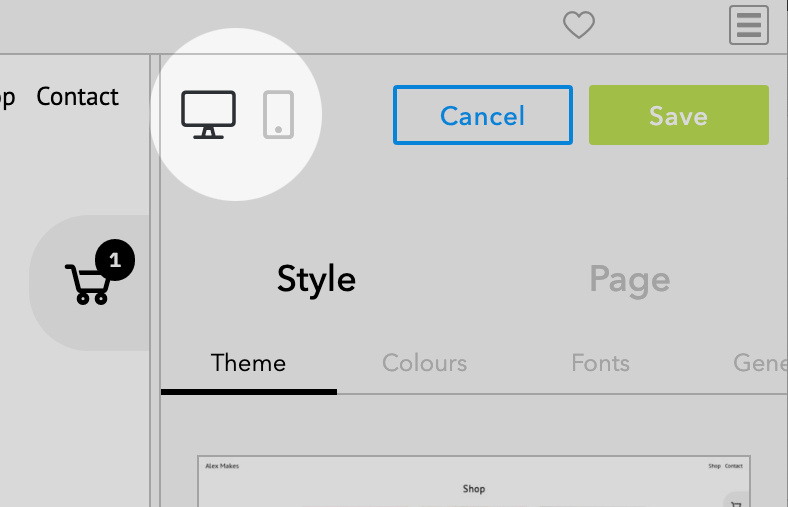
You can toggle between the desktop and mobile preview window by clicking on the icons in Design.
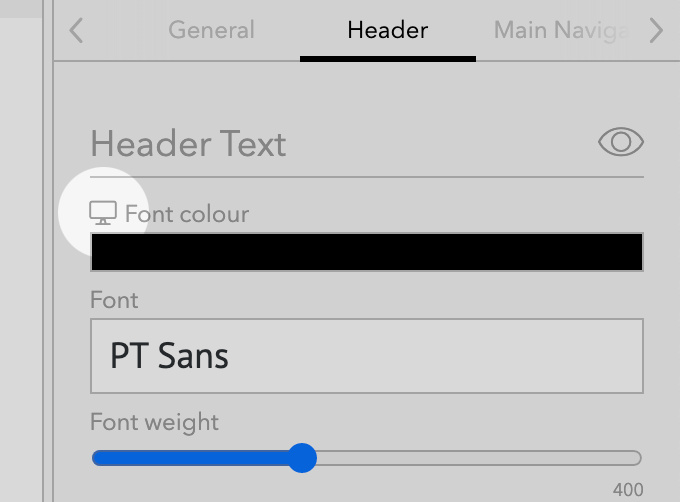
Settings that are specific to Desktop devices are shown with a desktop icon. Switching to mobile mode will allow you to view and set the sliders for mobile devices.
8. Get ready for customers
Once you've completed your design, you should have a fantastic looking shop site which is almost ready for your first customer. Here are some other features you may find useful for your shop:
📎Announcement banner - Create an Announcement Banner at the top of your shop to highlight special offers, important information or shipping dates.
📎Related products - Select Related products to appear in product view to give your customer relevant products to explore.
📎Similar items - Similar items allows you to automatically display all the other products in the same set on the product page.
📎Order Confirmations - Confirm order confirmation text and notifications.
📎Shipping - Create shipping rules based on conditions like the shipping country, total order value and number of items purchased.
📎Discount codes - Create discount codes to share with customers.
📎Options The checkout allows you to enable and disable options like the notes field, discount codes and an opt-in consent checkbox for terms.
Info and text pages
Depending on your business, your products and where you are based, you will want to provide customers with information about your shop. This may include a Privacy Policy, Terms and Conditions and Returns Policy. This template has several text pages available to use for text and information:
Text | Freeform Text & Media - ideal for any text information.
Q&A | FAQ - Frequently Asked Questions and other Q&A-based content. Answers unfold underneath the questions when clicked.
Policies | Privacy Policy - Privacy Policy or other terms.
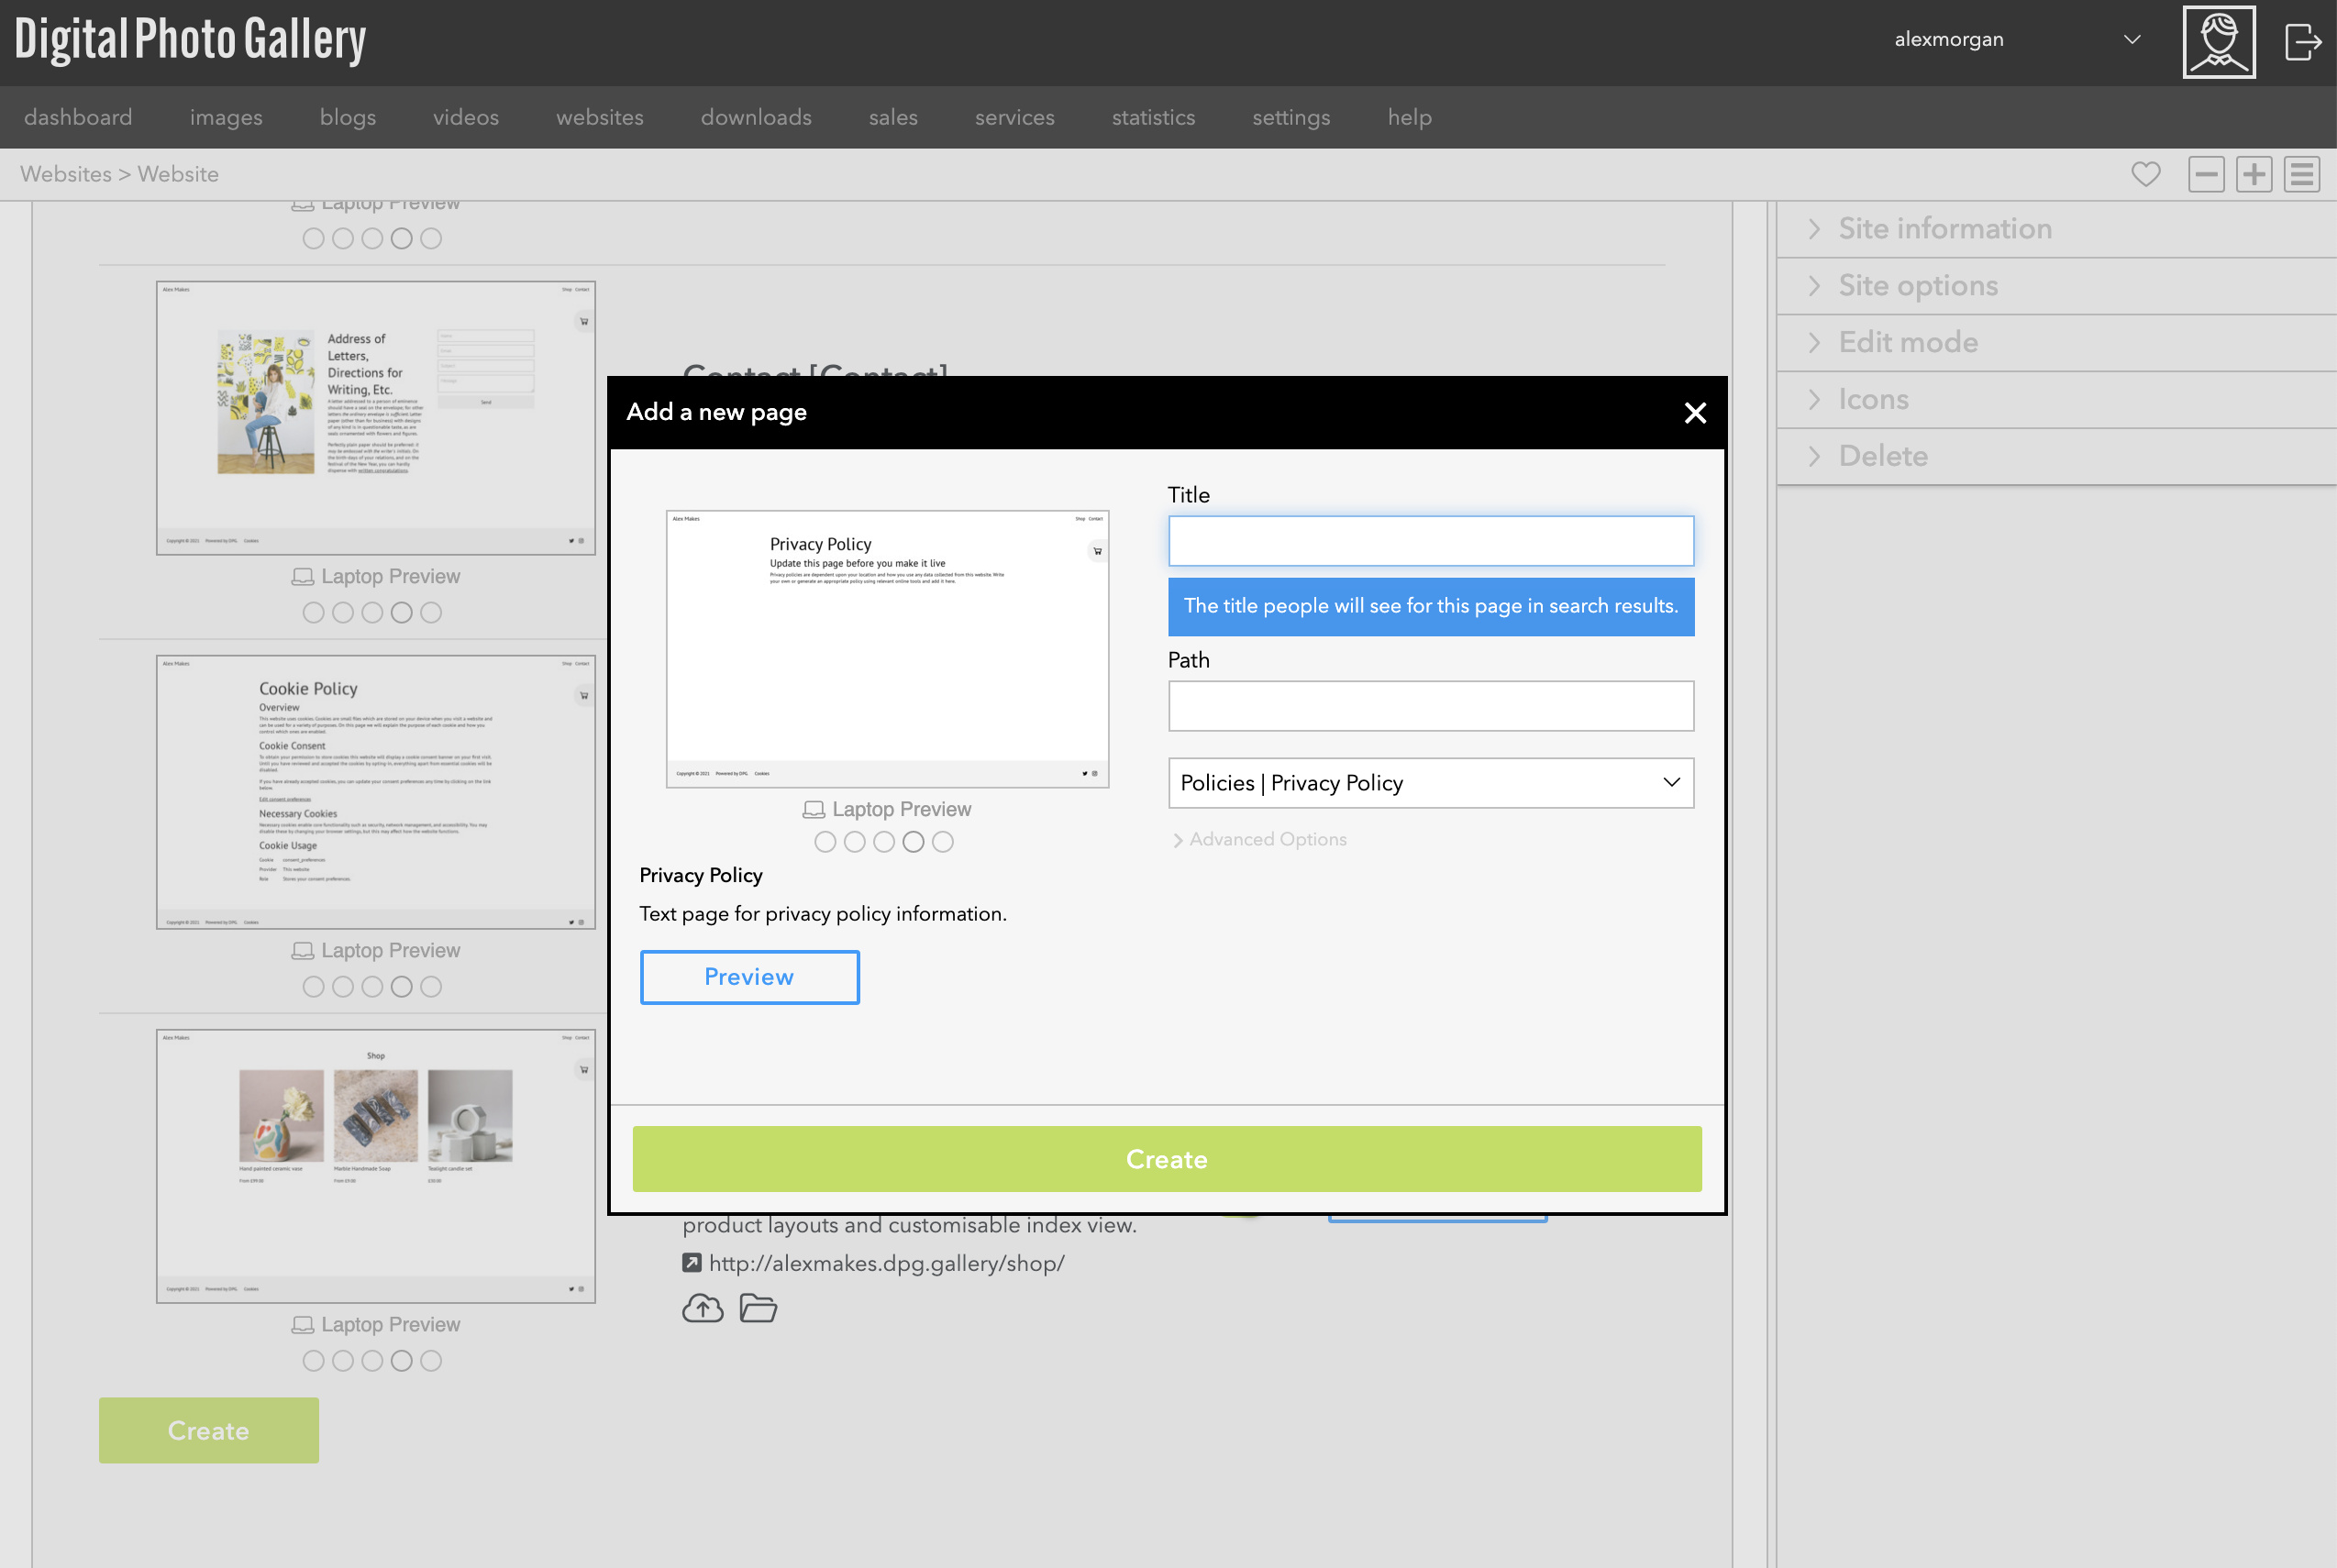
To create a new page go to Pages and click the Create button. Give the page a name and path and choose the page type from the dropdown menu. Click Create.
Once your page is created, click the Edit button to add your content.
Once your page is created, click the Edit button to add your content.
9. Test your site
Once you're happy with your shop, make sure that you test how your design looks on both desktop and mobile devices. Check through every page to make sure that all of the product information and prices are correctly entered.
You can test the entire order process by using test payment credentials provided by PayPal and Stripe, which allow you to place a test orders in your shop without spending real funds.
10. Add a public host
If you're happy with your shop, setting up a public host is the final step before making the website public. This will be the url that you share with the world. If you have your own domain name, you can configure it in the Hosts panel. If you don't have your own domain, you can set up a free dpg.gallery URL.
Before you launch your site you should always add a public host, as testing hosts aren't cached for optimum speed or indexed by search engines.
You can create a free dpg.gallery host, move a host from an existing DPG site or add your own new domain in the Hosts tab.
Your own domain
If you're using your own domain, it's especially important that shop websites have an SSL certificate and are served over HTTPS.
📎SSL Certificates - DPG can provide free SSL certificates to all users on our paid plans to make their sites secure.
If you're not sure how to configure your own domain ask DPG to help.
Launch
Now that your shop is ready, tested and running on a public domain you should be ready to welcome customers. Contact us if you need any help or advice and happy selling!