Copy this email address to use in your mail client.
Uploading - Uploading by email
You can upload to a set via email, which can be useful if you are on the go or uploading from a mobile device.
Setting up email uploads
On the Upload screen open the Email users panel. Select new from the Account dropdown and choose the set to upload to. Click Create.
You will now see a new email in the Account dropdown.
You can set up multiple email addresses if you want to email uploads to different sets.
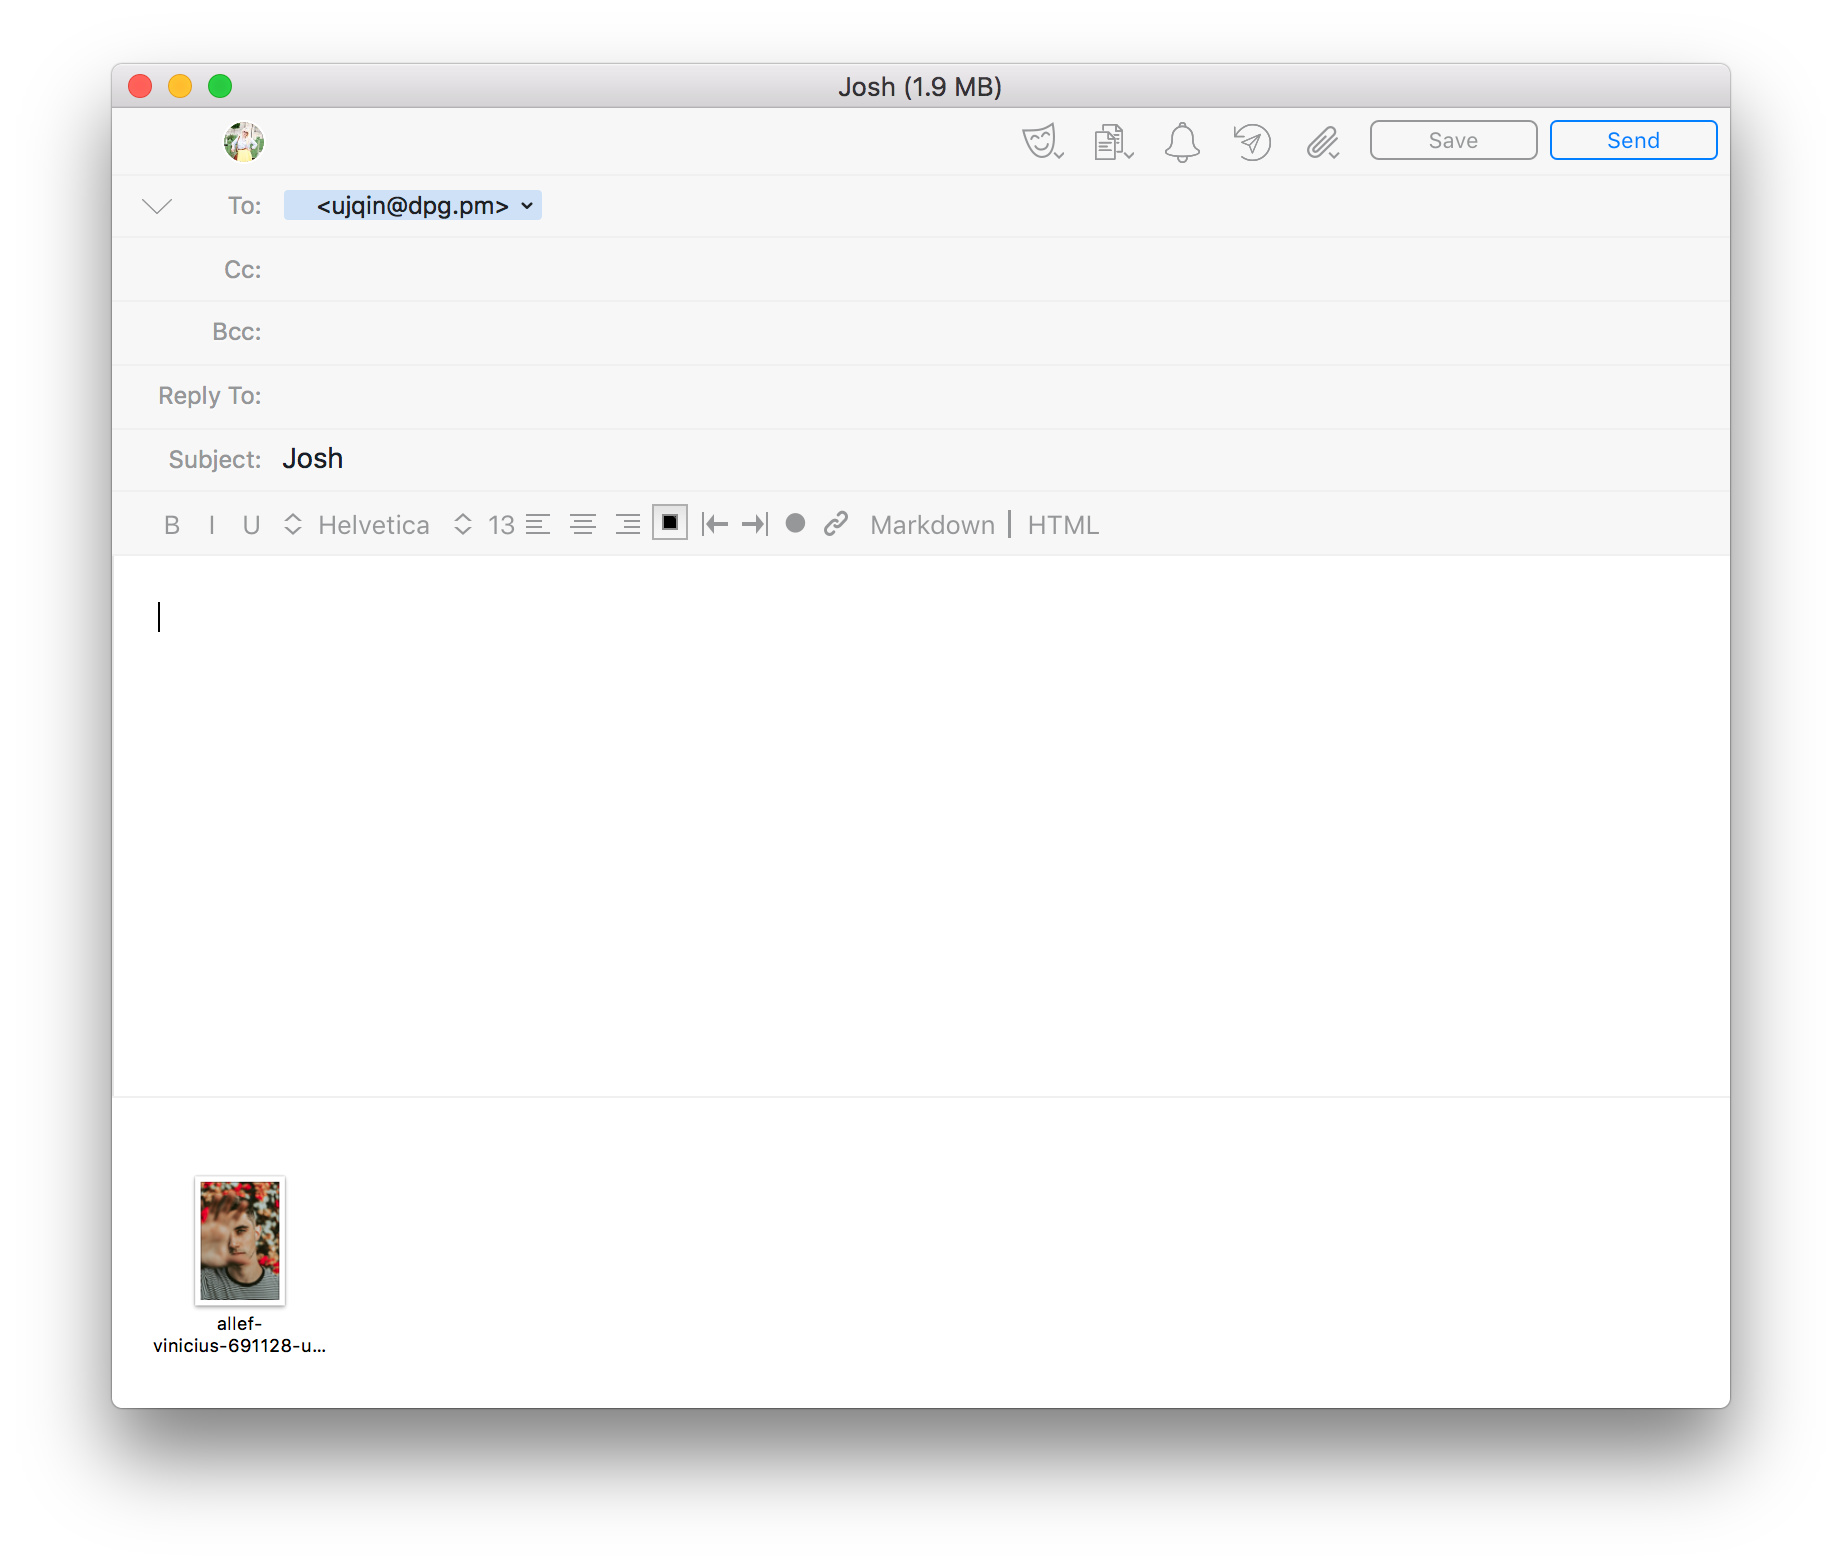
You can now email images to this address and they will appear in the configured set. This may take a few minutes as images are uploaded and processed.
Any subject line you use will become the image title.
Any subject line you use will become the image title.
Making inactive or deleting
To make an email temporarily inactive toggle the Active switch off and click Update.
To permanently delete an email, click the Delete button.
To permanently delete an email, click the Delete button.