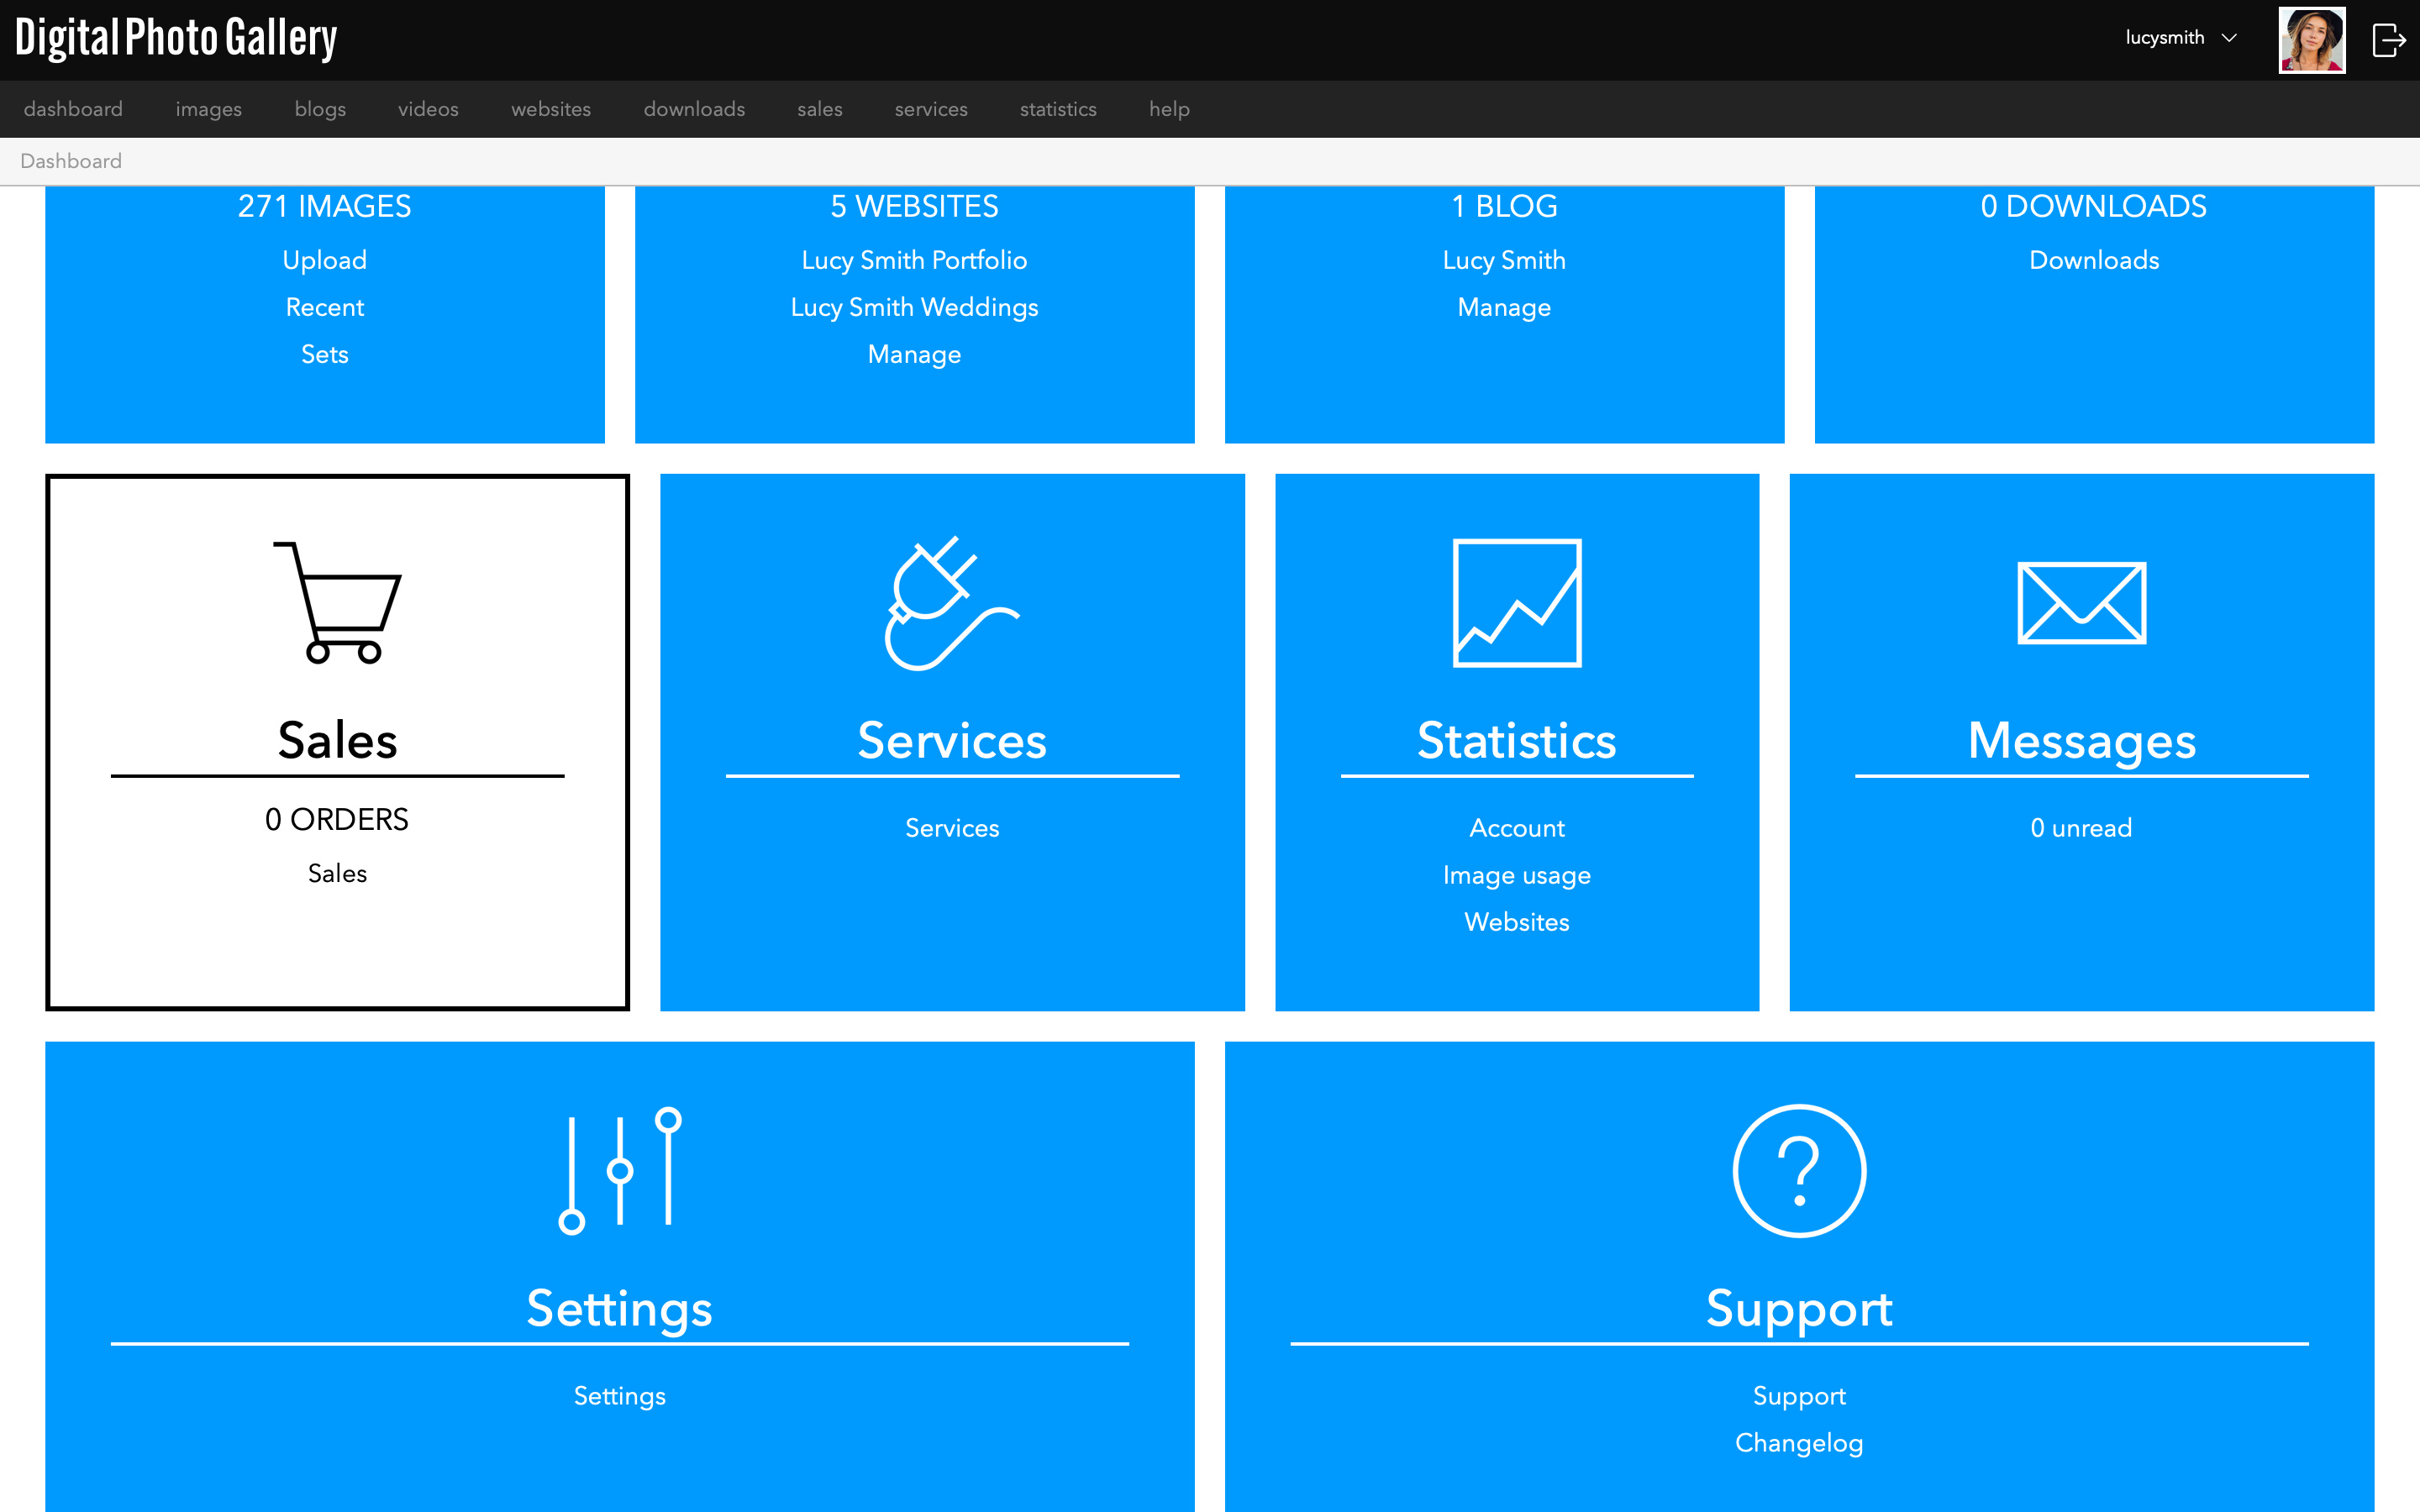
You can always access Sales from the Dashboard too.
Guides - Creating a shop with Essential Portfolio
In this guide we'll show you how to make a shop with the Essential Portfolio template. Using DPG's Sales features we'll create products and add them to an image gallery, creating a simple and professional storefront. DPG powers the shop and the cart, which is handed over to PayPal at checkout to securely handle payment.
Before you begin
- You must have a DPG subscription with a Standard or above plan to use the Sales features. If you don't have a Standard account you should upgrade your account first.
- You will need a PayPal account to configure the cart and receive sales.
- You should already have a website built with the Essential Portfolio template. If you haven’t, follow the instructions here to build one first (don't worry, it's easy!).
- You may find it helpful to gather images for your products and prepare information such as descriptions, quantities and prices before you start.
In this article
- Enable Sales in the menu
- The shop website
- Create the shop page
- Add images to the shop set
- Link your PayPal account
- Enable website sales
- Create products
- Add products to images
- Edit the design
- The result
- Test your site
- Next steps
Good to go? Let's get selling! 🛒
Enable Sales in the menu
If you haven't previously used Sales in your account, you may want to enable it in the main menu for your convenience.
The shop website
You can add sales to any Essential Portfolio site, so you should decide if you want your shop to stand alone as a separate website or as an addition to an existing site. In this demo I've created a site with a simple gallery page and I'll be adding a shop page to that.
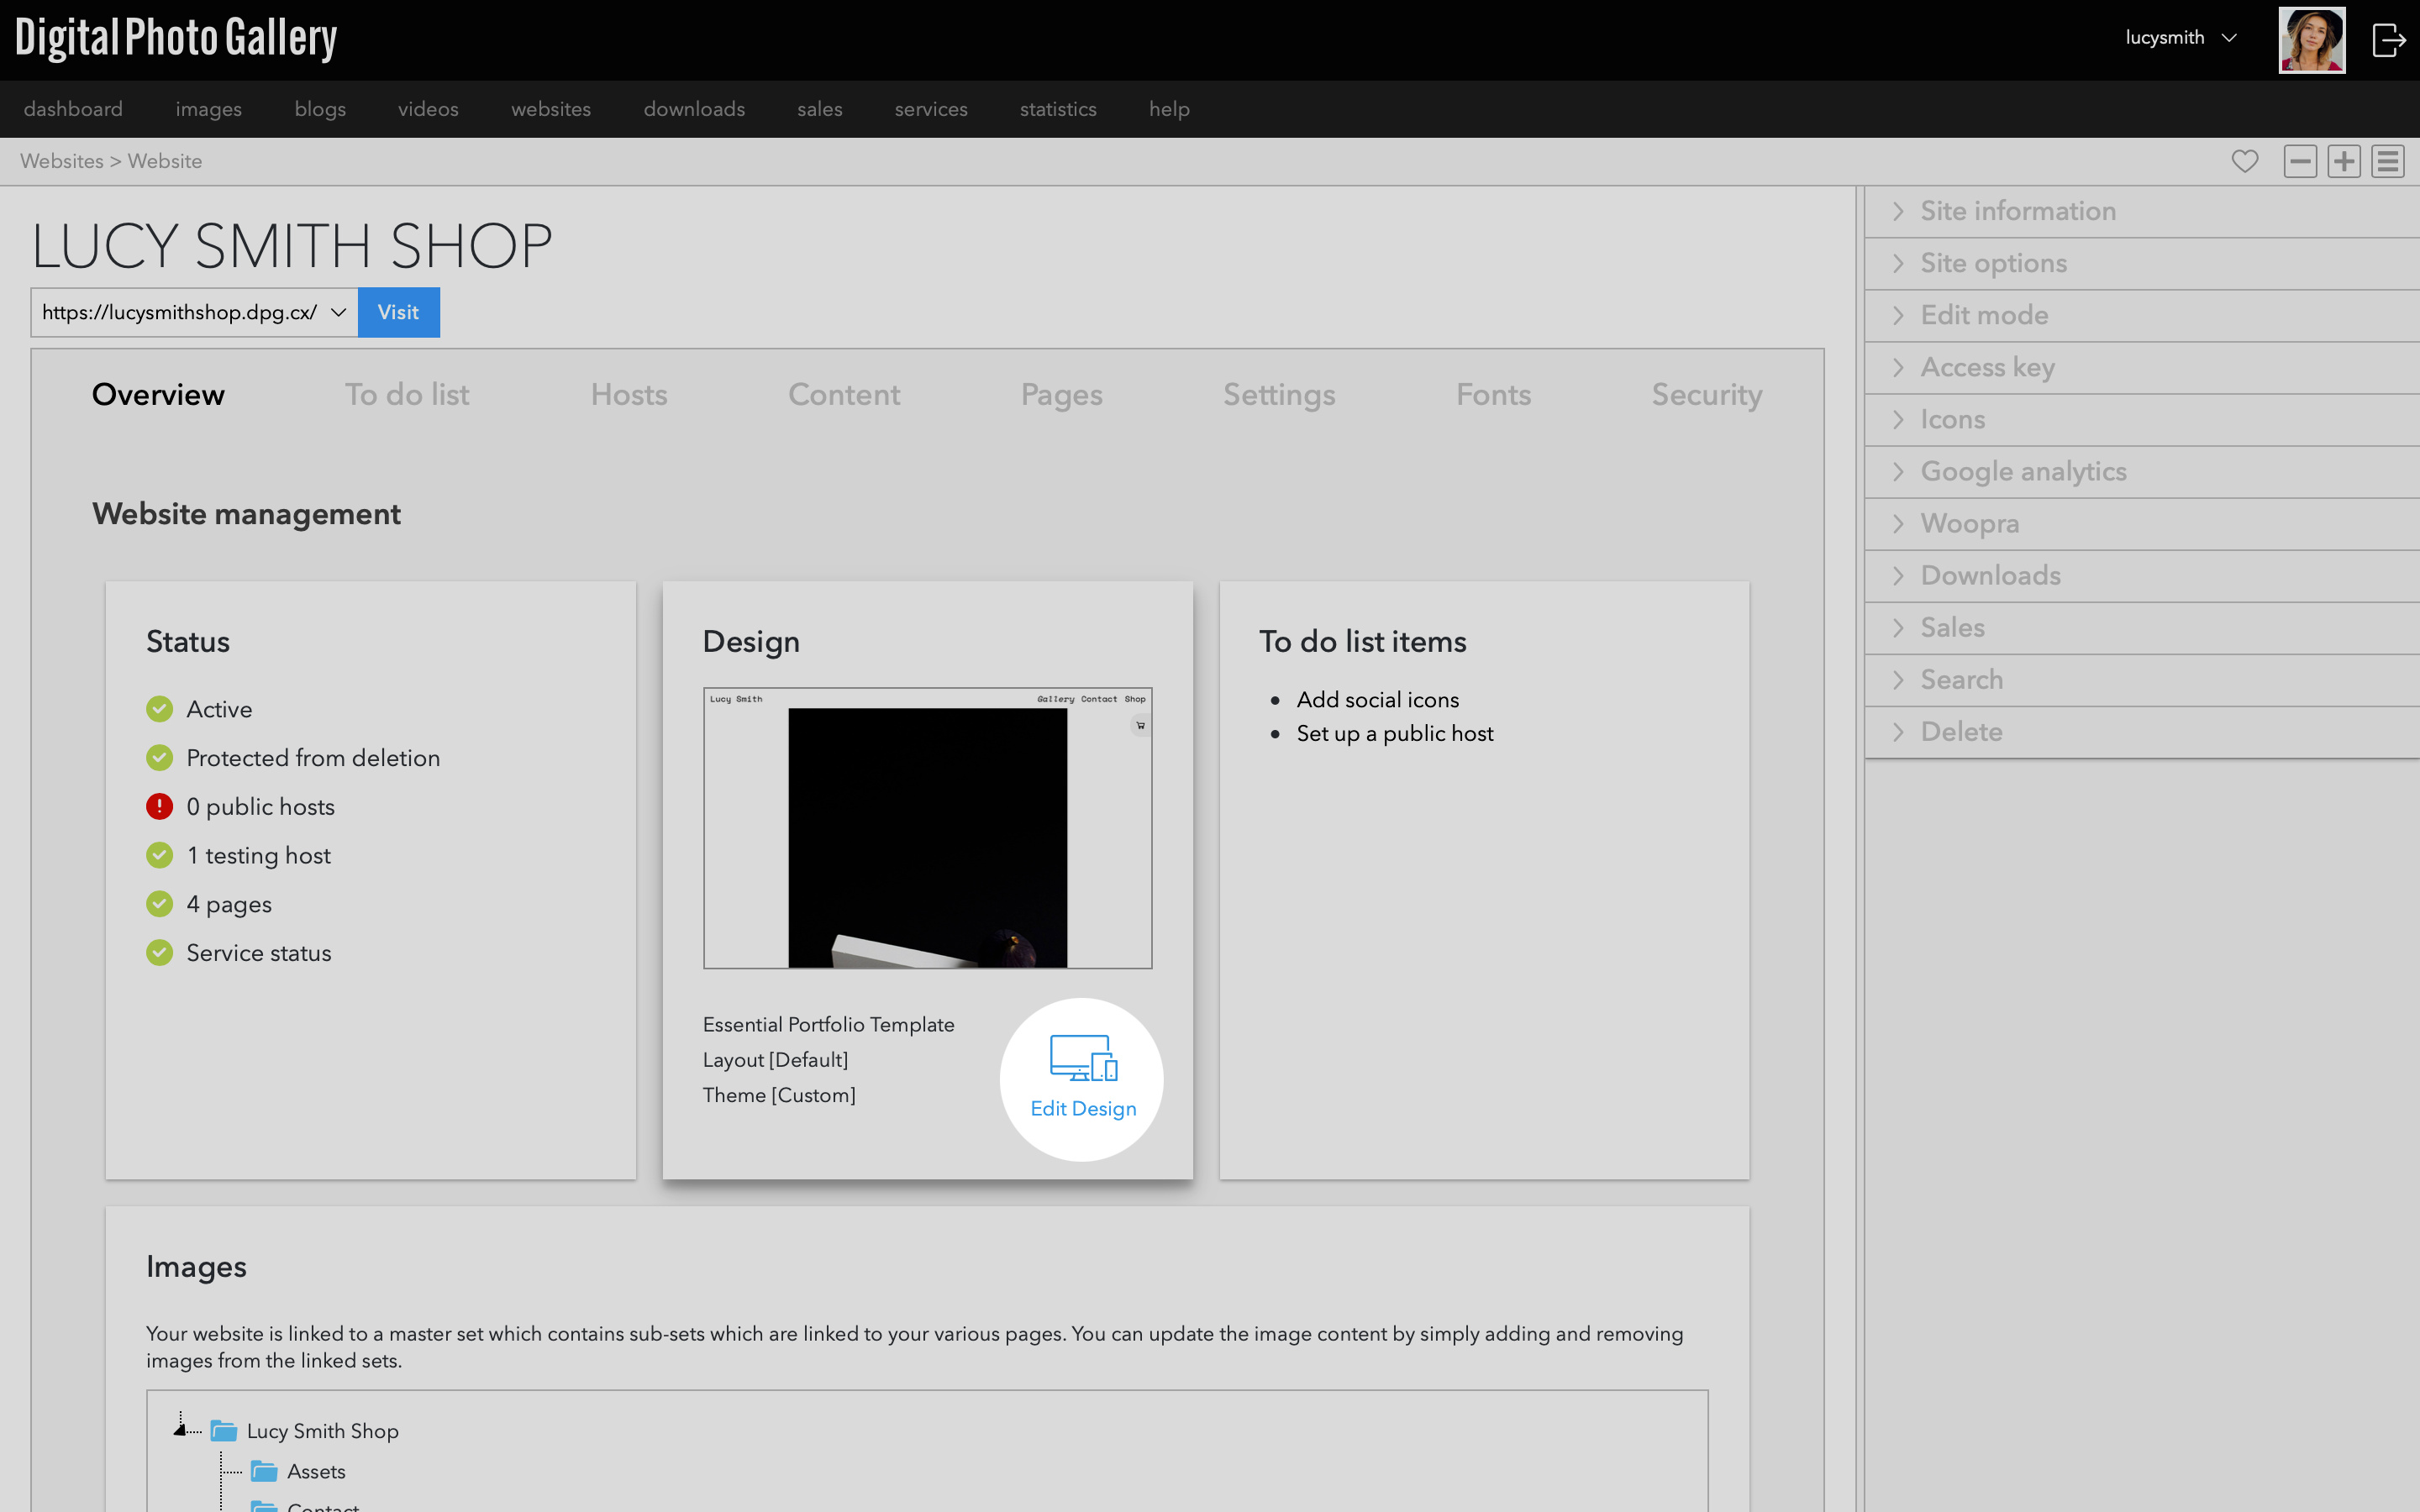
From the Websites screen, navigate to your chosen site.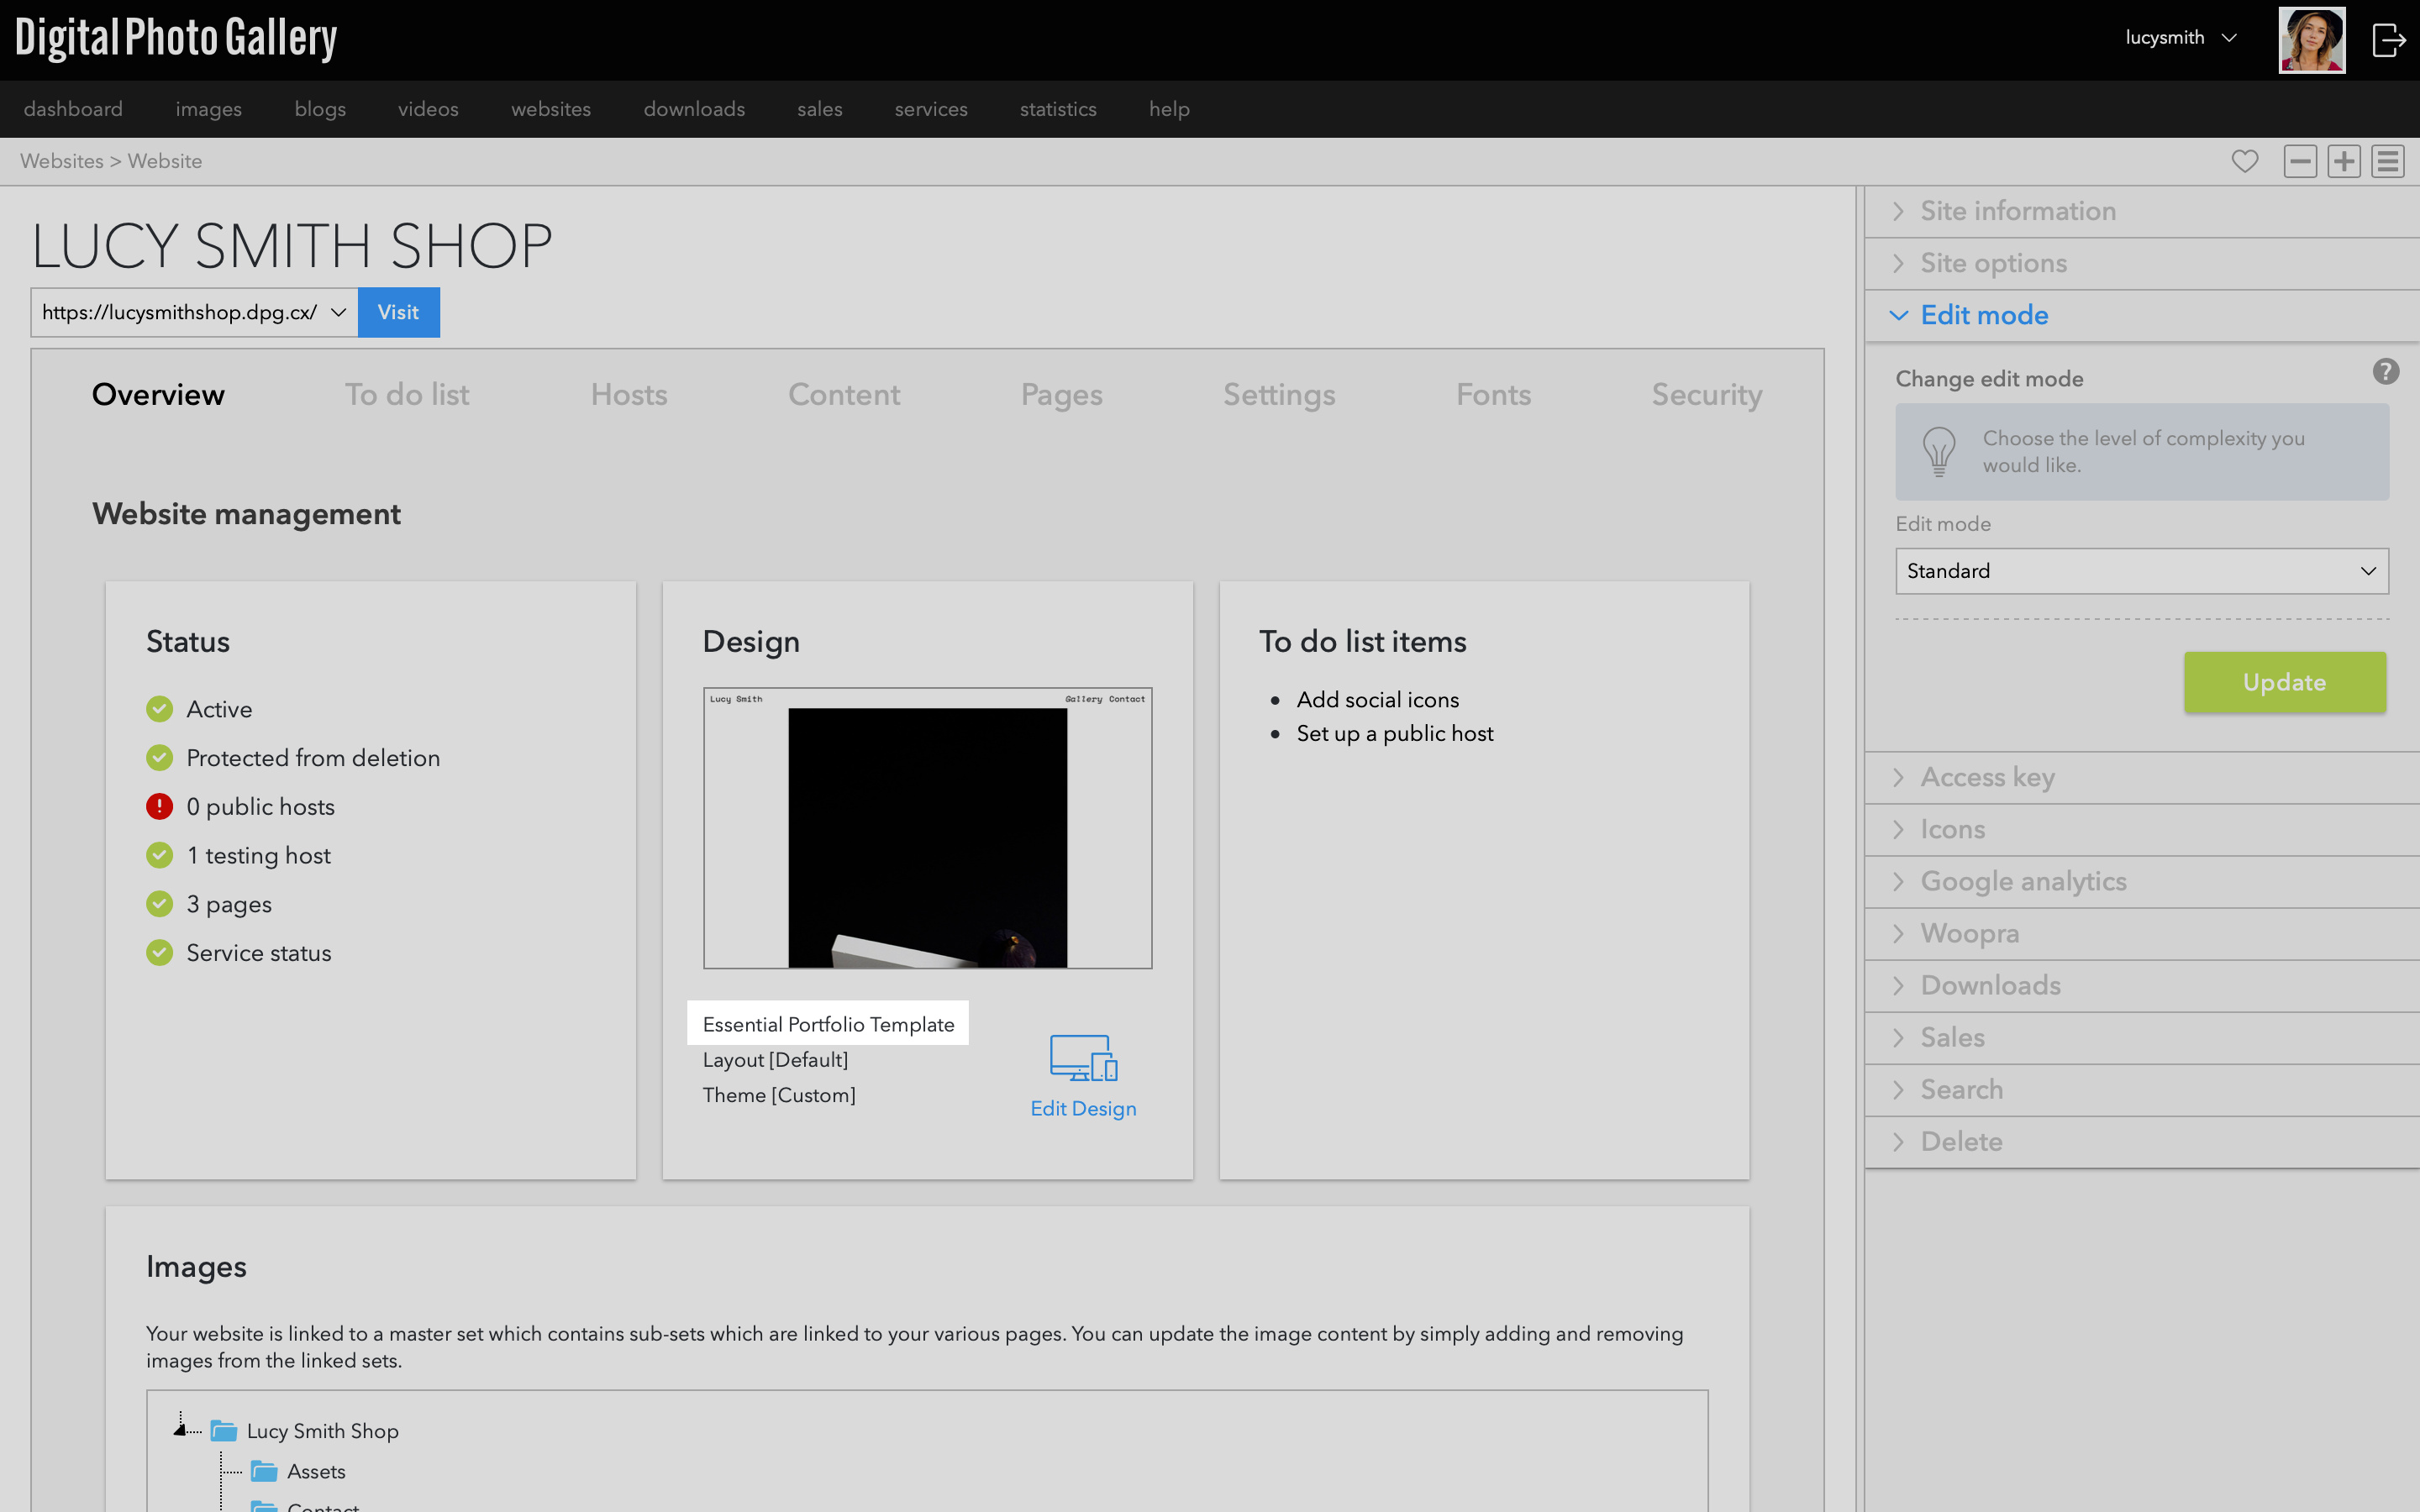
Make sure this is an Essential Portfolio site. You can check which template is used on the website screen.
To enable some shop features, you'll need to be in Standard edit mode.
Create the shop page
This will be the page with your products on it. Unlike the Series 2 templates, Essential Portfolio doesn't have a separate shop page. We built the shop features right into the gallery, which means that you have all the flexibility of the different layouts and powerful customisation features of this template.
On the website screen, click the Pages tab. Click Create and give your page a name. Make sure you've selected the Media | Gallery page and click OK.If your site is already public and you don't want to add the new page to your navigation yet, click Advanced Options and toggle the Add to navigation toggle to the off position. You can add it to the navigation when you're ready to launch.
Add images to the shop set
Now that you've created your shop page you need to add the product images to it.
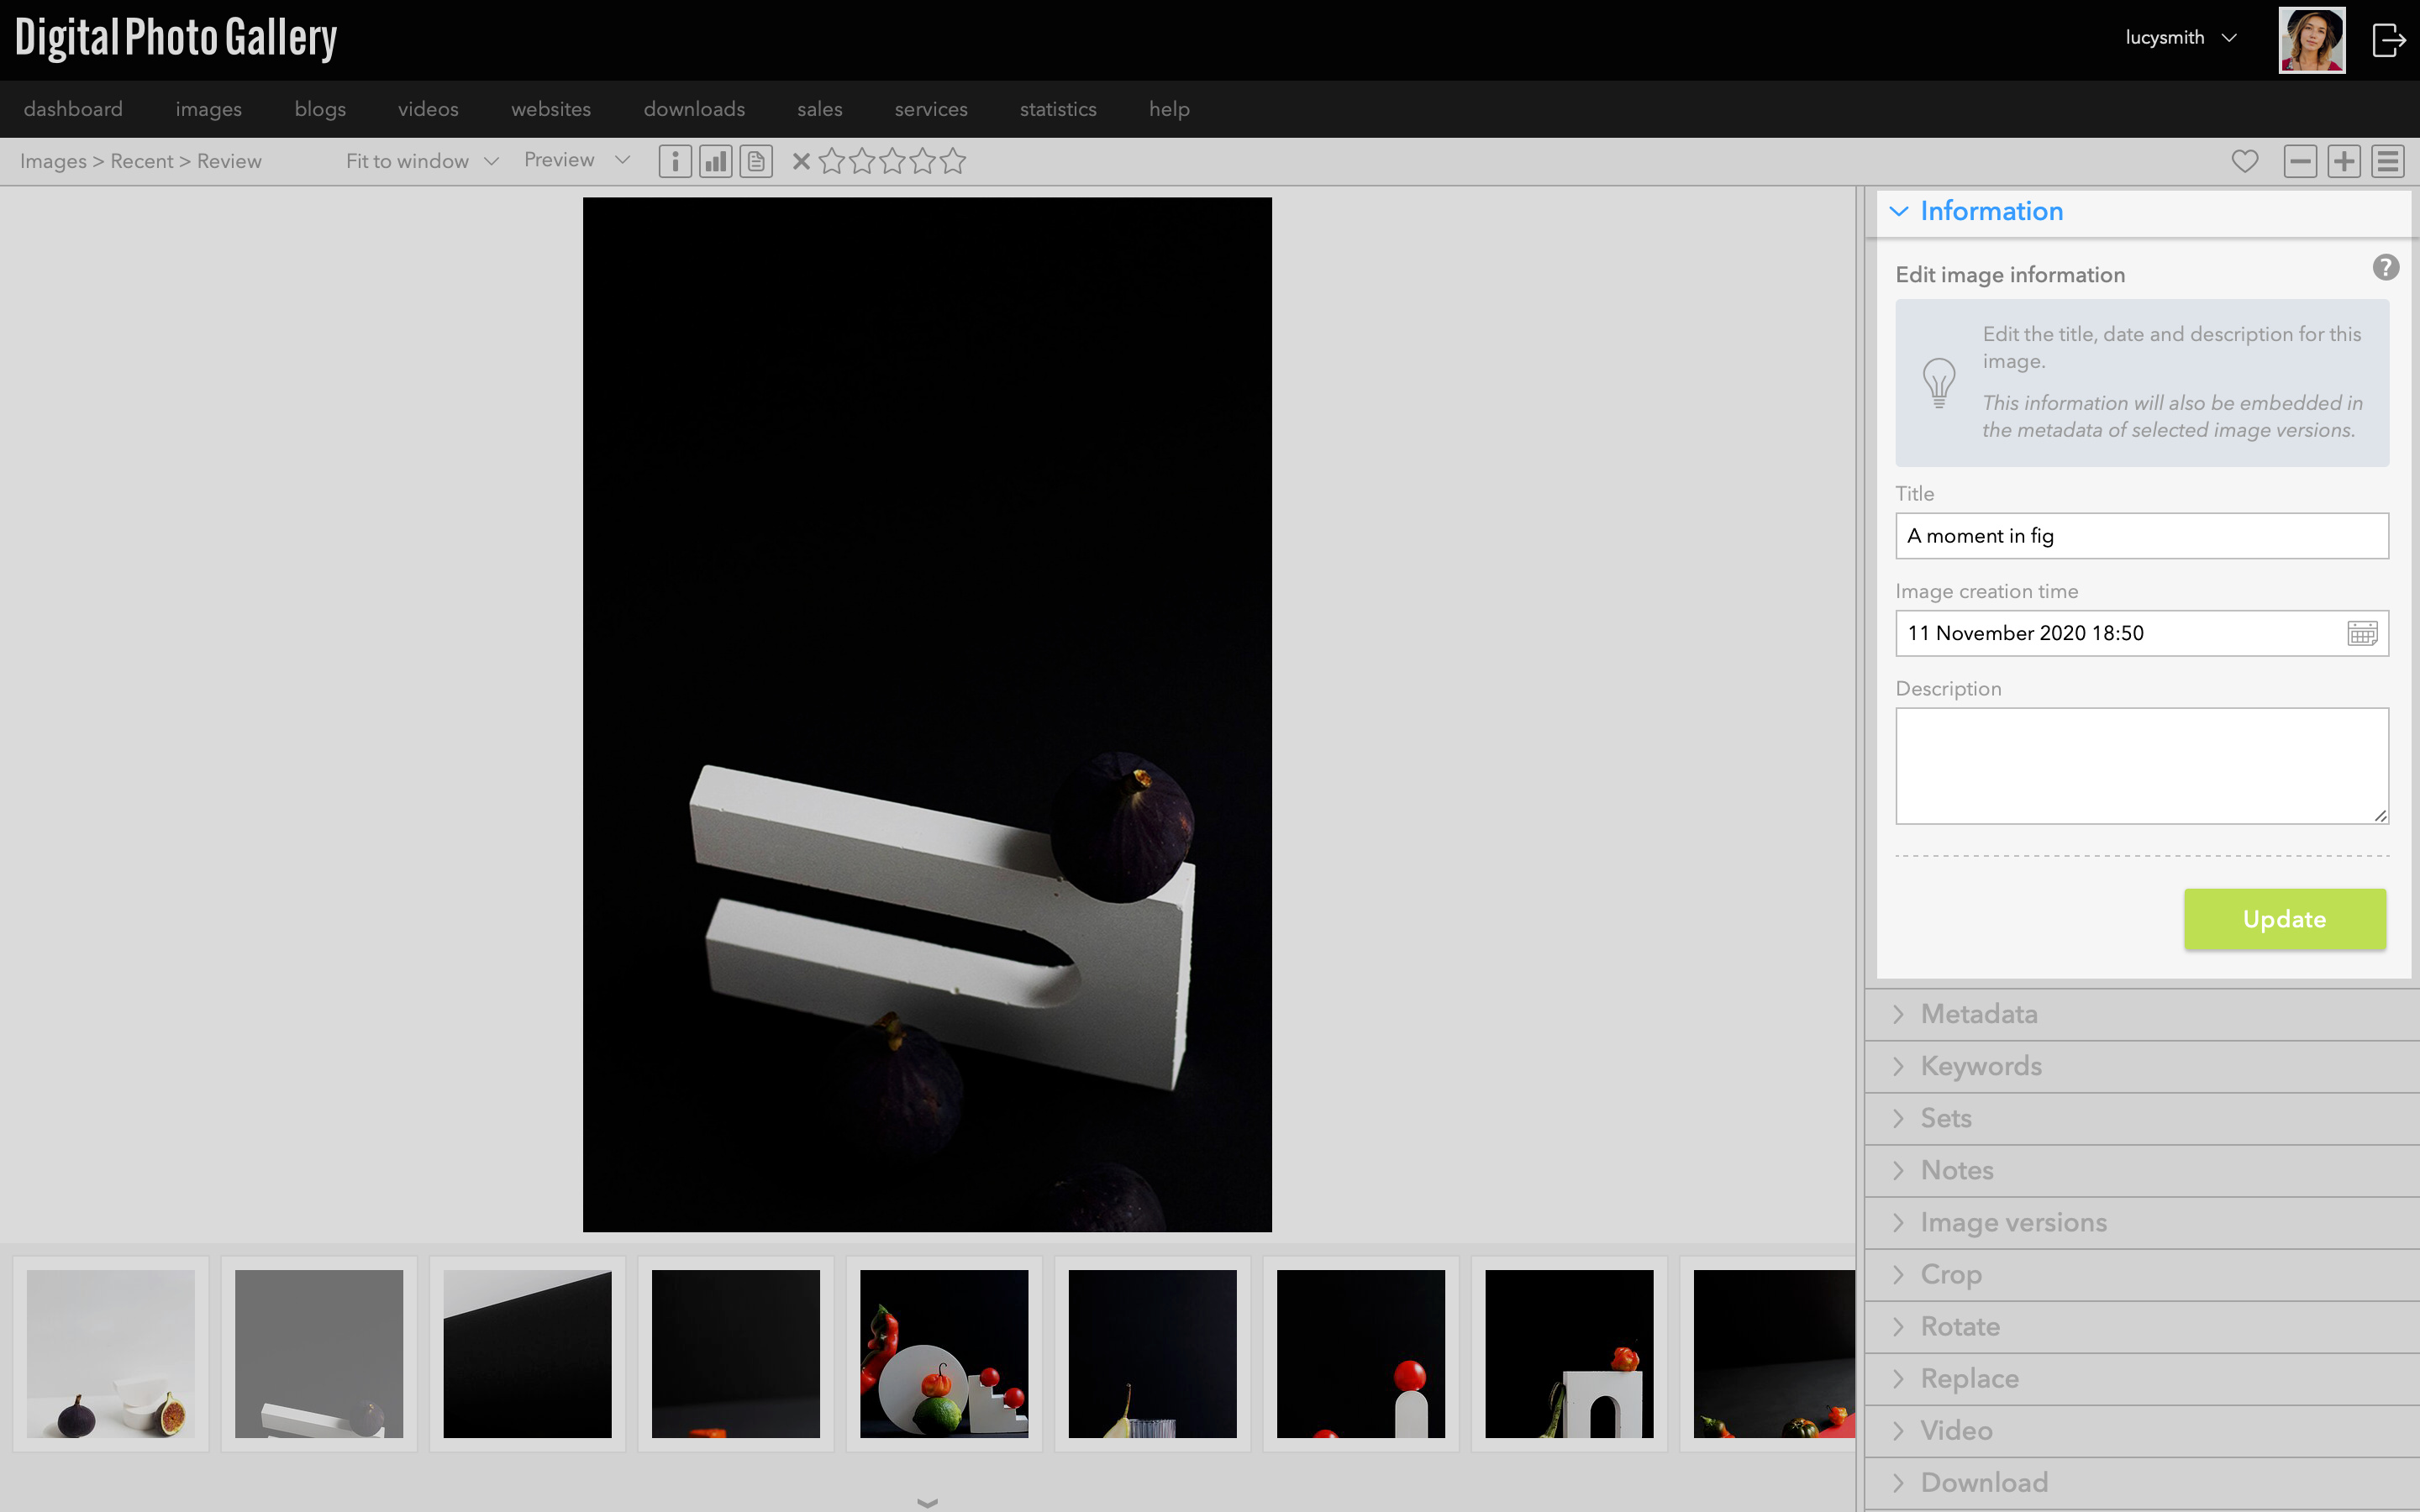
Clicking the set icon from the Pages tab will take you directly to that page's linked set. This is the set where you'll be adding all your product images.Select your product images in any image view (in this example we go to Images and Recent). Open the Add to set panel and find the shop set, then click the Add button.
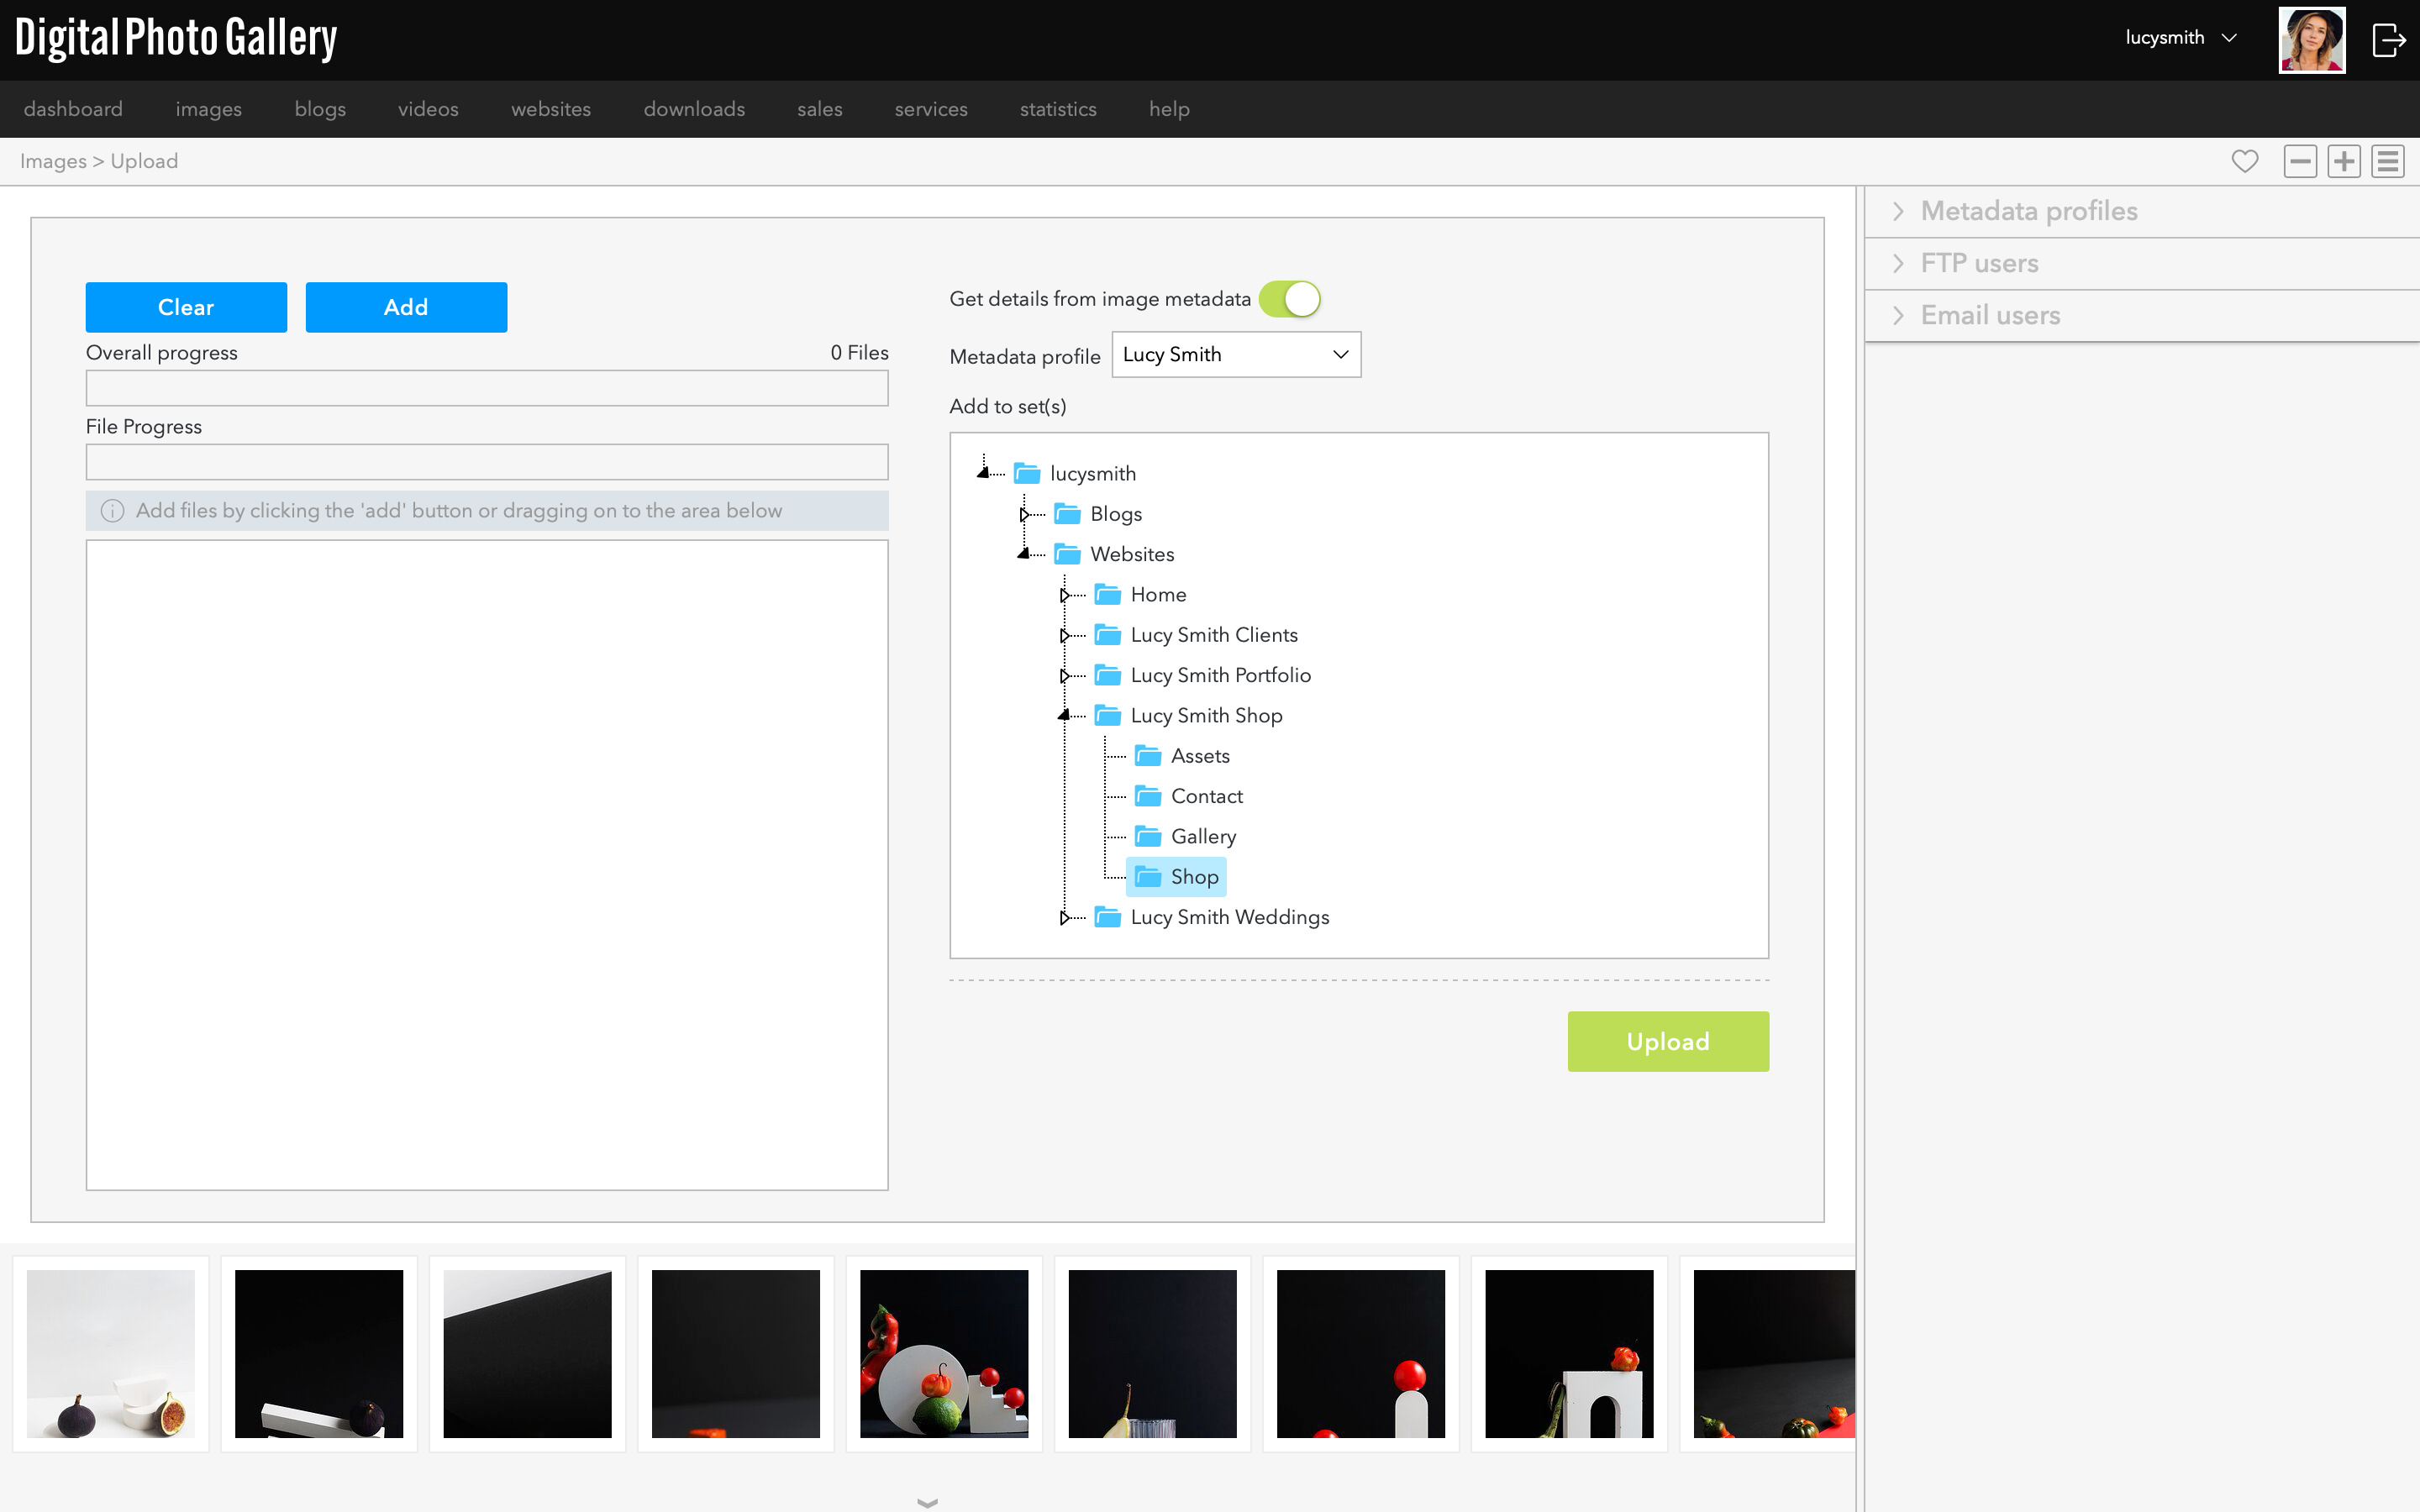
If you haven't uploaded your product images to DPG yet, you can do so directly into the shop set from the Upload screen now.
You can continue the setup process while your images are adding or uploading.
Link your PayPal account
Next, you need to add your PayPal account to DPG to make sure that you can receive payments.
From the main menu or Dashboard go to Services. Select the PayPal tab and click the Add button. Enter your PayPal account email address and click OK.Enable website sales
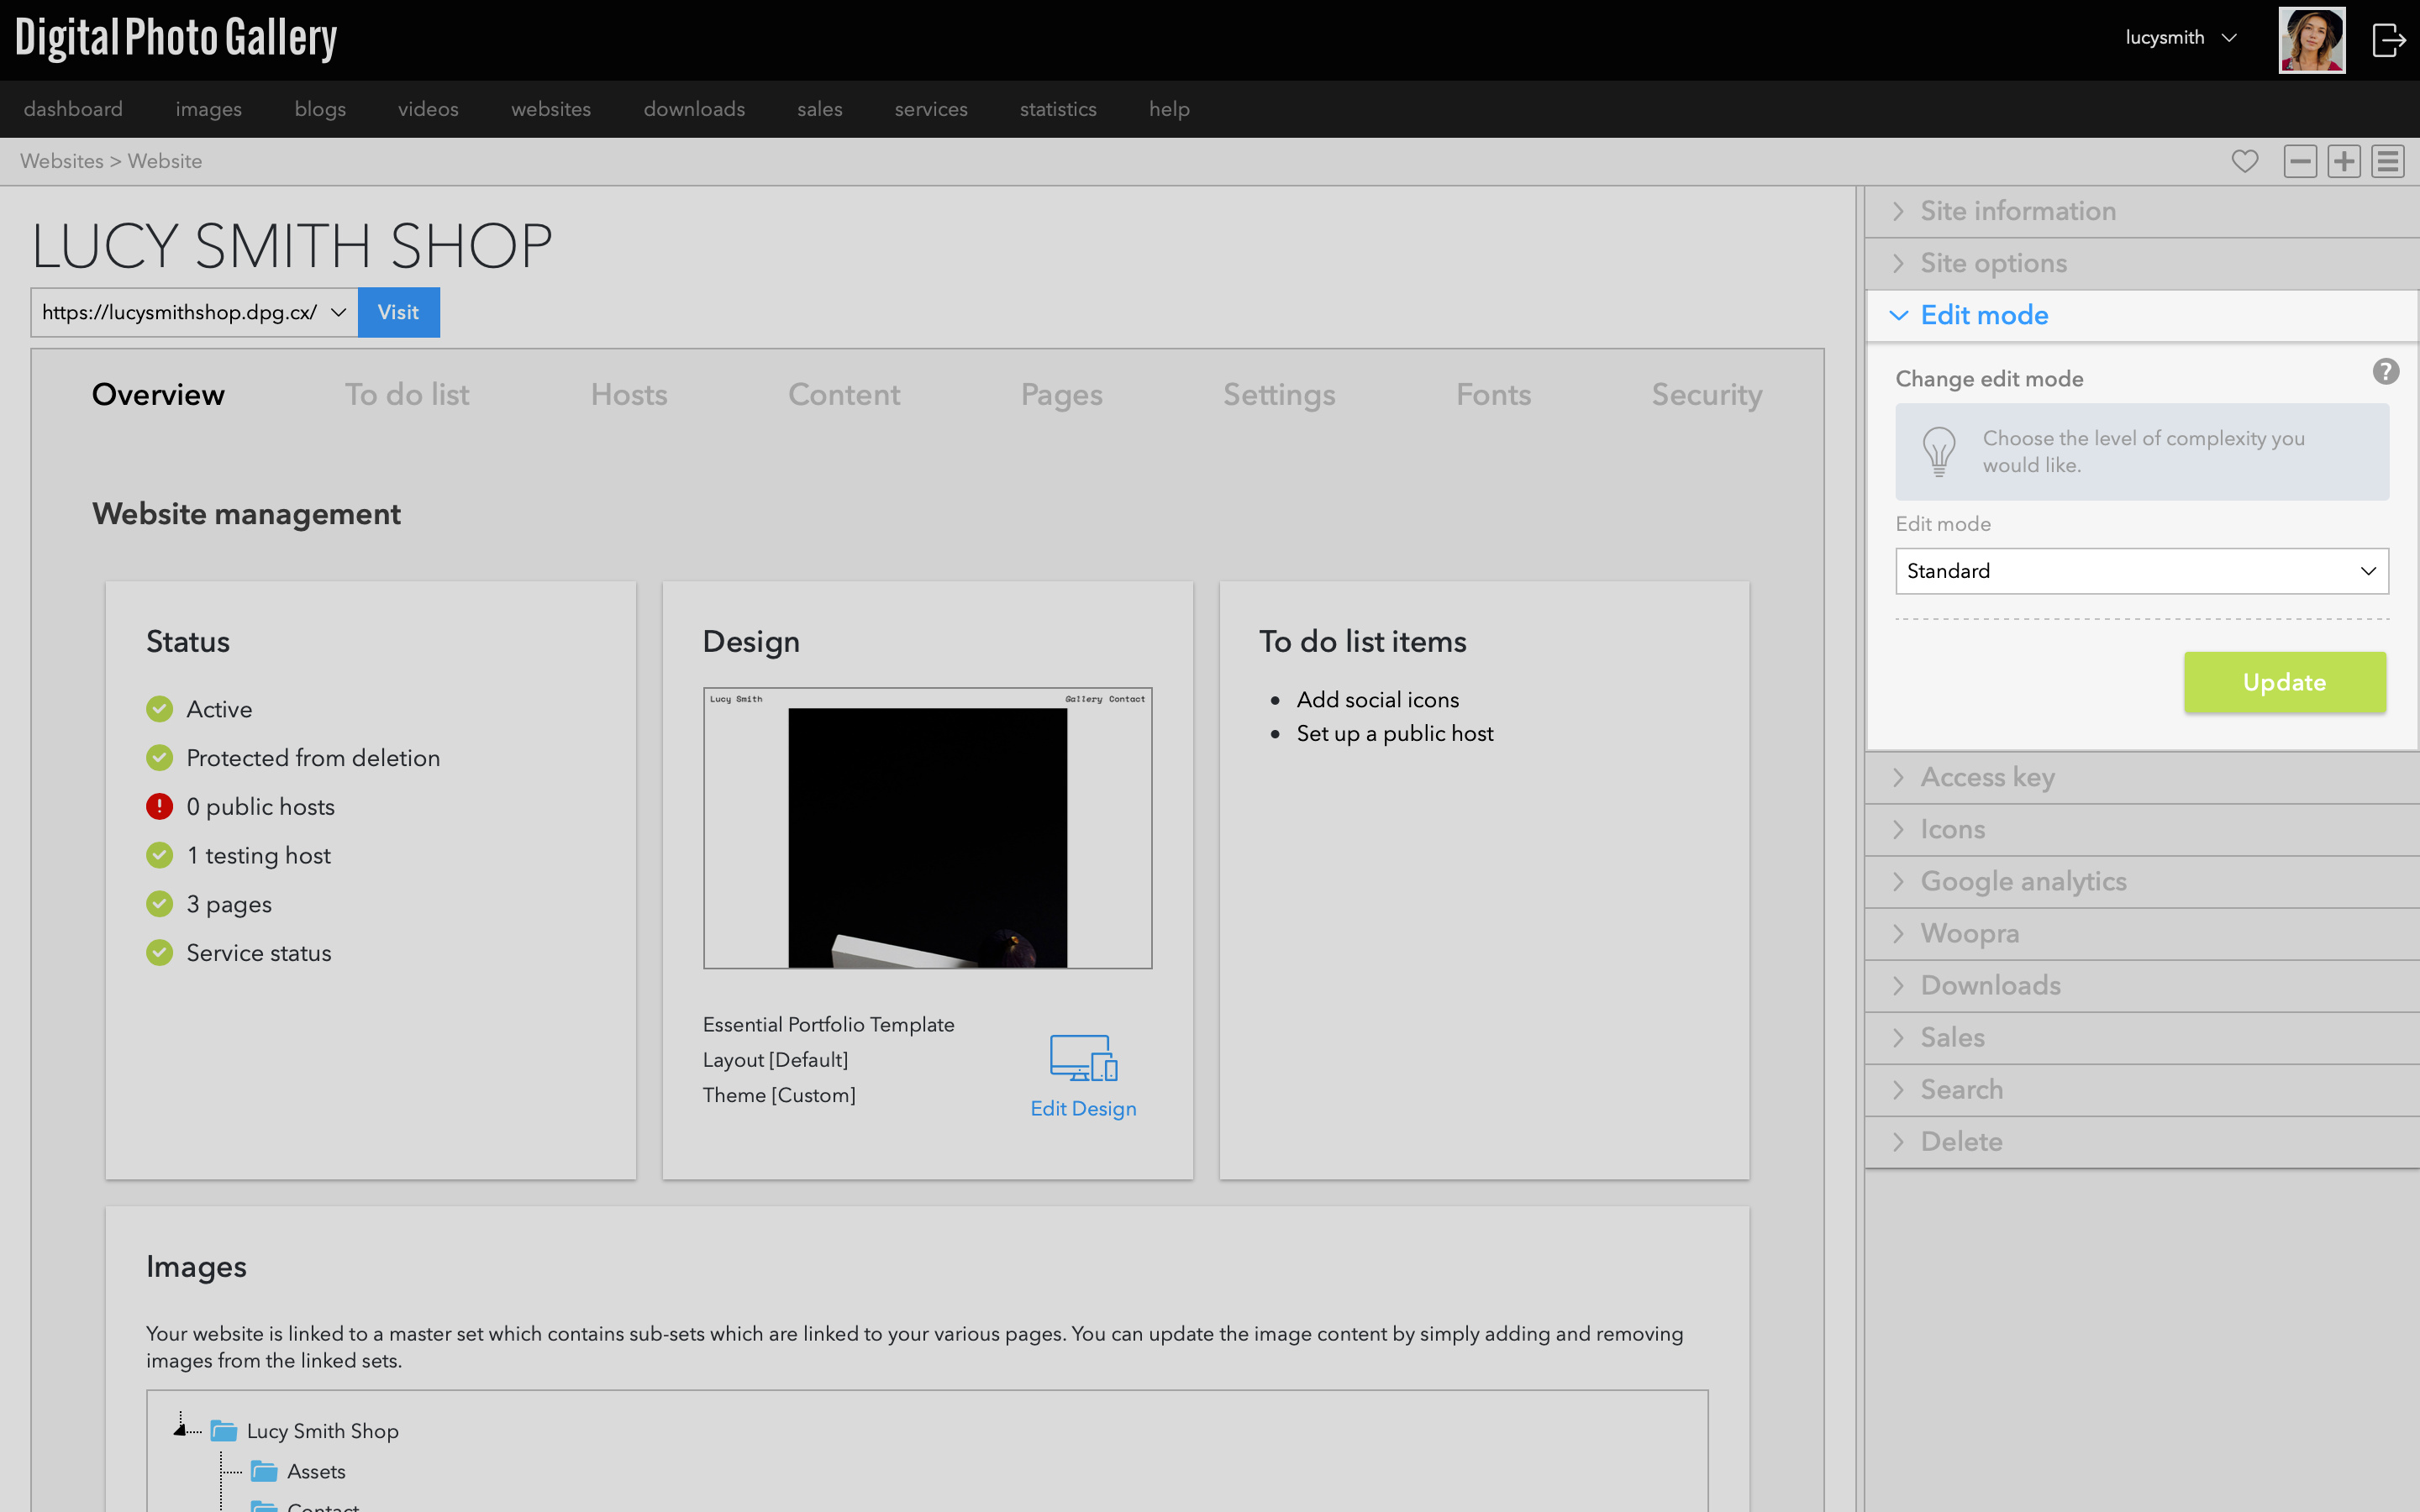
Now that you've added your PayPal account to DPG, we need to enable sales for this particular website.
This option requires you to be in edit mode Standard, learn more about edit modes here.
On the website screen, open the Sales panel and choose your PayPal account from the dropdown menu. You can also choose the currency for your shop here. Click the Save button.
Create products
This is where you enter all the information your customer will see on the product page.
From the Dashboard go to Sales and the Products tab. Click the Create button to bring up the New product window. Fill in the text for your product and click Create.Take some time to create engaging descriptions and add all the relevant information for your product such as colours, sizes, or anything else that will help your potential customers learn more about each item.
Repeat the process for each product you want to add to your shop.
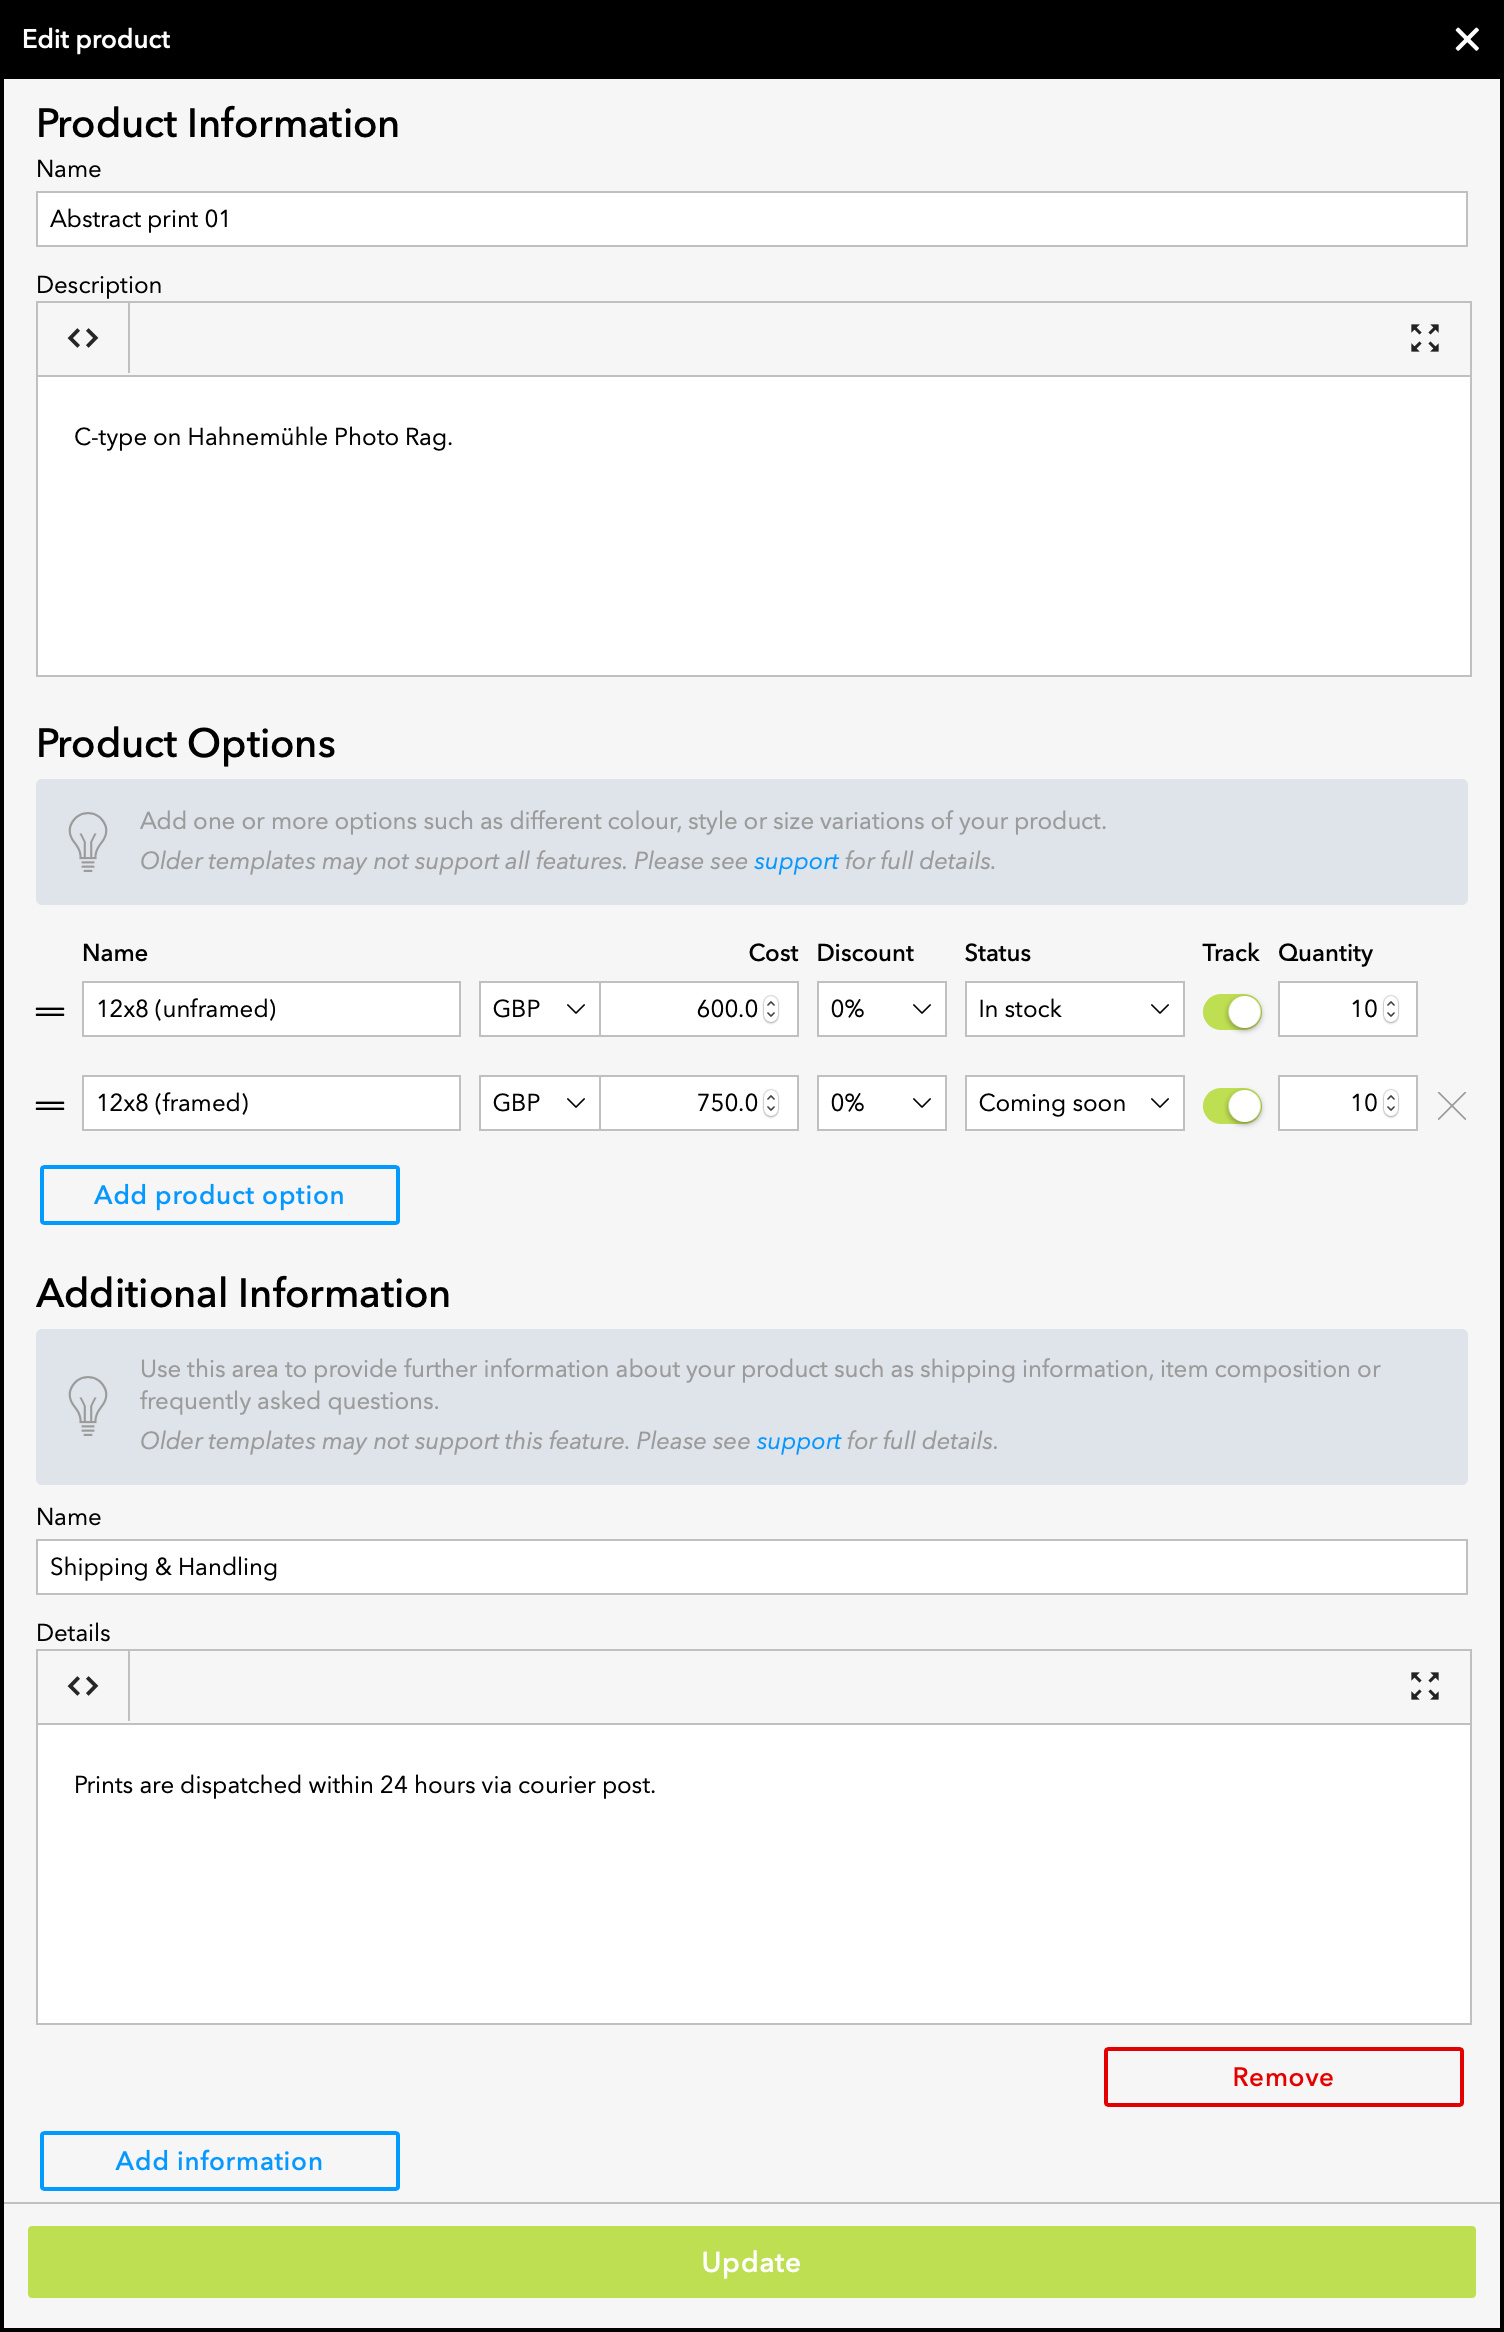
The product fields in detail:
Product Information - this is some of the most important information that your customer will look for on the product page, so make sure your titles and descriptions are informative and vivid.
Product Options - allows you to make variations for each product such as multiple colours or sizes. Your product must have at least one variation and the product option Name is the text that shows in the dropdown on the product page.
This is also where you enter the item Cost, add any Discounts and Status (such as Coming Soon).
Switch the Track toggle to the on position to track inventory - the number of sold items will count down from the Quantity until the product becomes Sold Out automatically.
Additional Information allows you to make several slide out panels on the product page. It's useful for shipping and handling information, item composition or ingredients, care instructions and other information. Click Add information to create another information block.
Add products to images
Once you've created your products, you need to add them to images.
Return to the shop set where you added your product images earlier and click through to an individual image. Open the Sales panel. Under the Add products heading you should see your new products. Select the correct product for this image and click Add. Once added, you'll see it under Current products.Repeat this process for each product, matching your products to your images.
Edit the design
If you're new to this template, you may find it helpful to watch the Essential Portfolio tutorial Part 3 - All things Design here which will guide you through working with the Design section in much more detail.
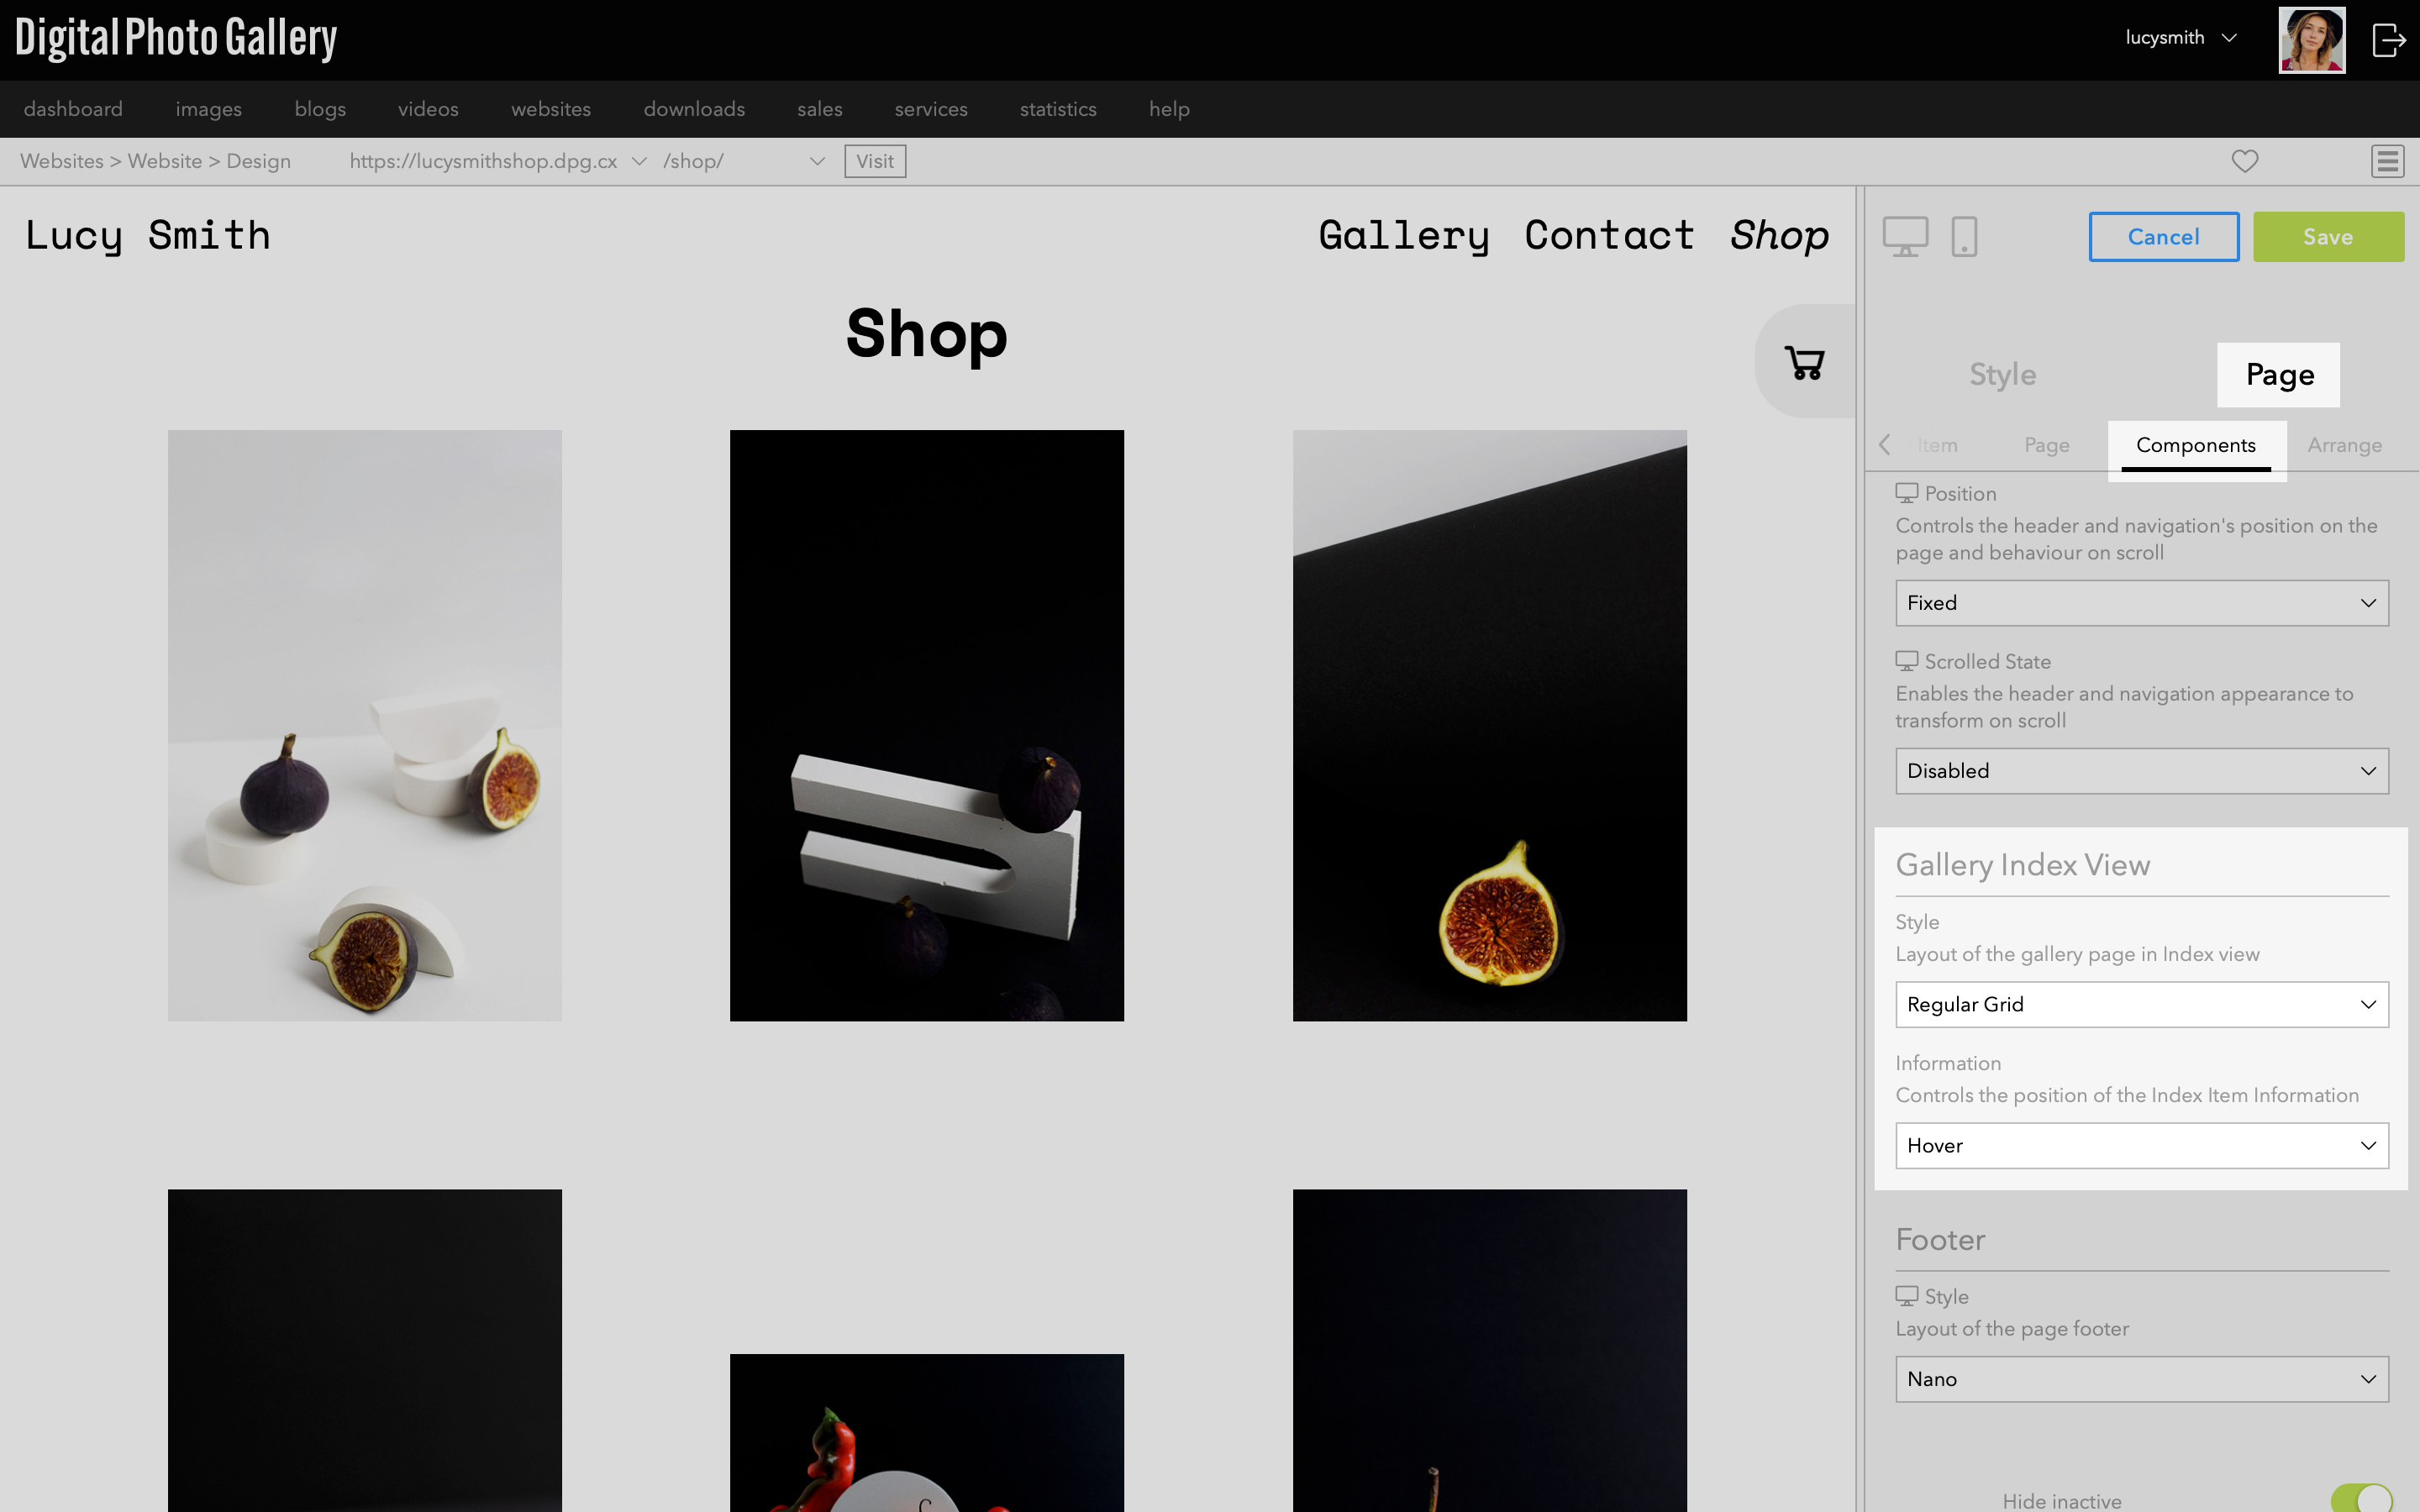
Go to Page > Components > Gallery Index View to change the Index layout.

Go to Page > Components > Gallery Single View to change the Single View layout.
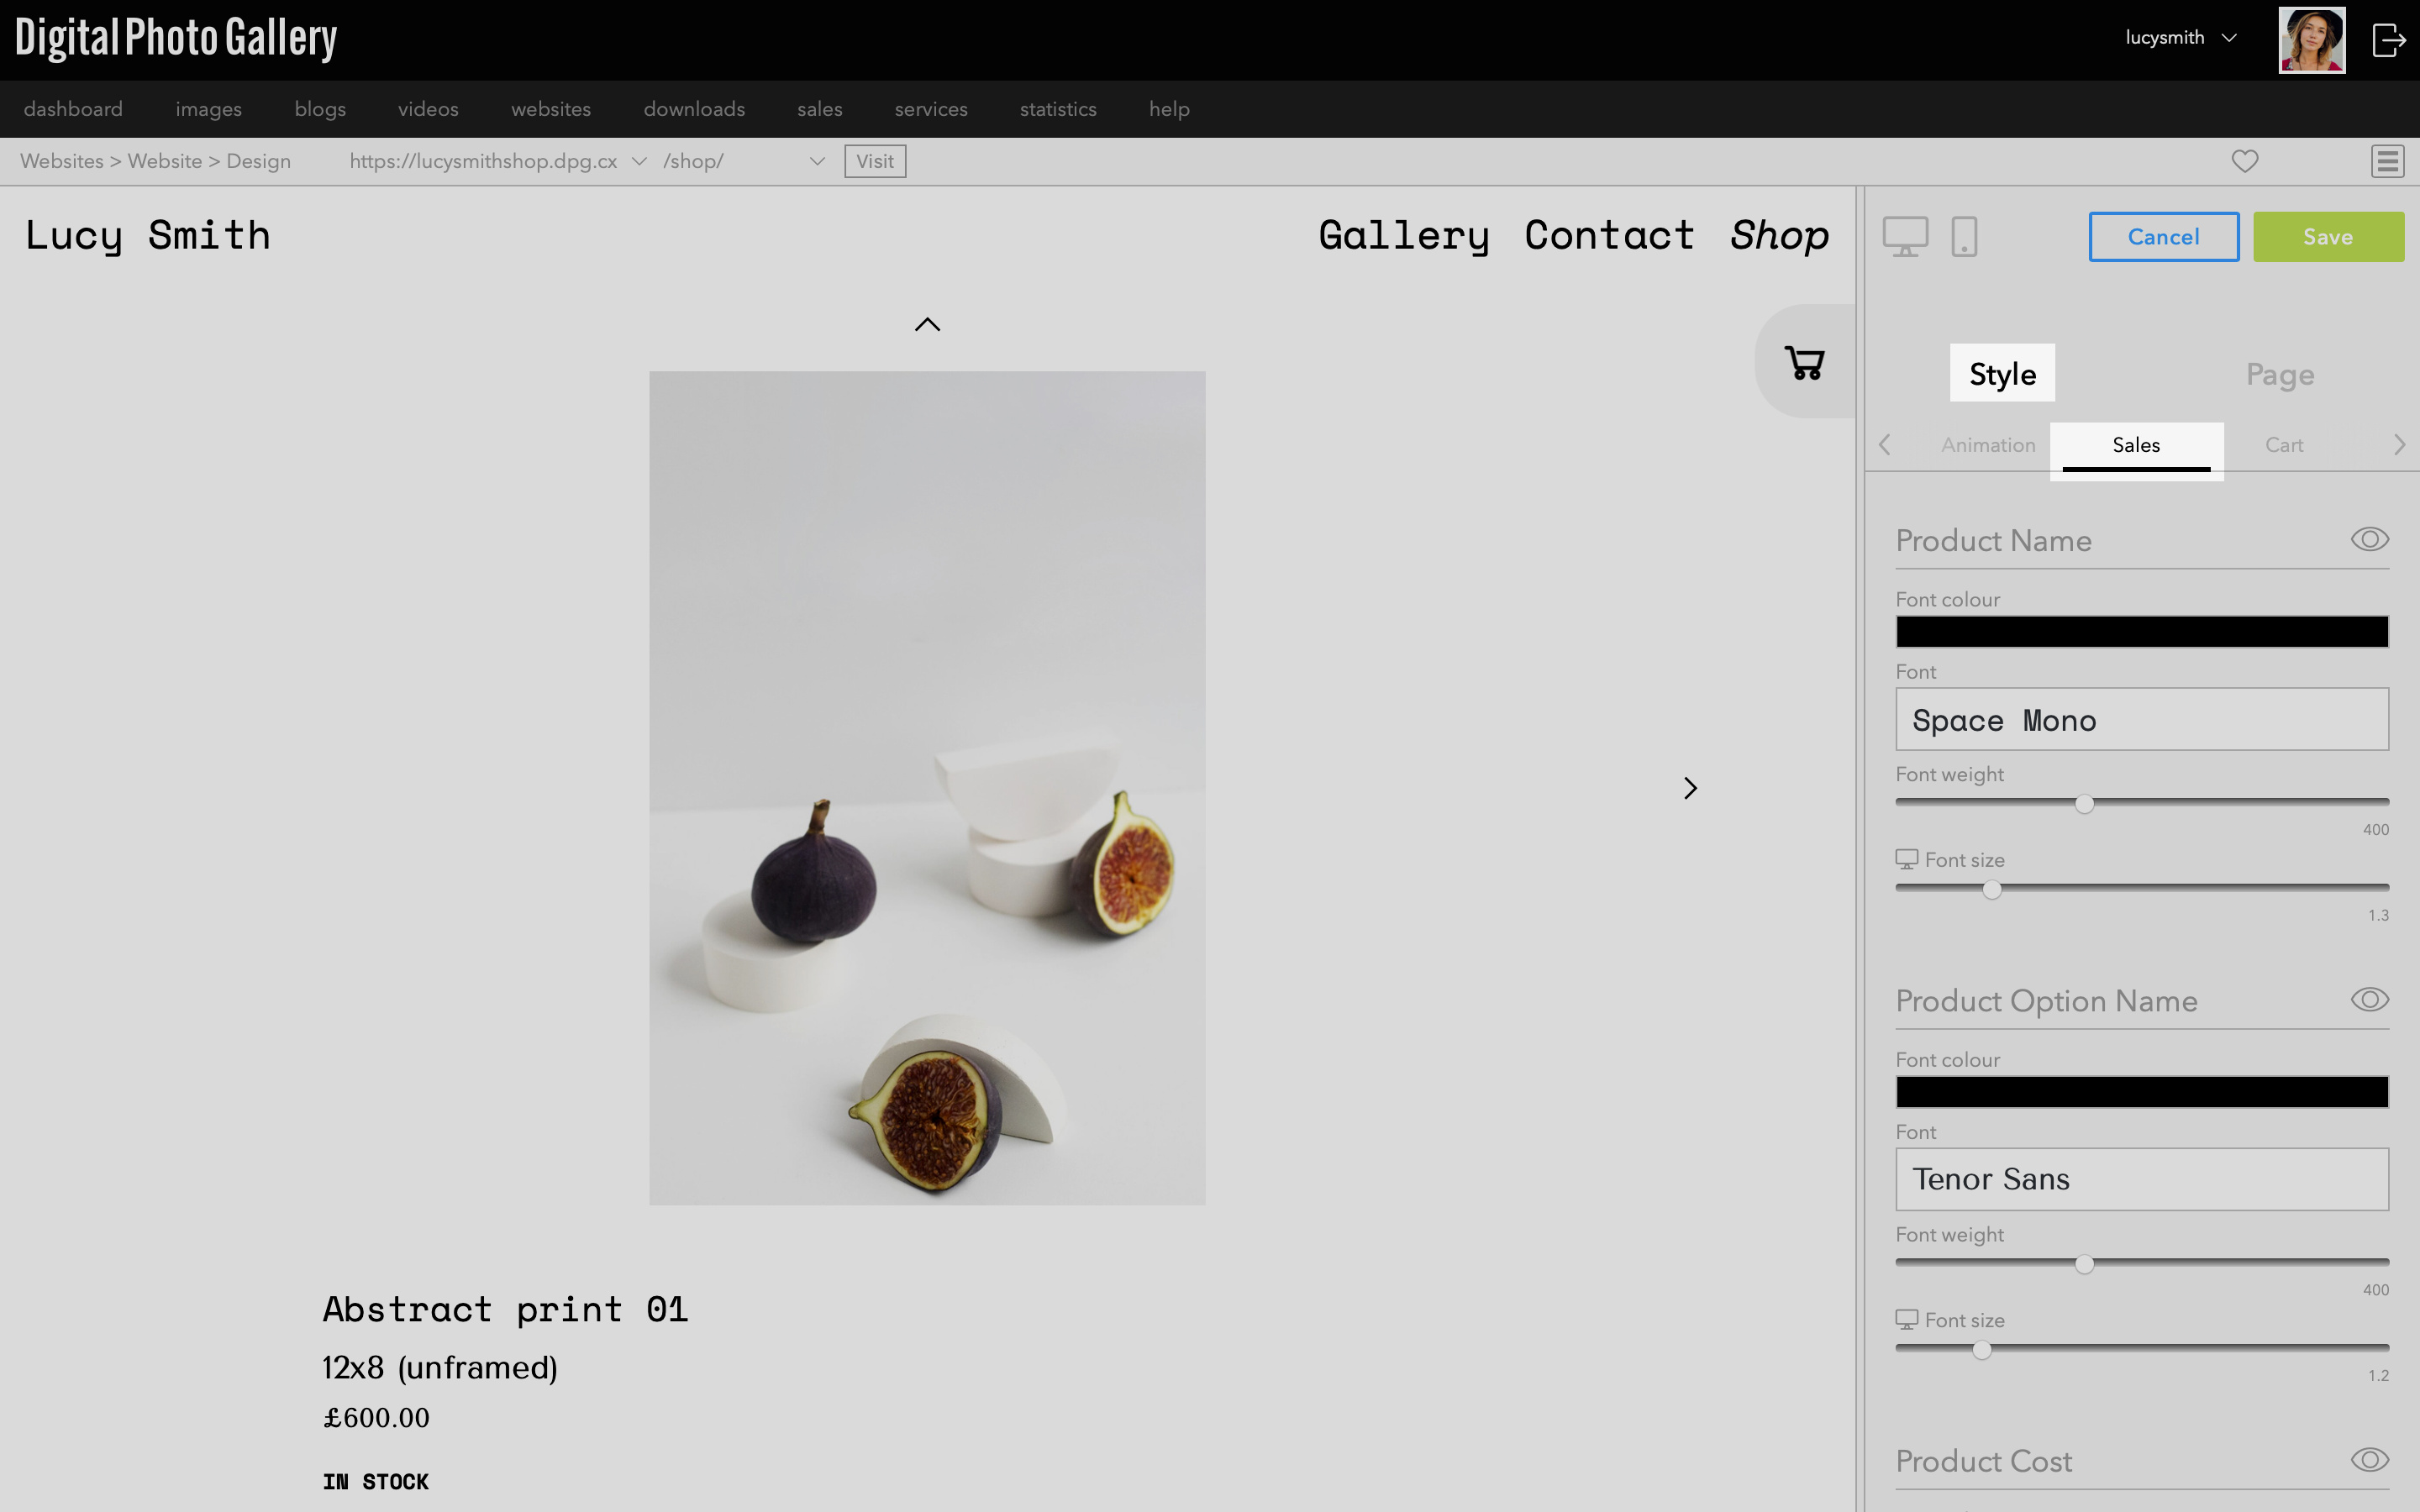
Go to Style > Sales to find all the theme settings for the sales pages such as fonts and colours.
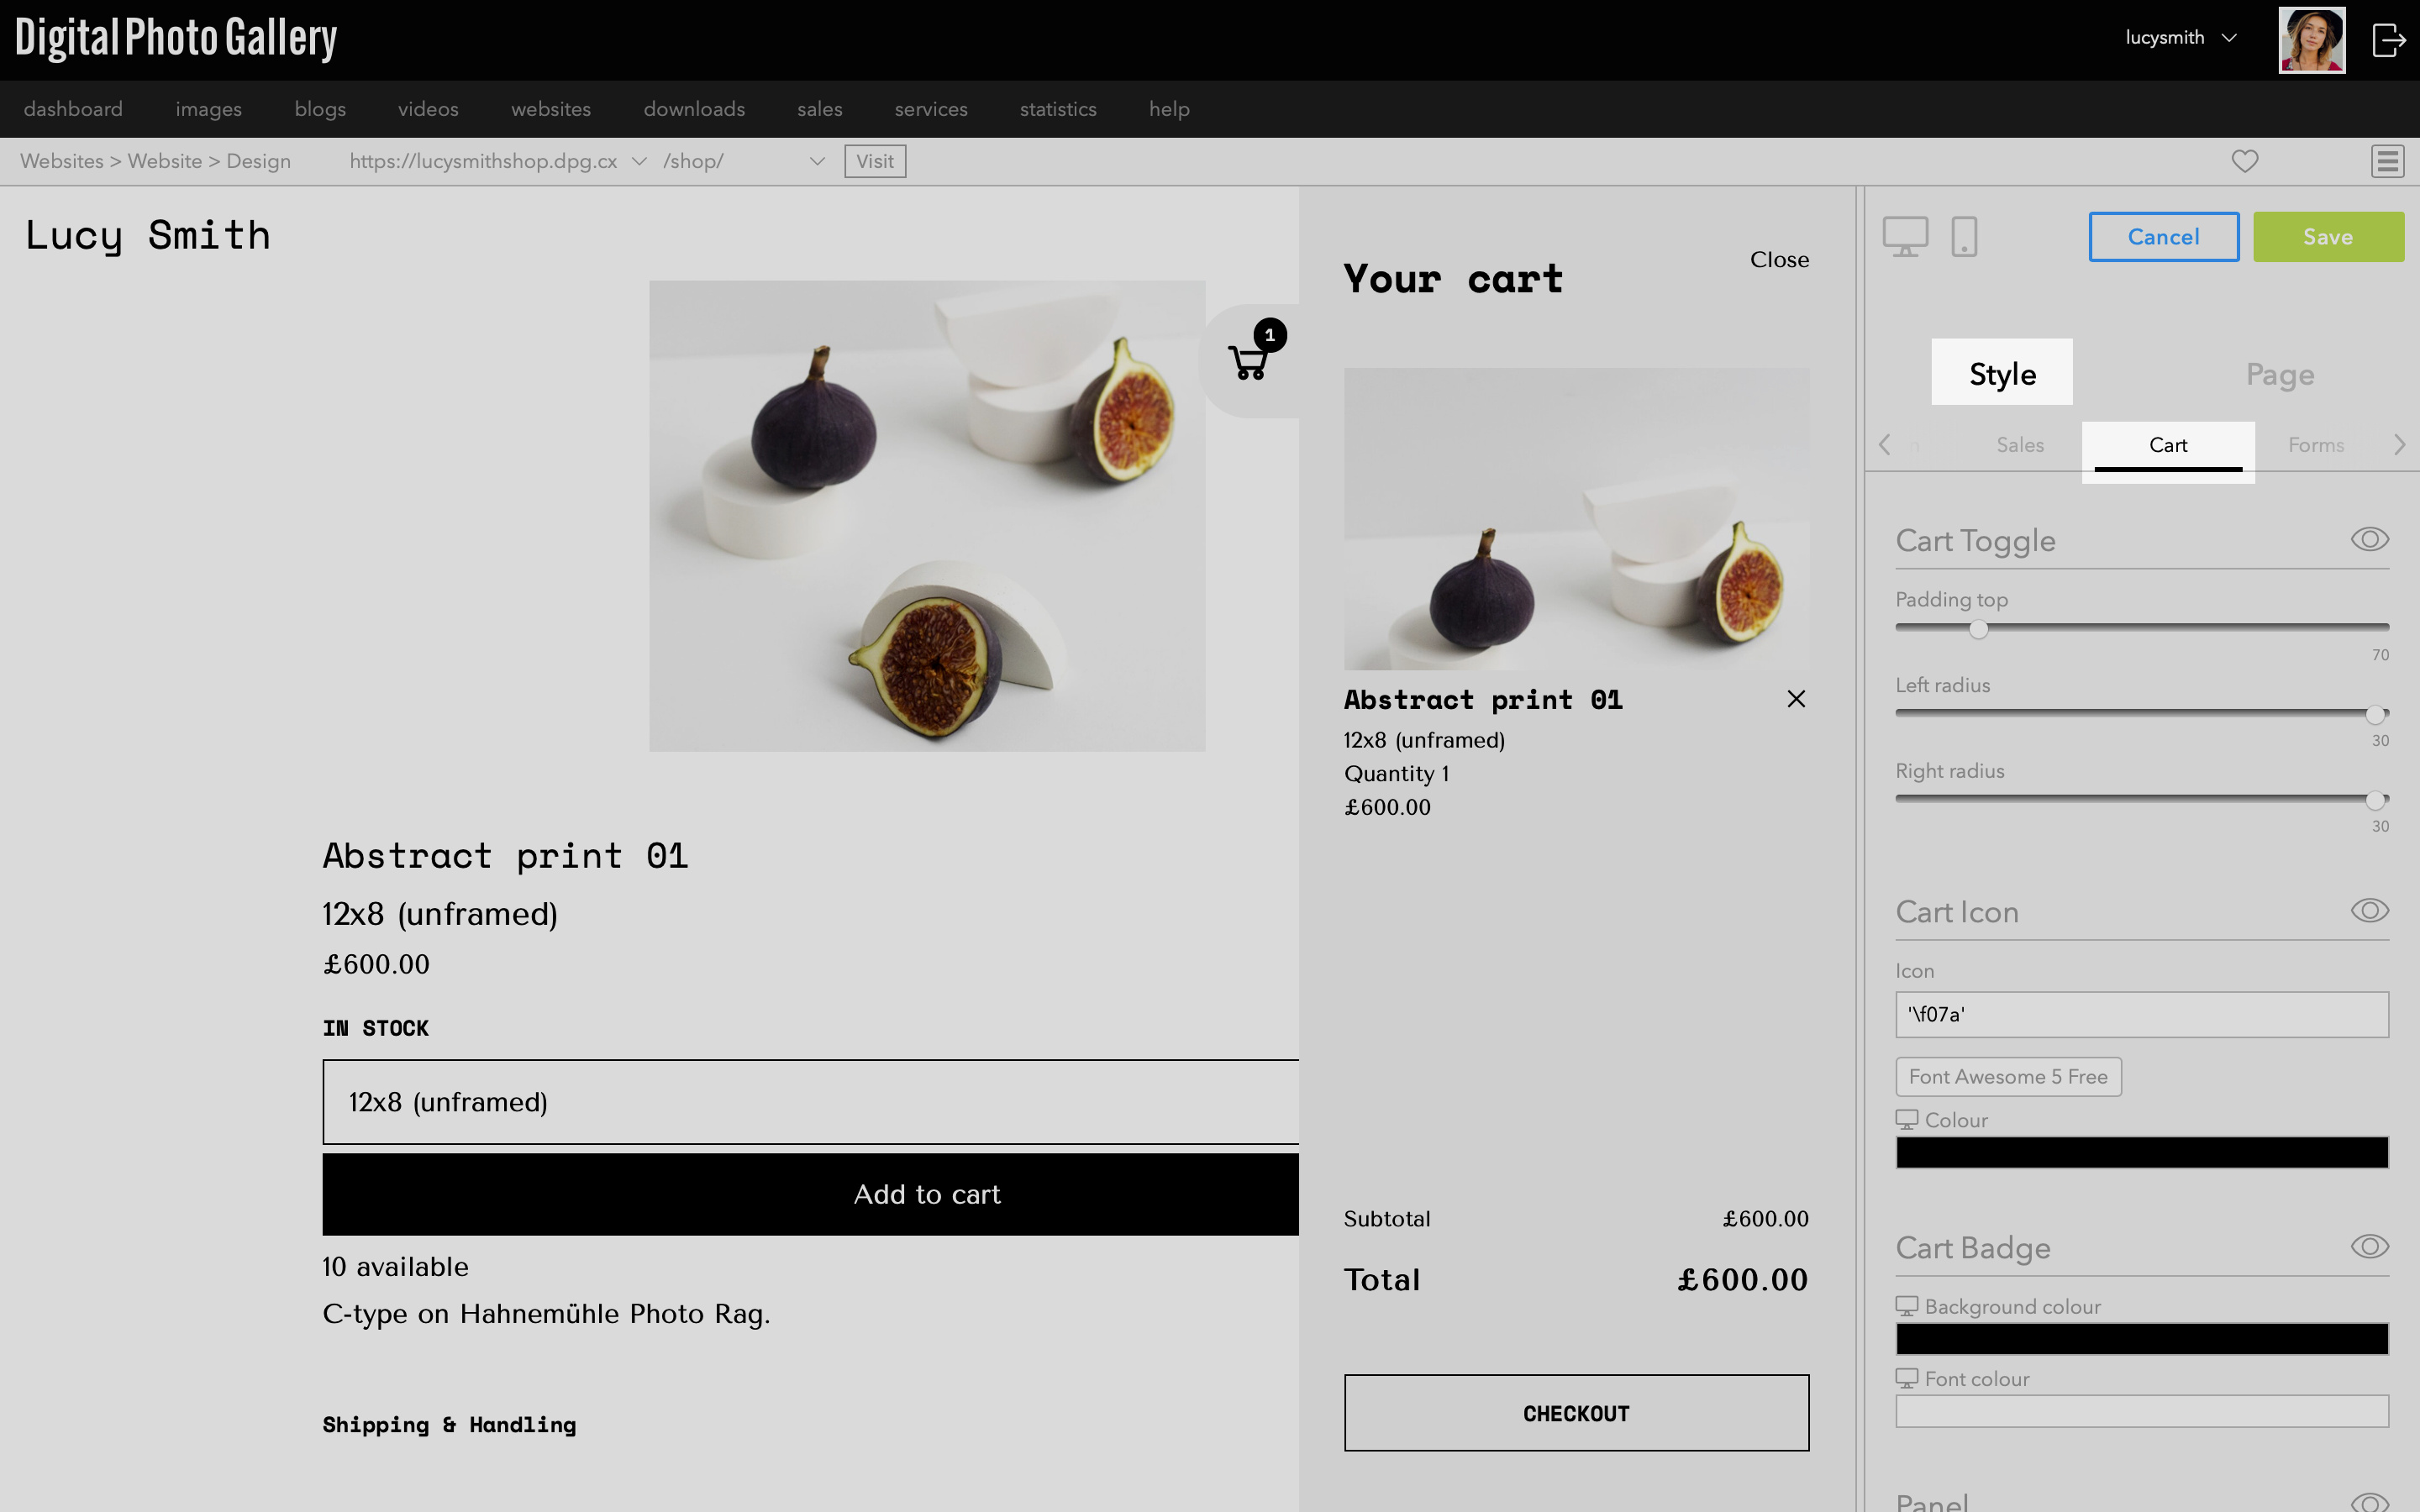
Go to Style > Cart to edit the cart theme options. Add a product to the cart and open the cart by clicking the cart icon to preview the cart's appearance.
You can add an additional Title and Description to your image which will appear on the Index and Single views and can also be styled in the Design section.
The result
You can see your progress on the web by visiting your new shop at its testing address. Check that you're happy with your products and that all the information is correct for each one.You can add more images and products to the shop by repeating the previous steps - add a new image into the shop set, create a new product, then add the product to the image.
Test your site
You may want to try purchasing a low value item yourself to make sure that everything is configured correctly before refunding the cost via PayPal.
PayPal also allows you to register as a developer and generate Sandbox accounts. This allows you to test the entire process without spending real money. You can use these mock credentials just like real ones in DPG - link your PayPal account and select the mock address on the website screen using the merchant mock account. You can then act as a customer to check out an order using the mock customer account.
Next steps
You should now have a working shop and some products for sale!
You may want to add additional Text, FAQ or Policies pages to provide more information about yourself and your shop.
If you didn't add your shop to the main navigation at the start, don't forget to do that before launch.
If you created a new shop site, make sure you also add a public host to share with visitors.