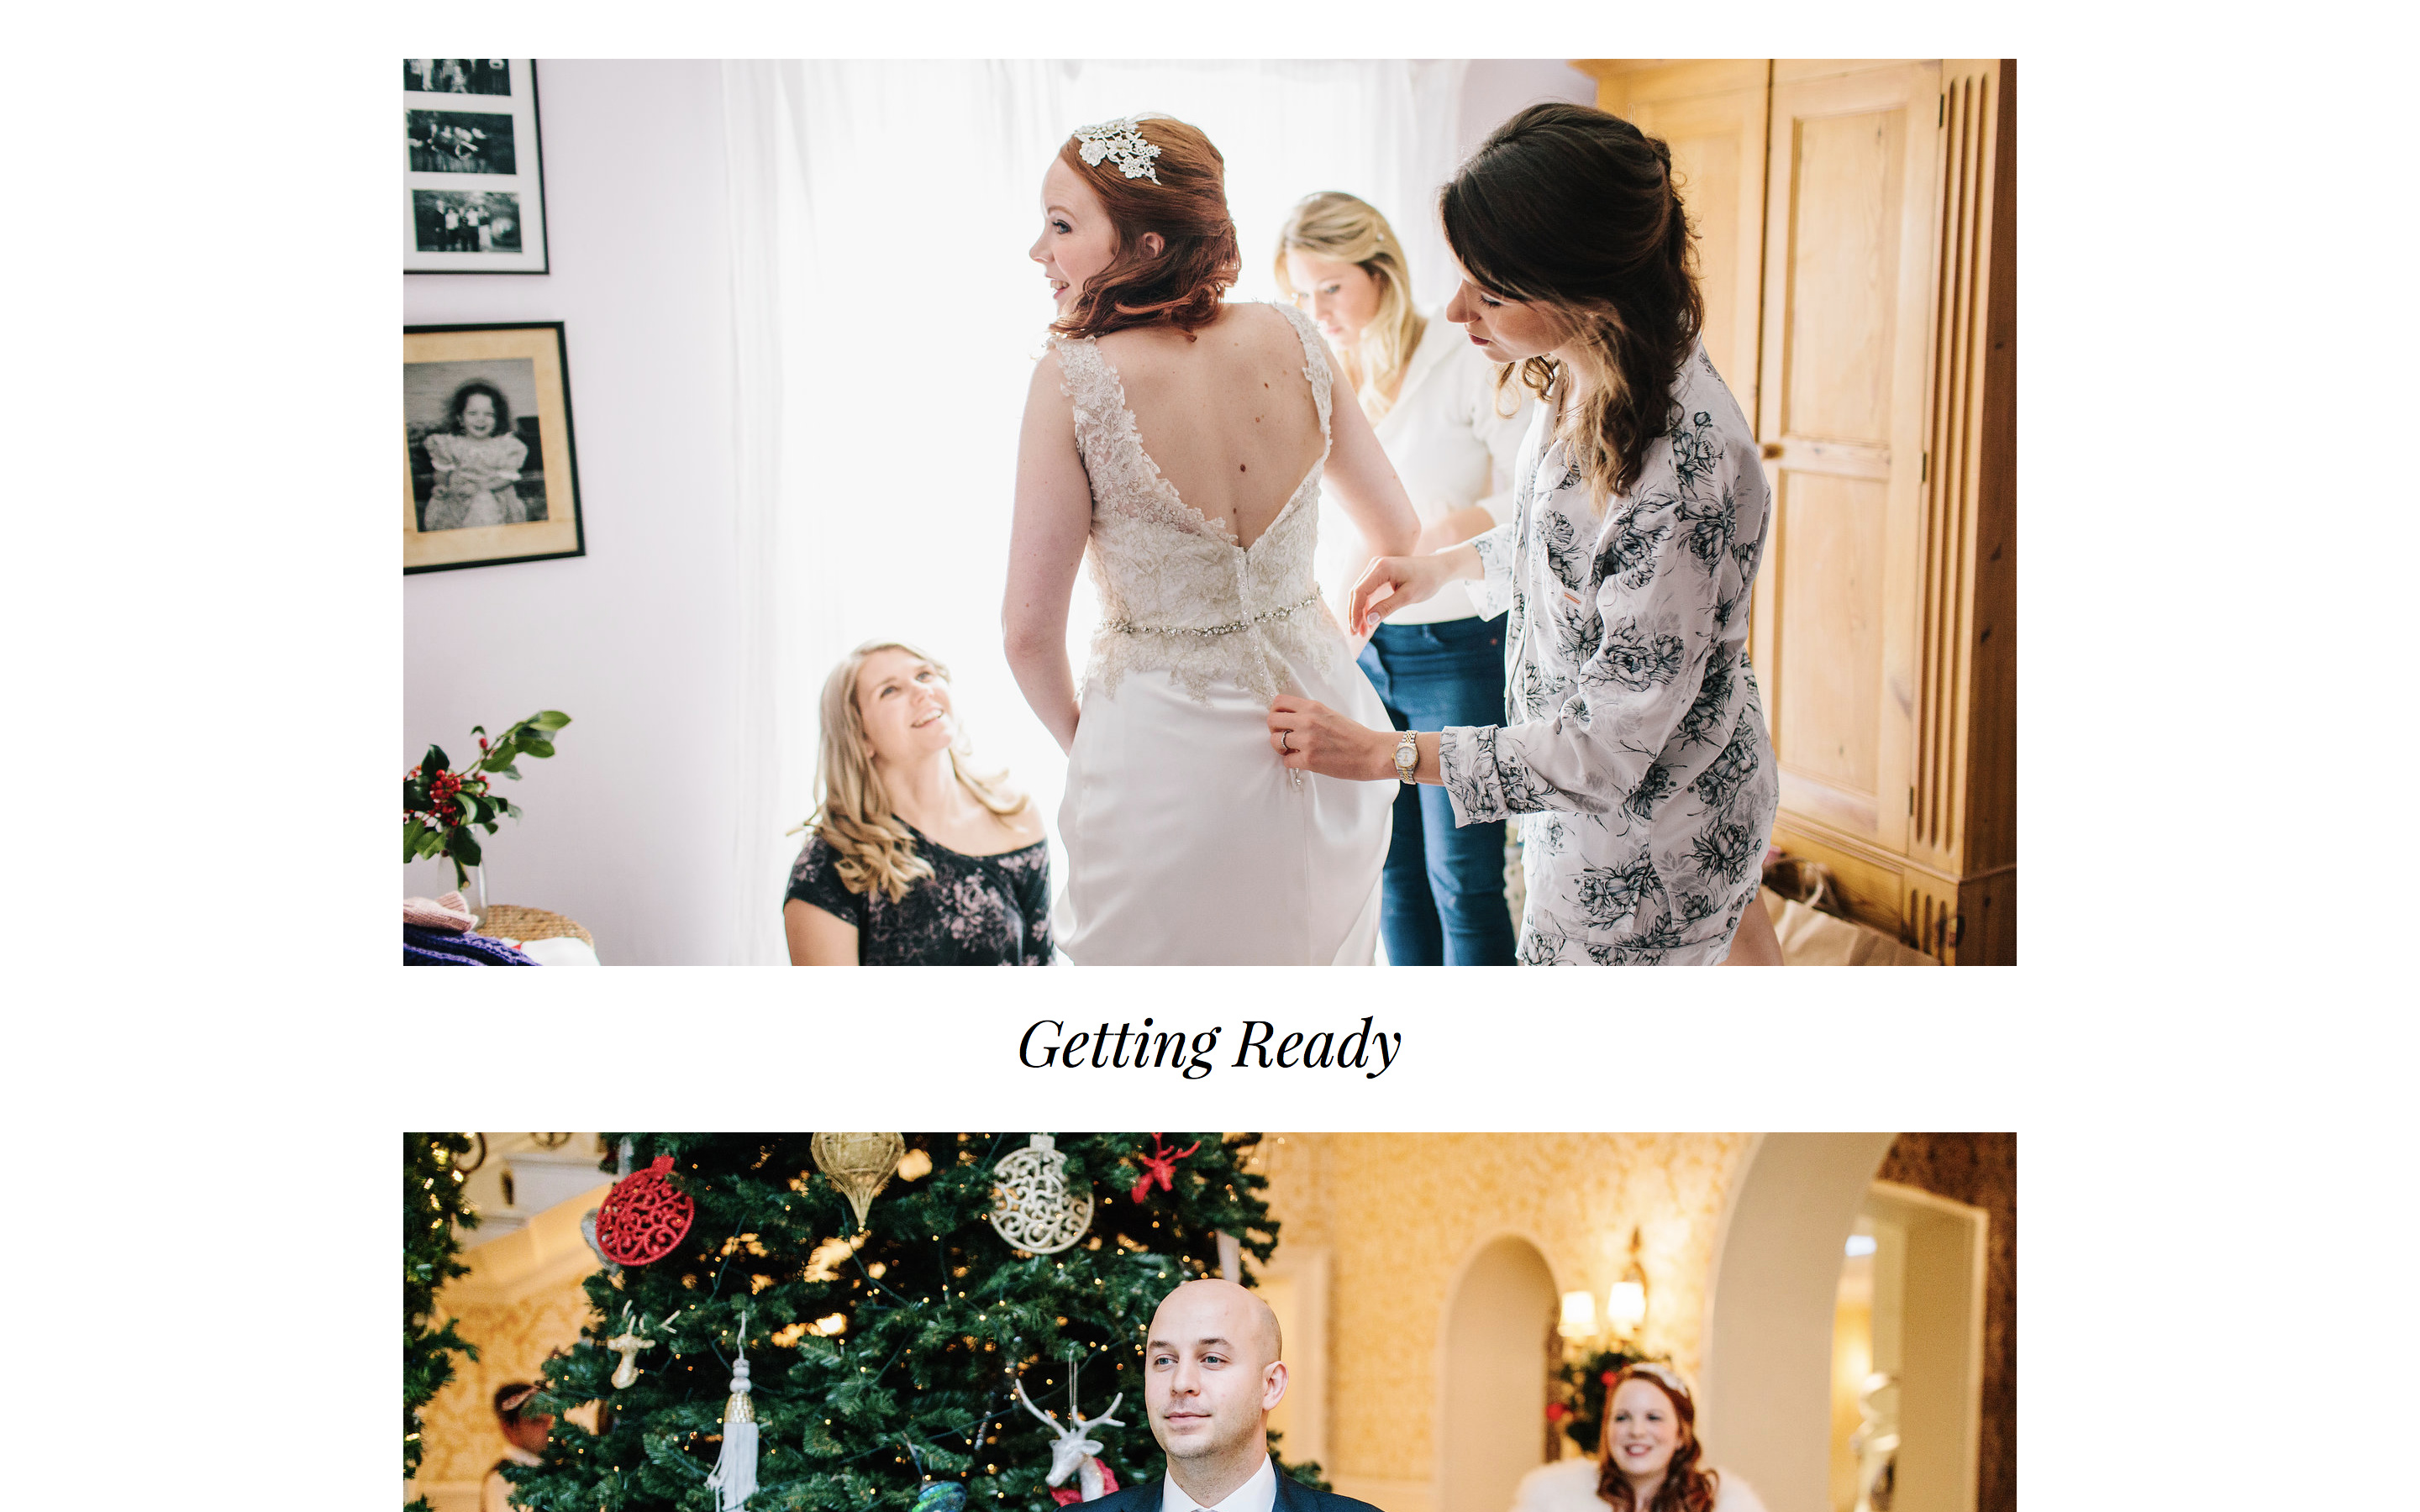
This will be the lead image that shows in the gallery for each section.
Guides - Creating a wedding gallery site
Overview
In this guide we will be creating a standalone wedding gallery site. Using the Modern Narrative template, we'll make a Photo Story gallery with multiple sets. Photo story pages allow you to quickly create dynamic layouts to showcase your images and are great for sharing work with clients.
In this example we'll be making a wedding gallery that your client can share with their friends and family. This site doesn't have downloads enabled so if you want to allow image downloads, see Creating a secure client area.
You can see a live demo of this gallery here.
Create the site
Visit the websites screen, click on the New site tab and follow these steps:
- Scroll to the Modern Narrative template.
- Choose the page collection Wedding Public Gallery [Photo Story].
- Select an initial theme for the template (this can be changed later).
- Click Create.
- Enter a name for your website. This can be anything you like and can also be changed later.
- Click OK.
Edit default text
Once your site has been created, replace the default text with your own. In this example we've used the couple's names as the header, but you could use your own branding instead.
You can add a logo to the header in the Design section.
Make sub sets in the Gallery set
If you have a large number of images, you may want to break them up into sections. To do this, go to the Gallery set and create sub sets for each section.
Arrange the sets into your chosen order by dragging them. This is the order that they will appear on the gallery site.
Add images
Upload or add your images to the sets you created.
Once you click Add when adding to a set, you'll see a progress bar appear in the top bar. You can refresh or navigate away from this page and the process will continue in the background.
Choose set cover images
Once your images have been added to the sets, choose a set cover image for each one.To select a set cover, open the Set Information panel and drag the chosen image to the thumbnail.
Add images to Splash page set
The splash page automatically creates a slideshow when you add multiple images to the Splash set.You can change the display duration of images in the slideshow by going to the Splash page settings.
Check out your site
You can visit your testing dpg.cc host any time to see how your site is coming along. The testing address is not cached, so any changes appear immediately. To find out more about hosts see Host types.
You should always add a public host before sharing your site with the world.
Arranging images
Once all your images are added to the correct sets, you can adjust the order and arrangement. The Photo Story page allows you to control the size and layout of images with a star rating, which is a fast and easy way to make dynamic layouts and show off key images. If this is your first time working with a Photo Story page, see this guide for an overview and demo.
Changing view settings
To arrange your images, start by going into one set. Click the cog in the top bar and change the view settings to View As: Thumbnails and Layout: Grid.
You may also find it useful to choose Arrange by: Creation Date to start with, if you are arranging a story chronologically.
You can adjust the size of the thumbnails in the admin using the slider in the view settings. You can also hide the side panel by clicking the burger menu at right edge of the top bar.
Using star ratings to create the layout
There are several ways to approach image rating. One way is to select all the images and rate them the same number, then choose individual images to make larger or smaller.
In this example, we select all images and rate them 4 stars by pressing 4 on the keyboard. This makes all the images the same width - the second largest size.
If you don't want to vary the layout, you can stop here and the images will be presented in an even column.
In this example, we've decided to vary the sizes. In the video above, you can see the process of selecting one or more images, rating and rearranging them. You can refresh your preview site to see these changes in real-time.
Edit the splash page text
Replace the stock text on the Splash Page with your own. In this example, we've used the name of the couple.
Make changes to the design
If you want to make any changes to the design of your gallery, go to the Design section.
Here you can choose a different theme, add a logo, or edit other design settings like fonts and colours to best show off you images and complement your other branding.
Create gallery navigation
If you have a large number of sub sets within the gallery, you may want to add a navigation menu to make it easier to browse between them. Go to Content and Navigation.To link to the page http://nathanwedding.dpg.cc/gallery/getting_ready/ you should enter /gallery/getting_ready/
You can also add a link back to your portfolio site or your contact page so that visitors can get in touch with you.
Create a public host
Once your site is done, the final step is to create a public host. This will be the URL that you share and is cached for optimal speed and best visitor experience. Go to the Hosts section and click Add Host. The dpg.gallery host is the fastest and easiest option for one-off projects.
To find out more about hosts or setting up your own domain see Host types.
Now that you've created your public host, you can share your gallery with your client. 👏
What next?
Here are some other articles that you might find useful:
Social icons - if you have profiles on sites such as Instagram, you can add icons to the footer of this tempate.
Watermarks - you can use DPG to automatically apply watermarks to the images on your site.
Enabling user management - want to keep things a little more private? You can put your site behind a secure login system.
Statistics - once you go live, don't forget to check out the statistics.